 Topped with a waterproofing membrane.
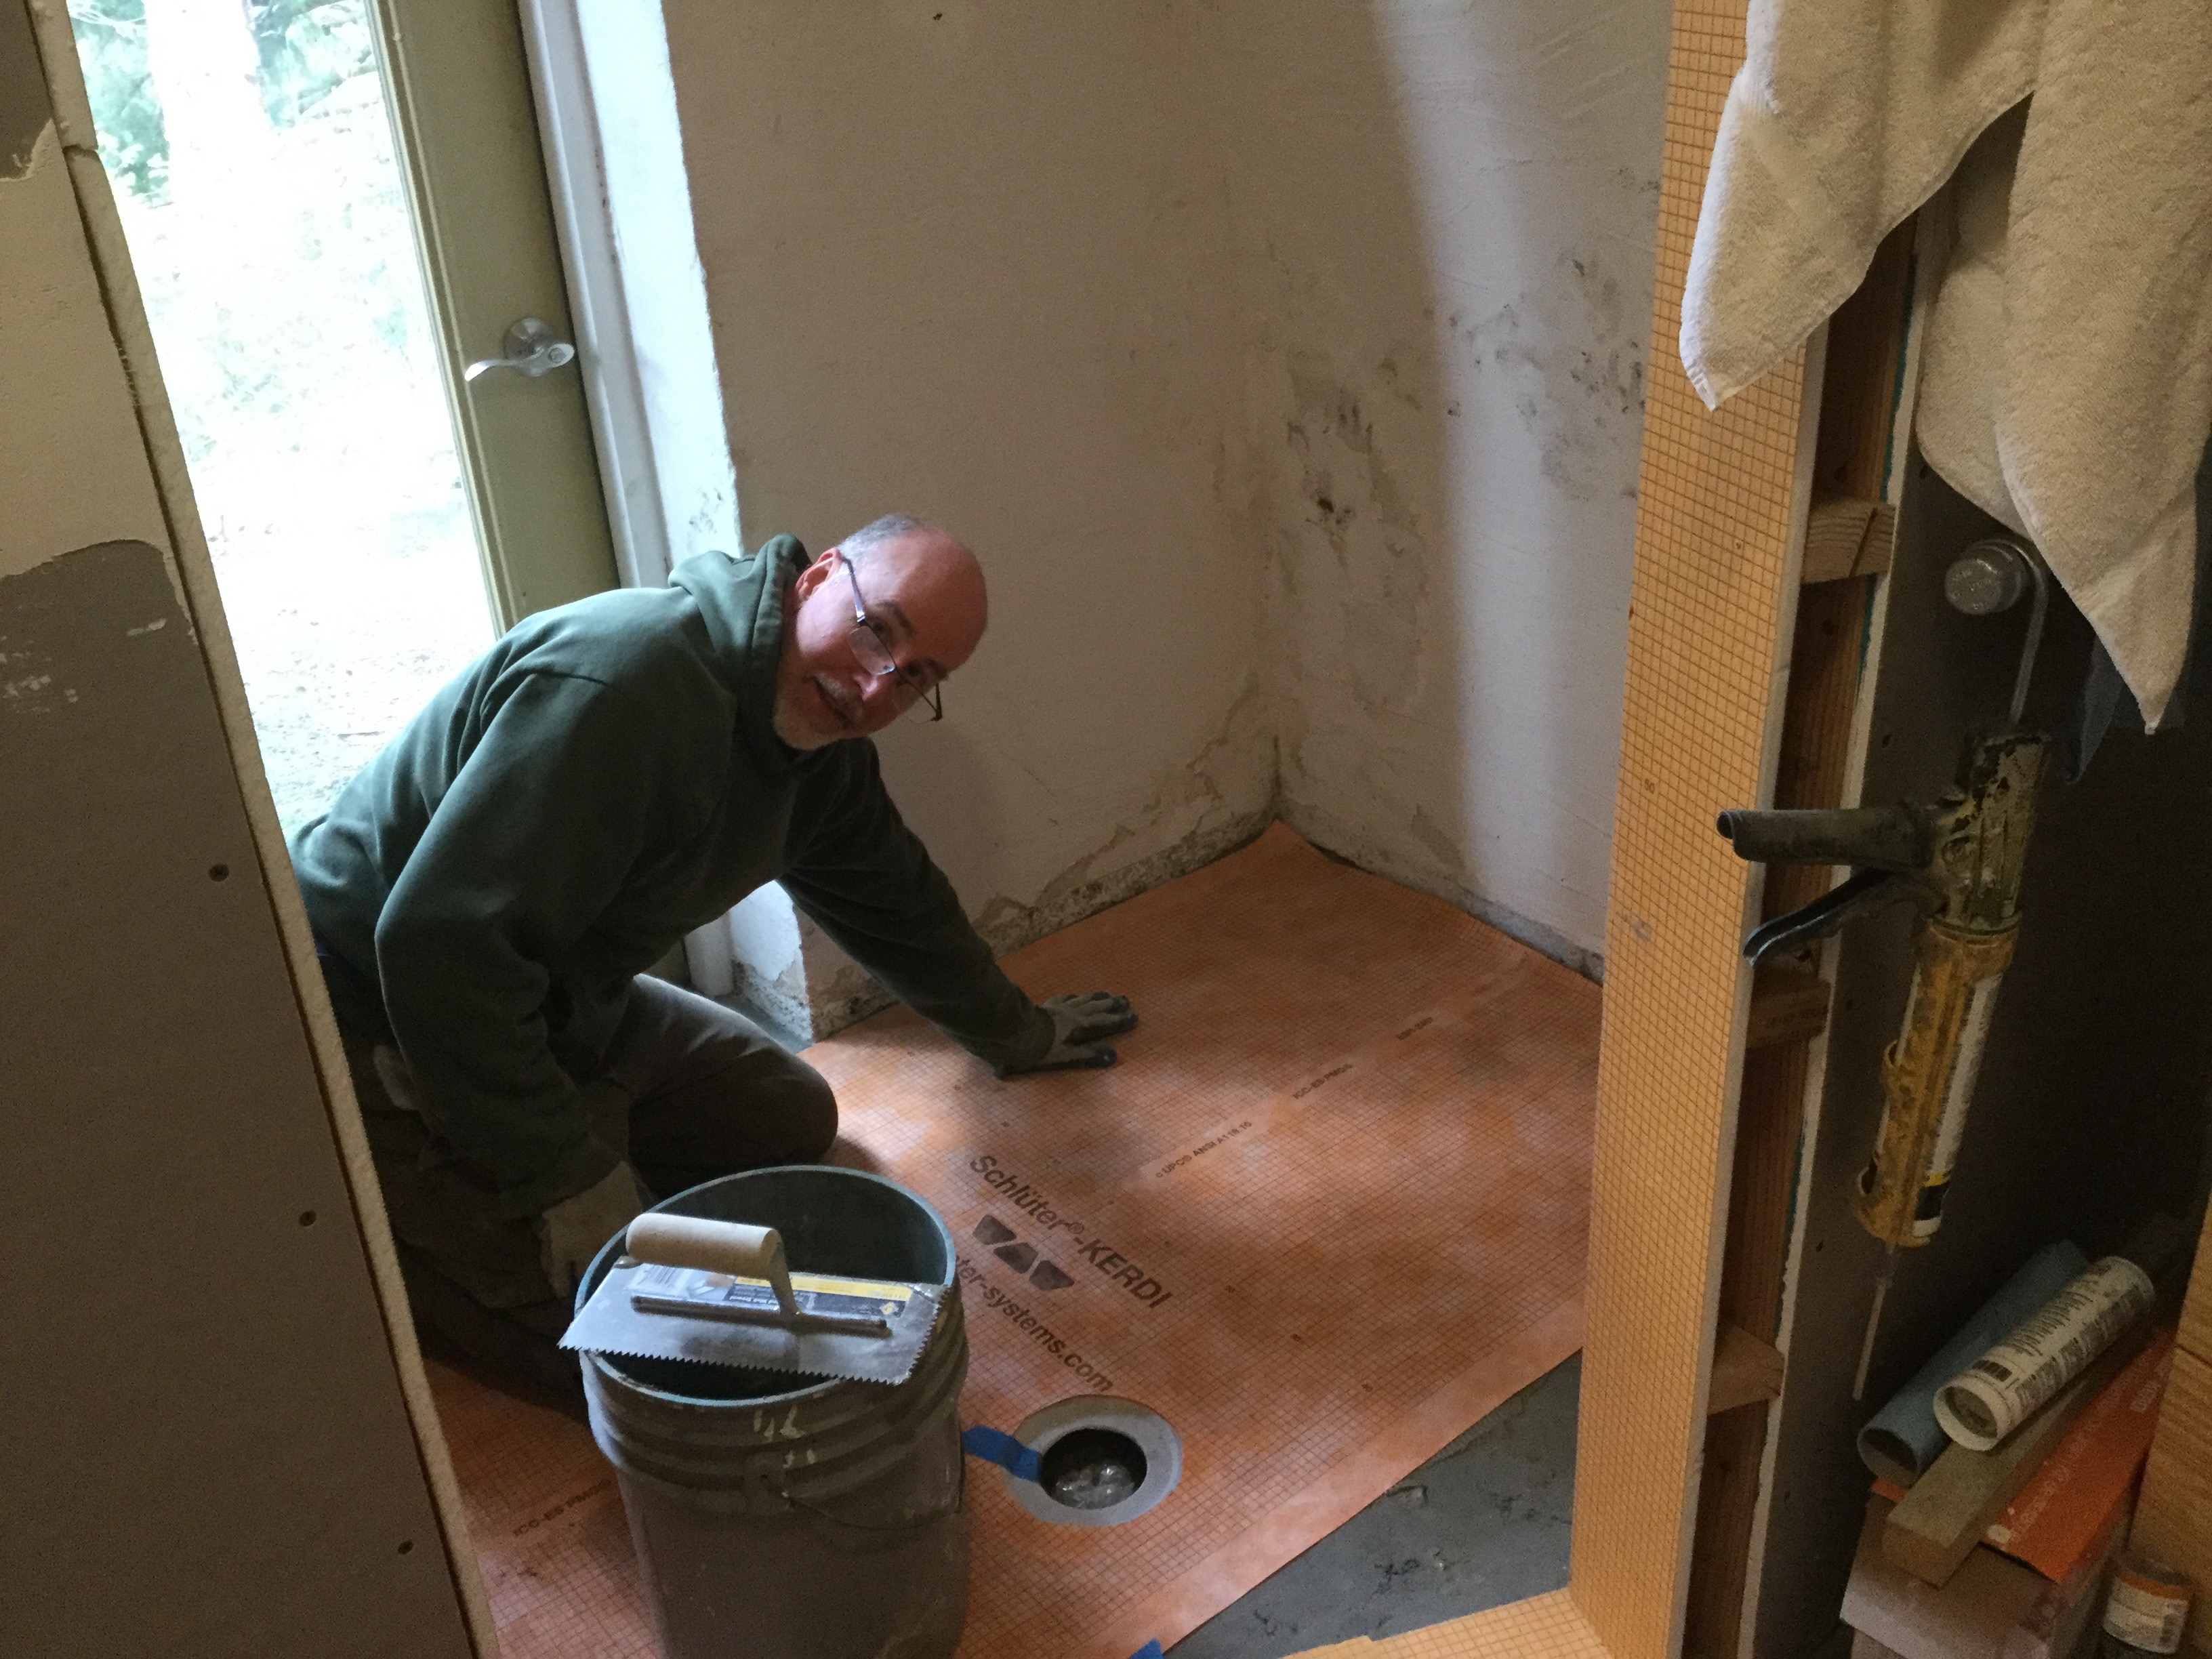 Add some basalt stone mosaic tiles plus a few agates and shells.
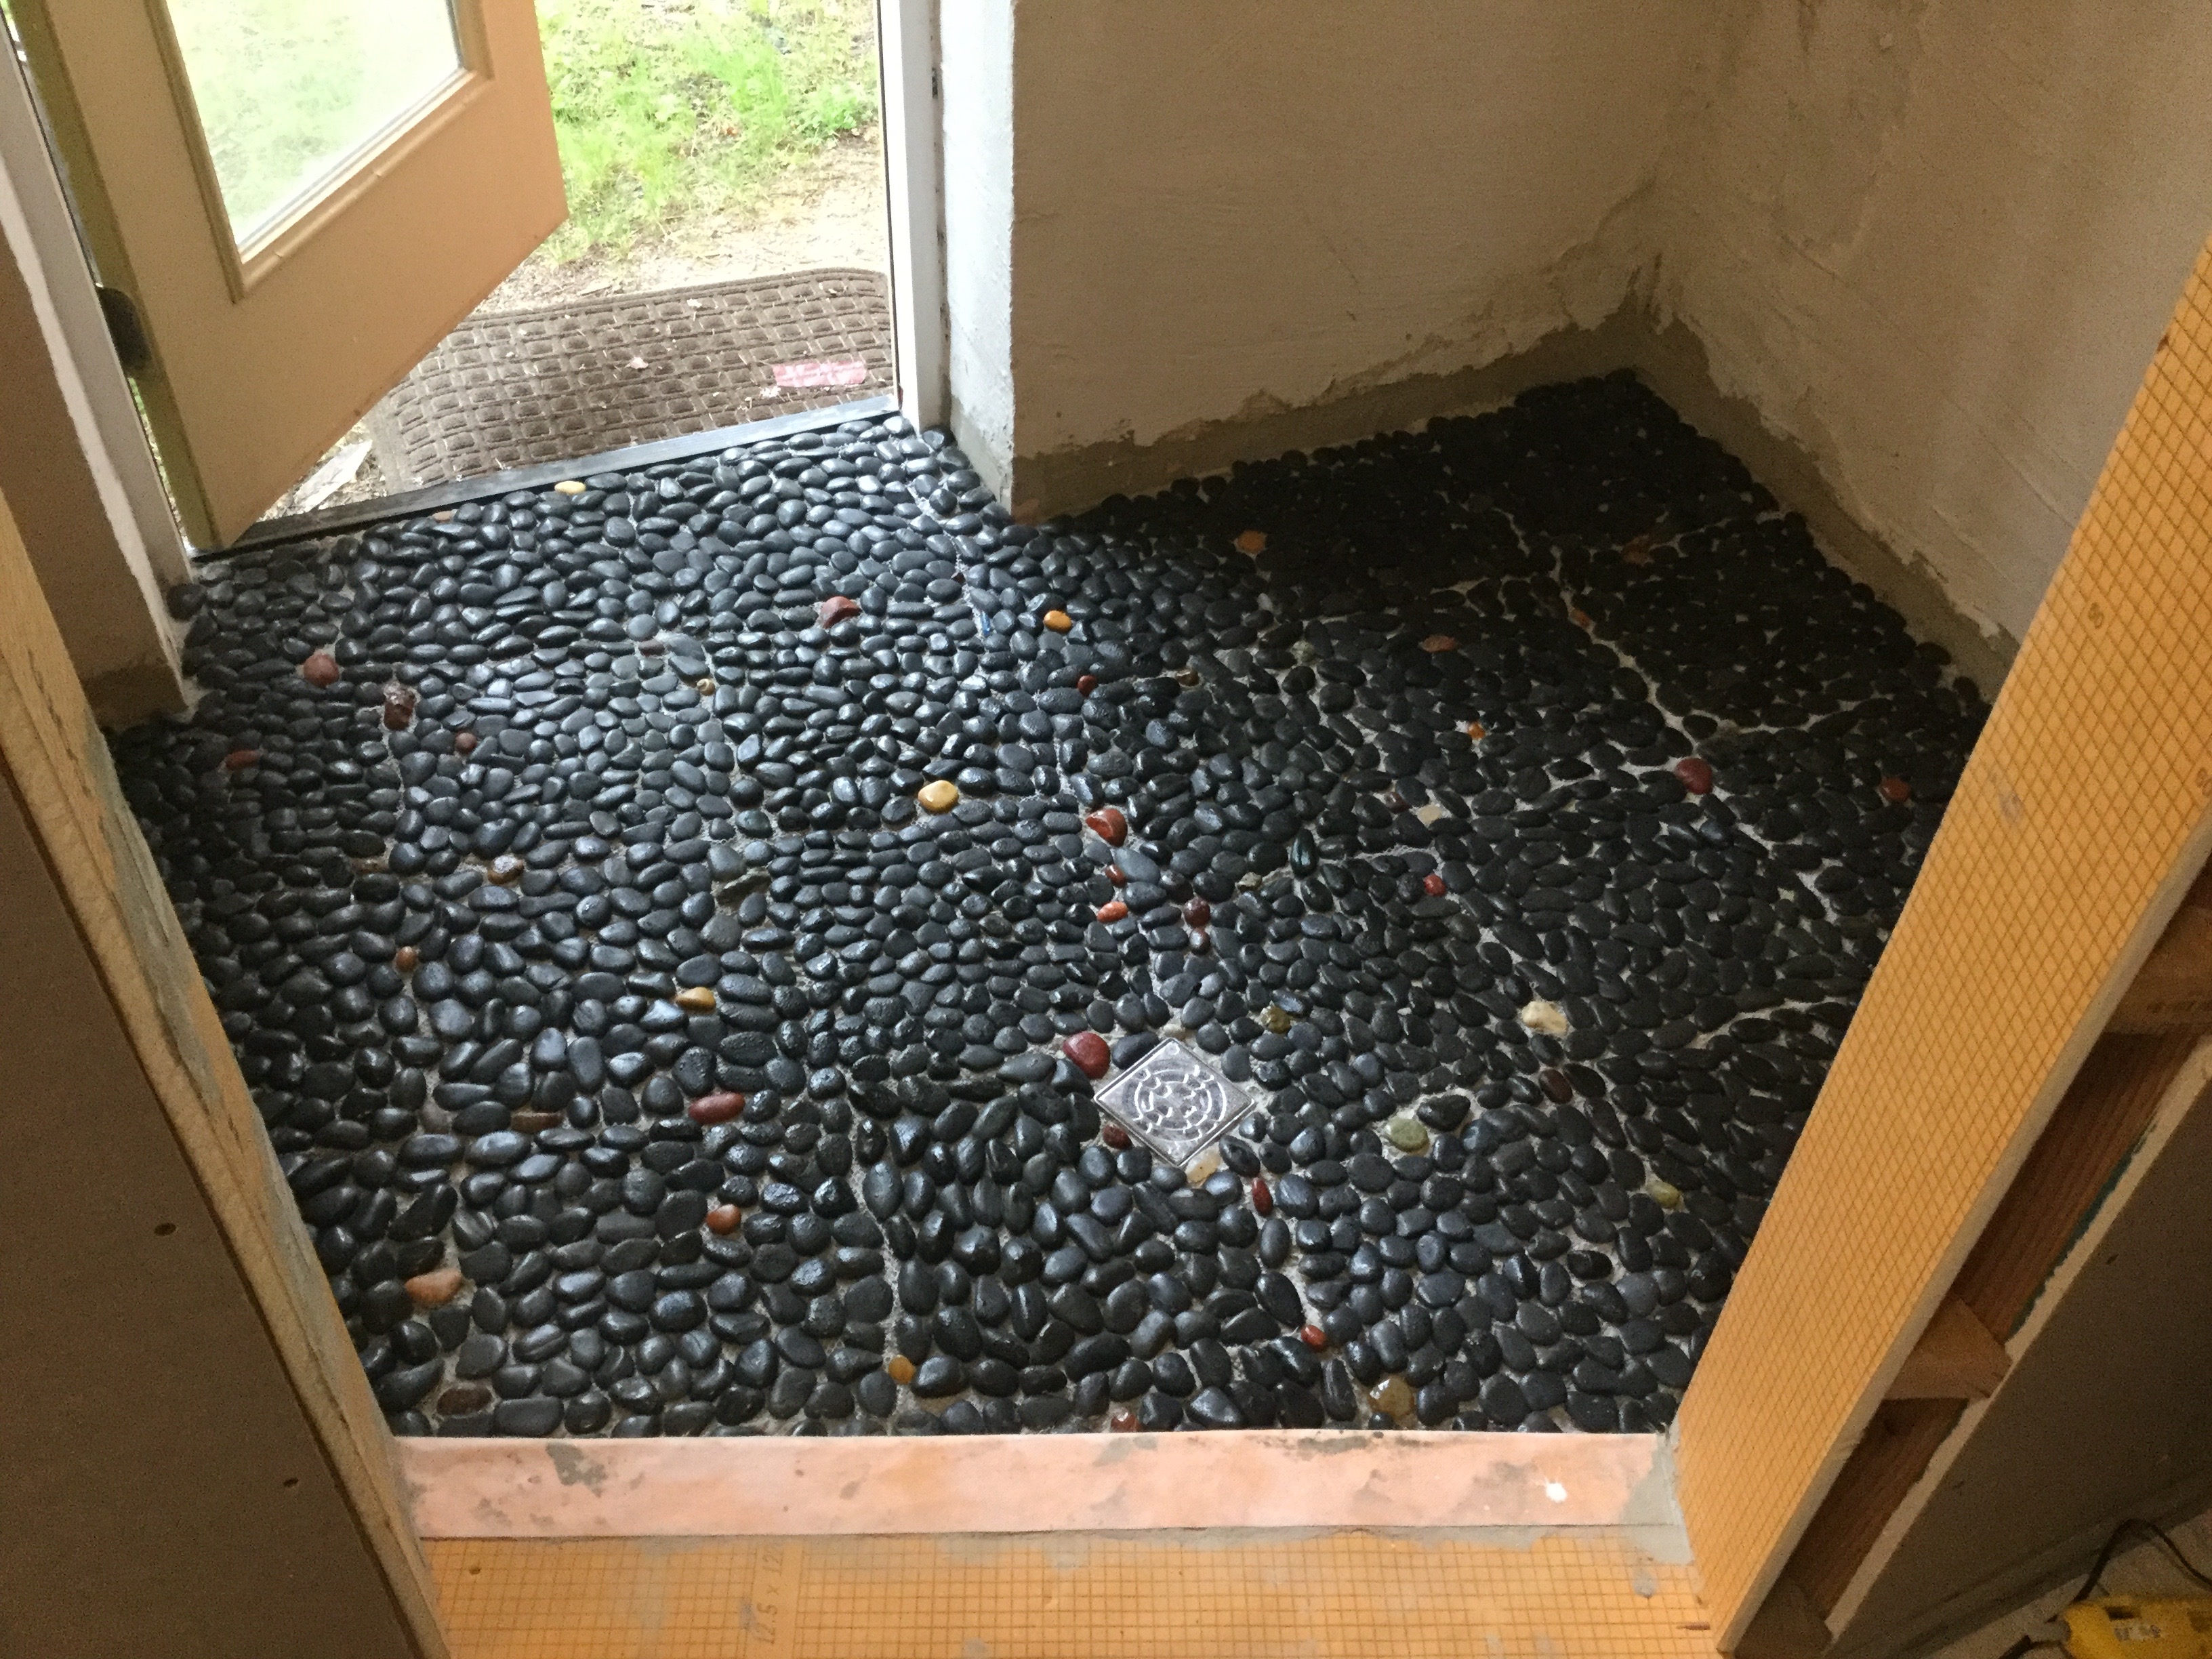 Now fill it in with grout.
  Then wipe off the excess. Et Voila! It’s a bit darker than we had planned but it turned out pretty cool. We will have more stone going up the back and side walls and tile matching the rest in the master bathroom on the other walls. (not visible in these pictures)

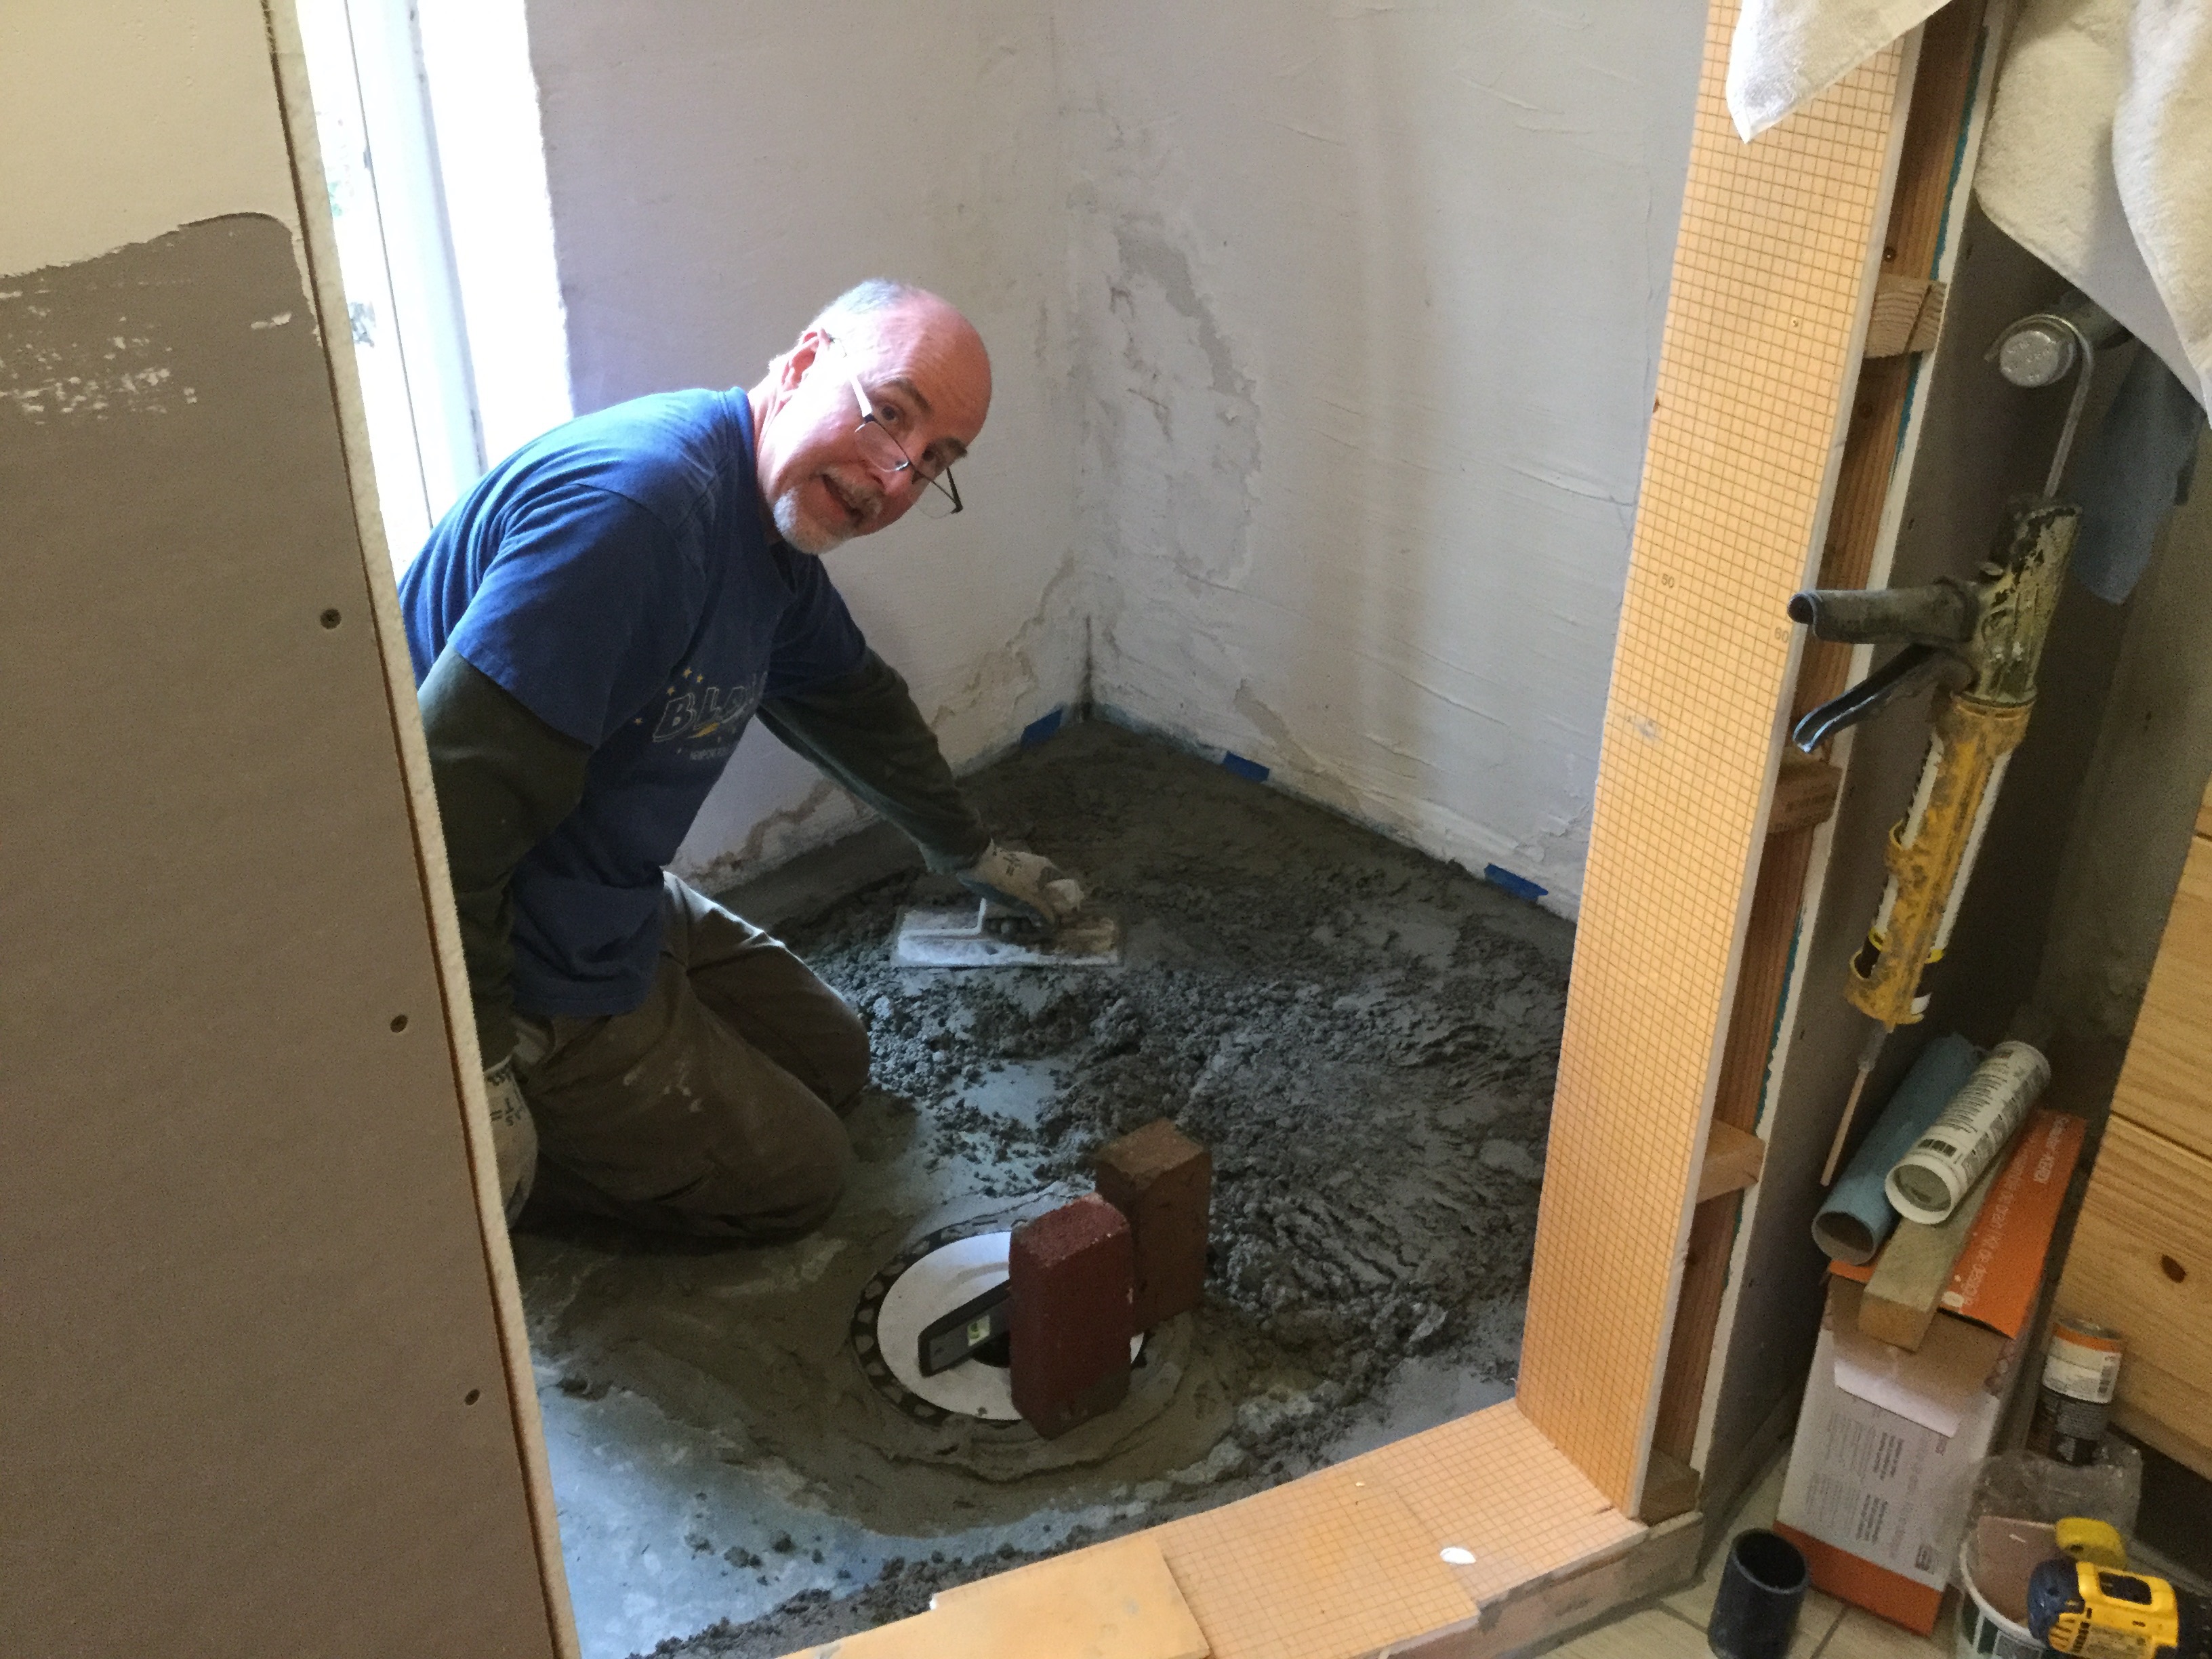
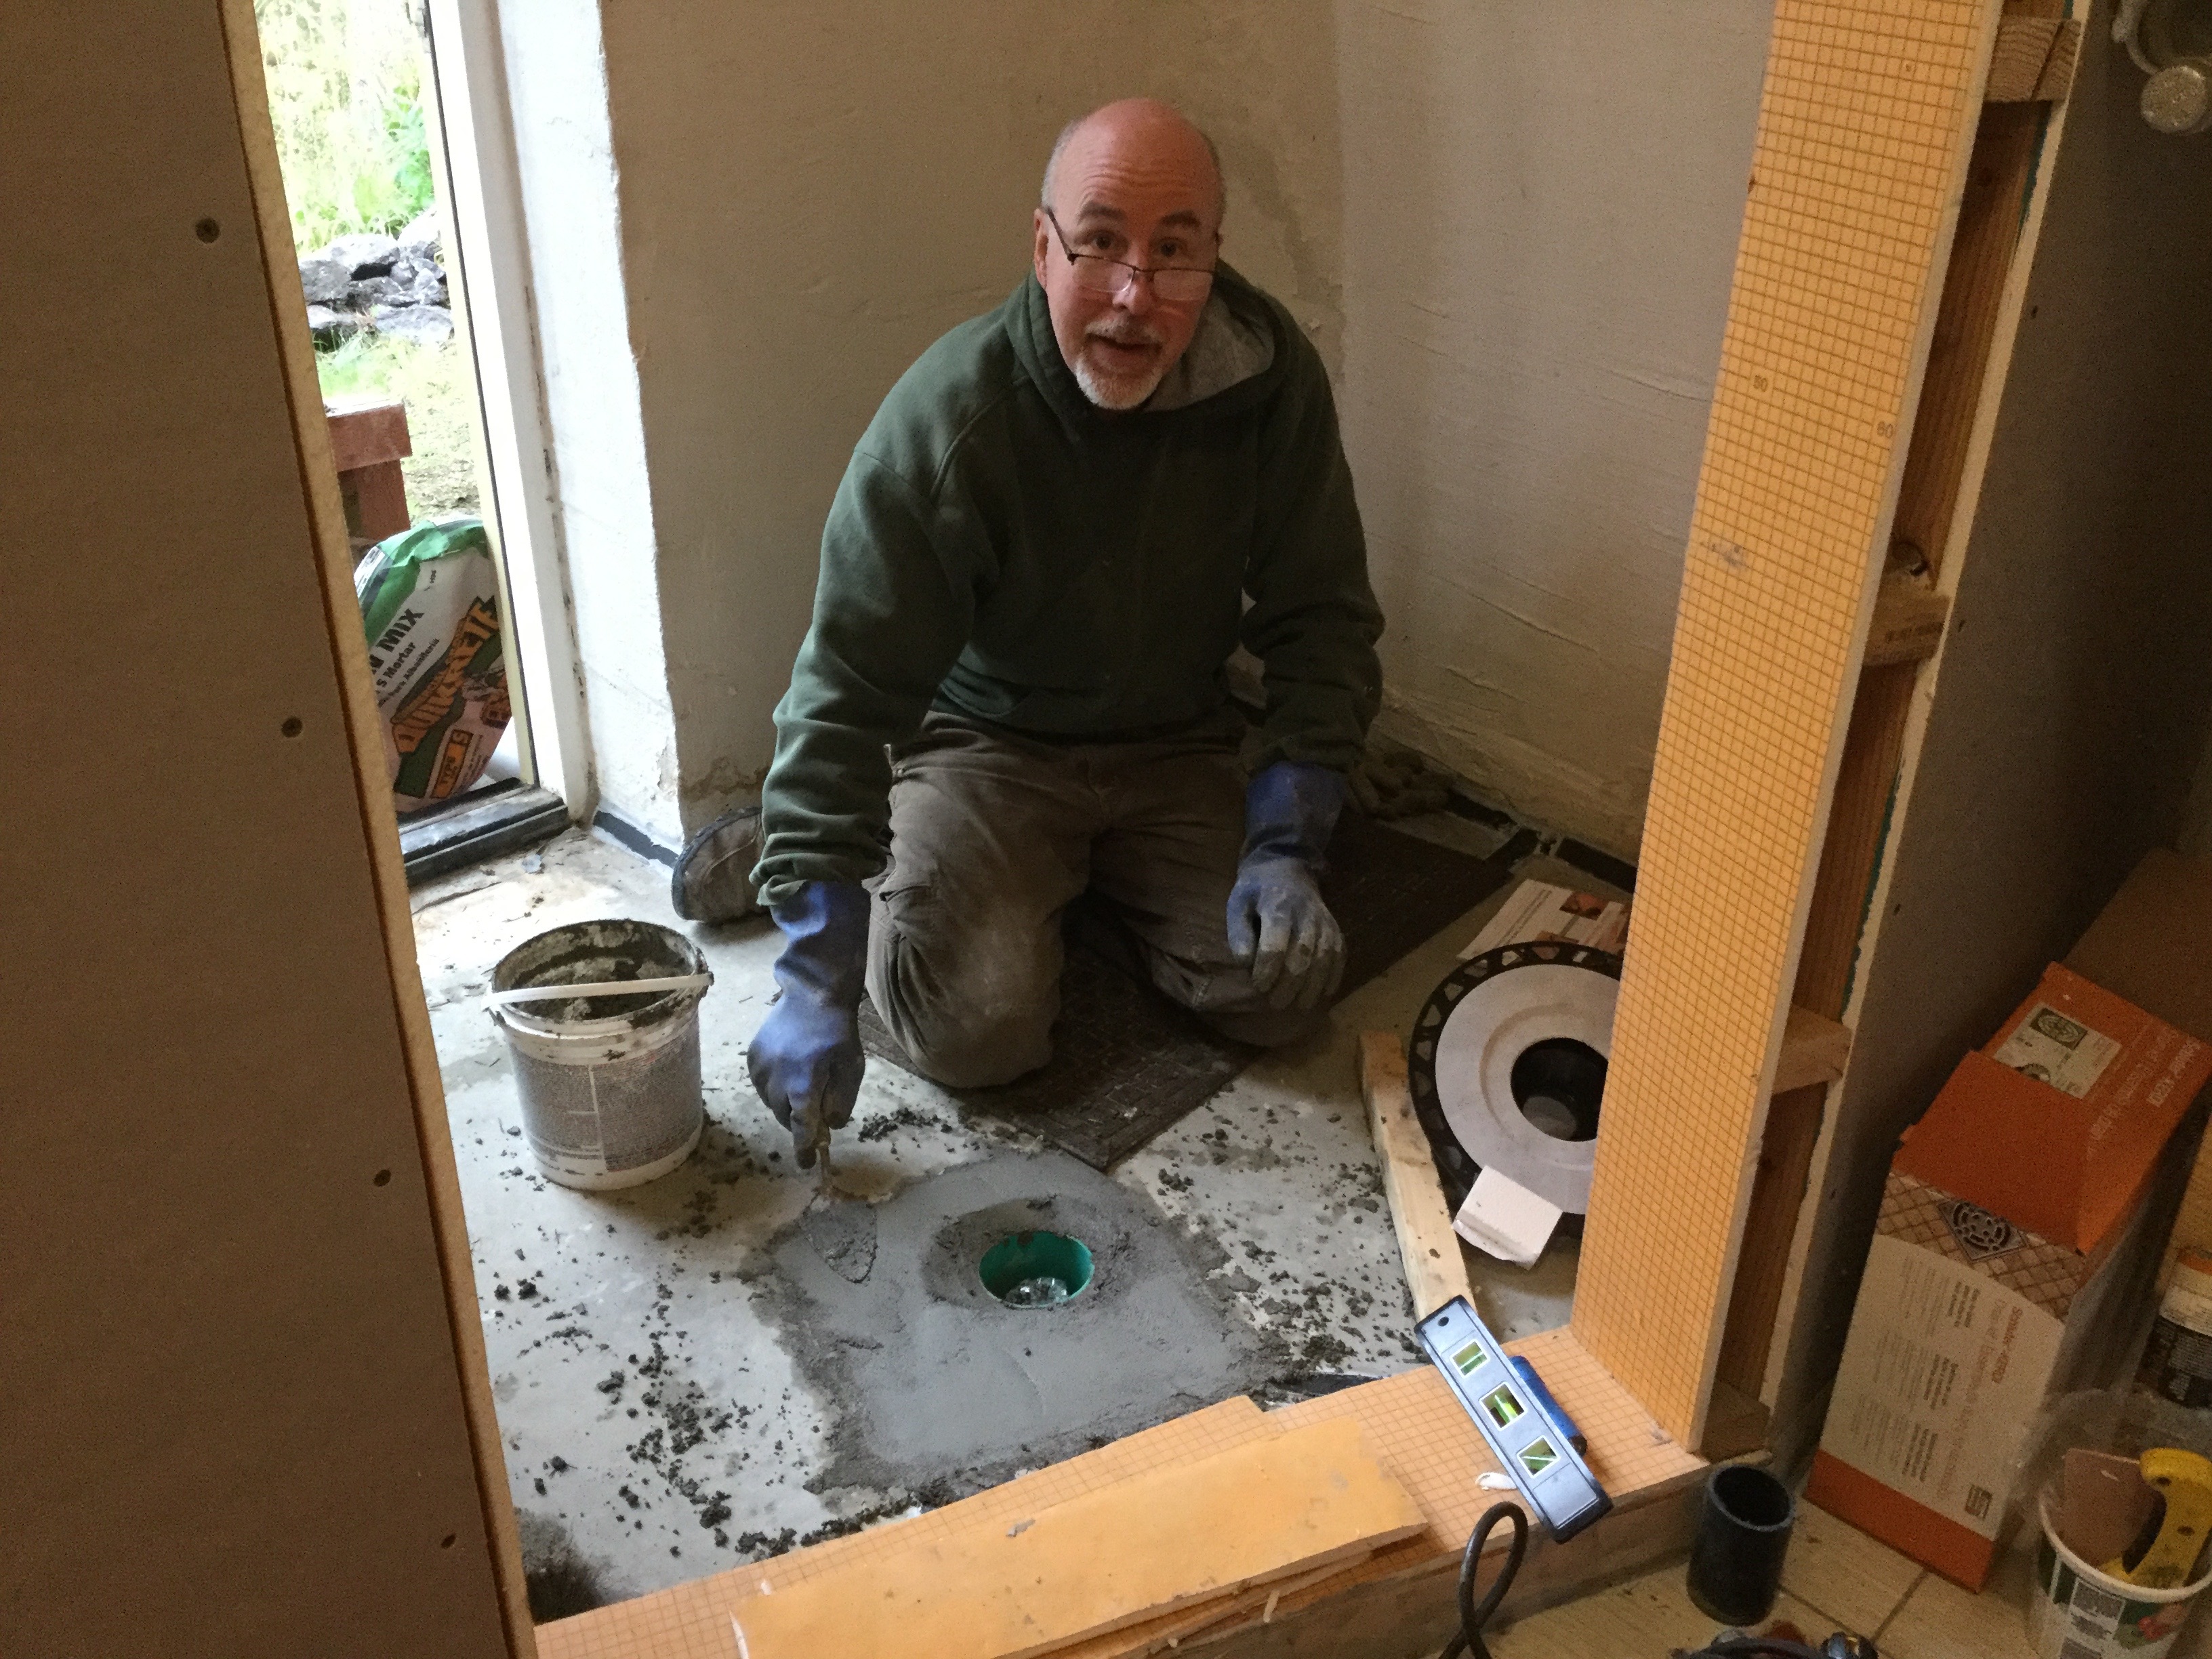
As convenie nt as it might seem, we just can’t have a hole in the floor. so we connected the drain pipe (J-Trap) that was set in the ground before the concrete floor was poured. Then time to mix a little more concrete to fill up the hole. One of our next “steps” will be to build up a sloped mortar bed for the tile to go on.
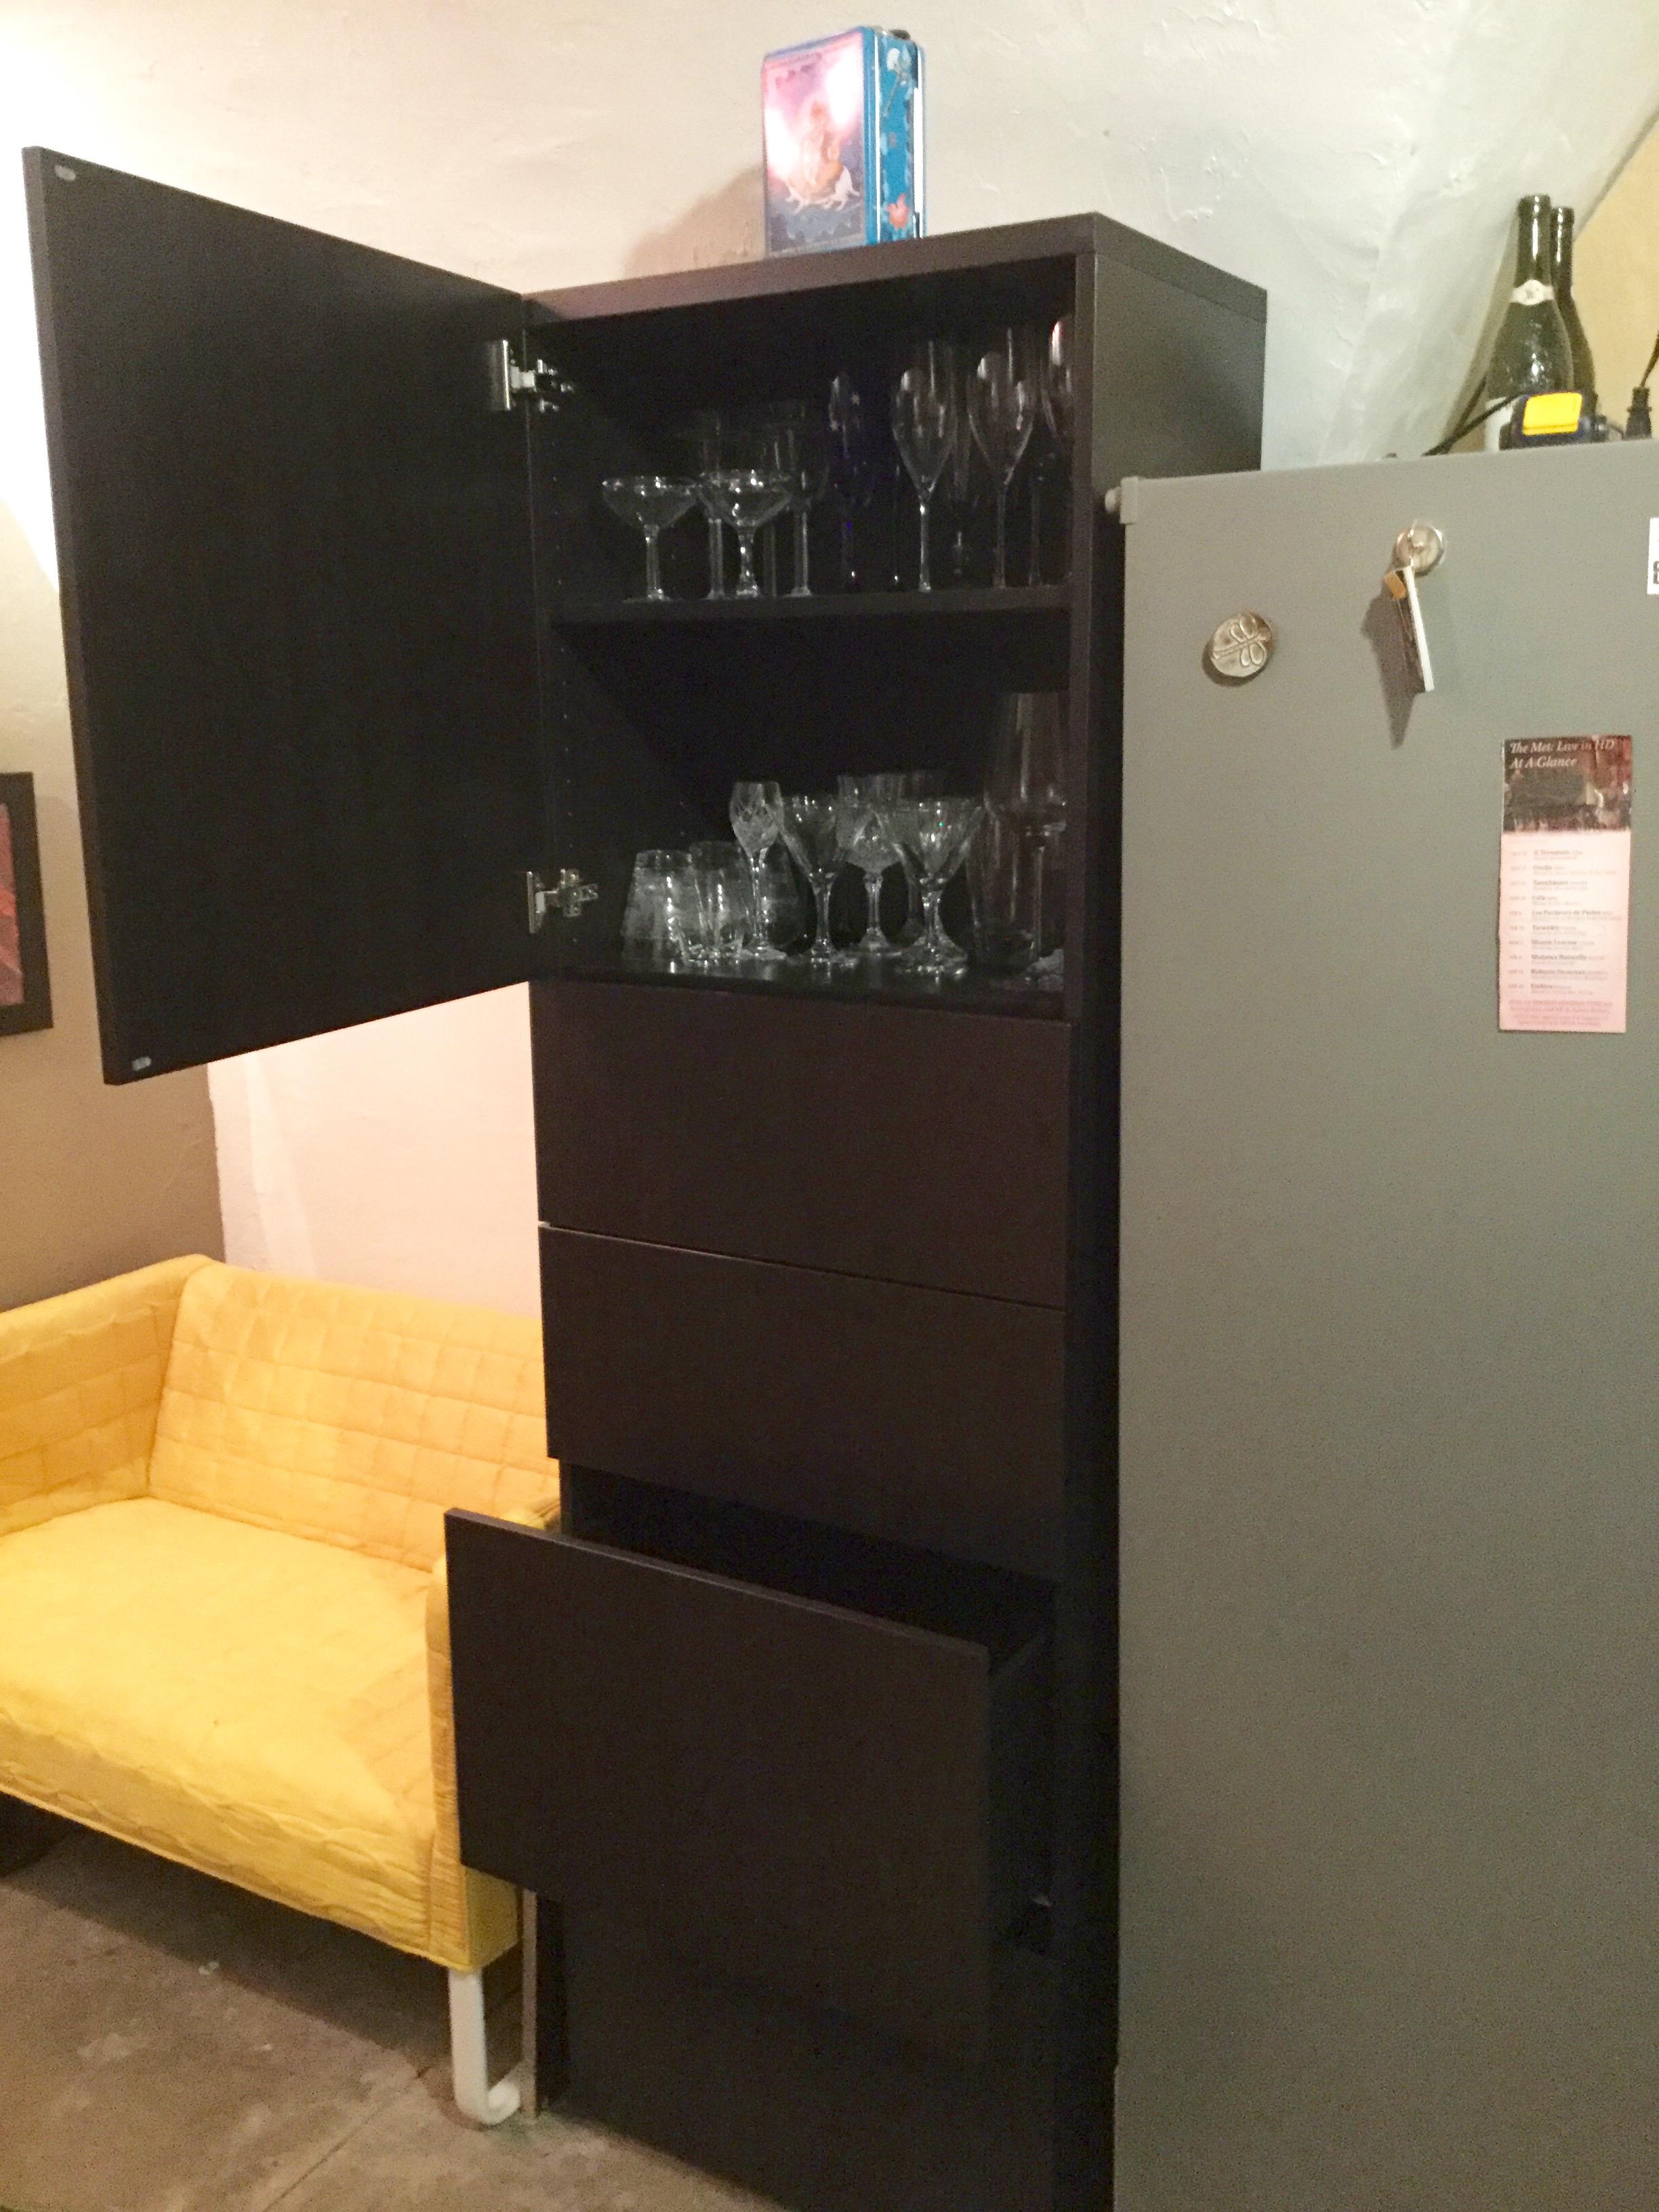
 In the front hall we put together a cabinet that will “hide” the ugly back of our fridge and provide storage for extra glassware, tupperware and such. It’s a nice addition to our entryway.
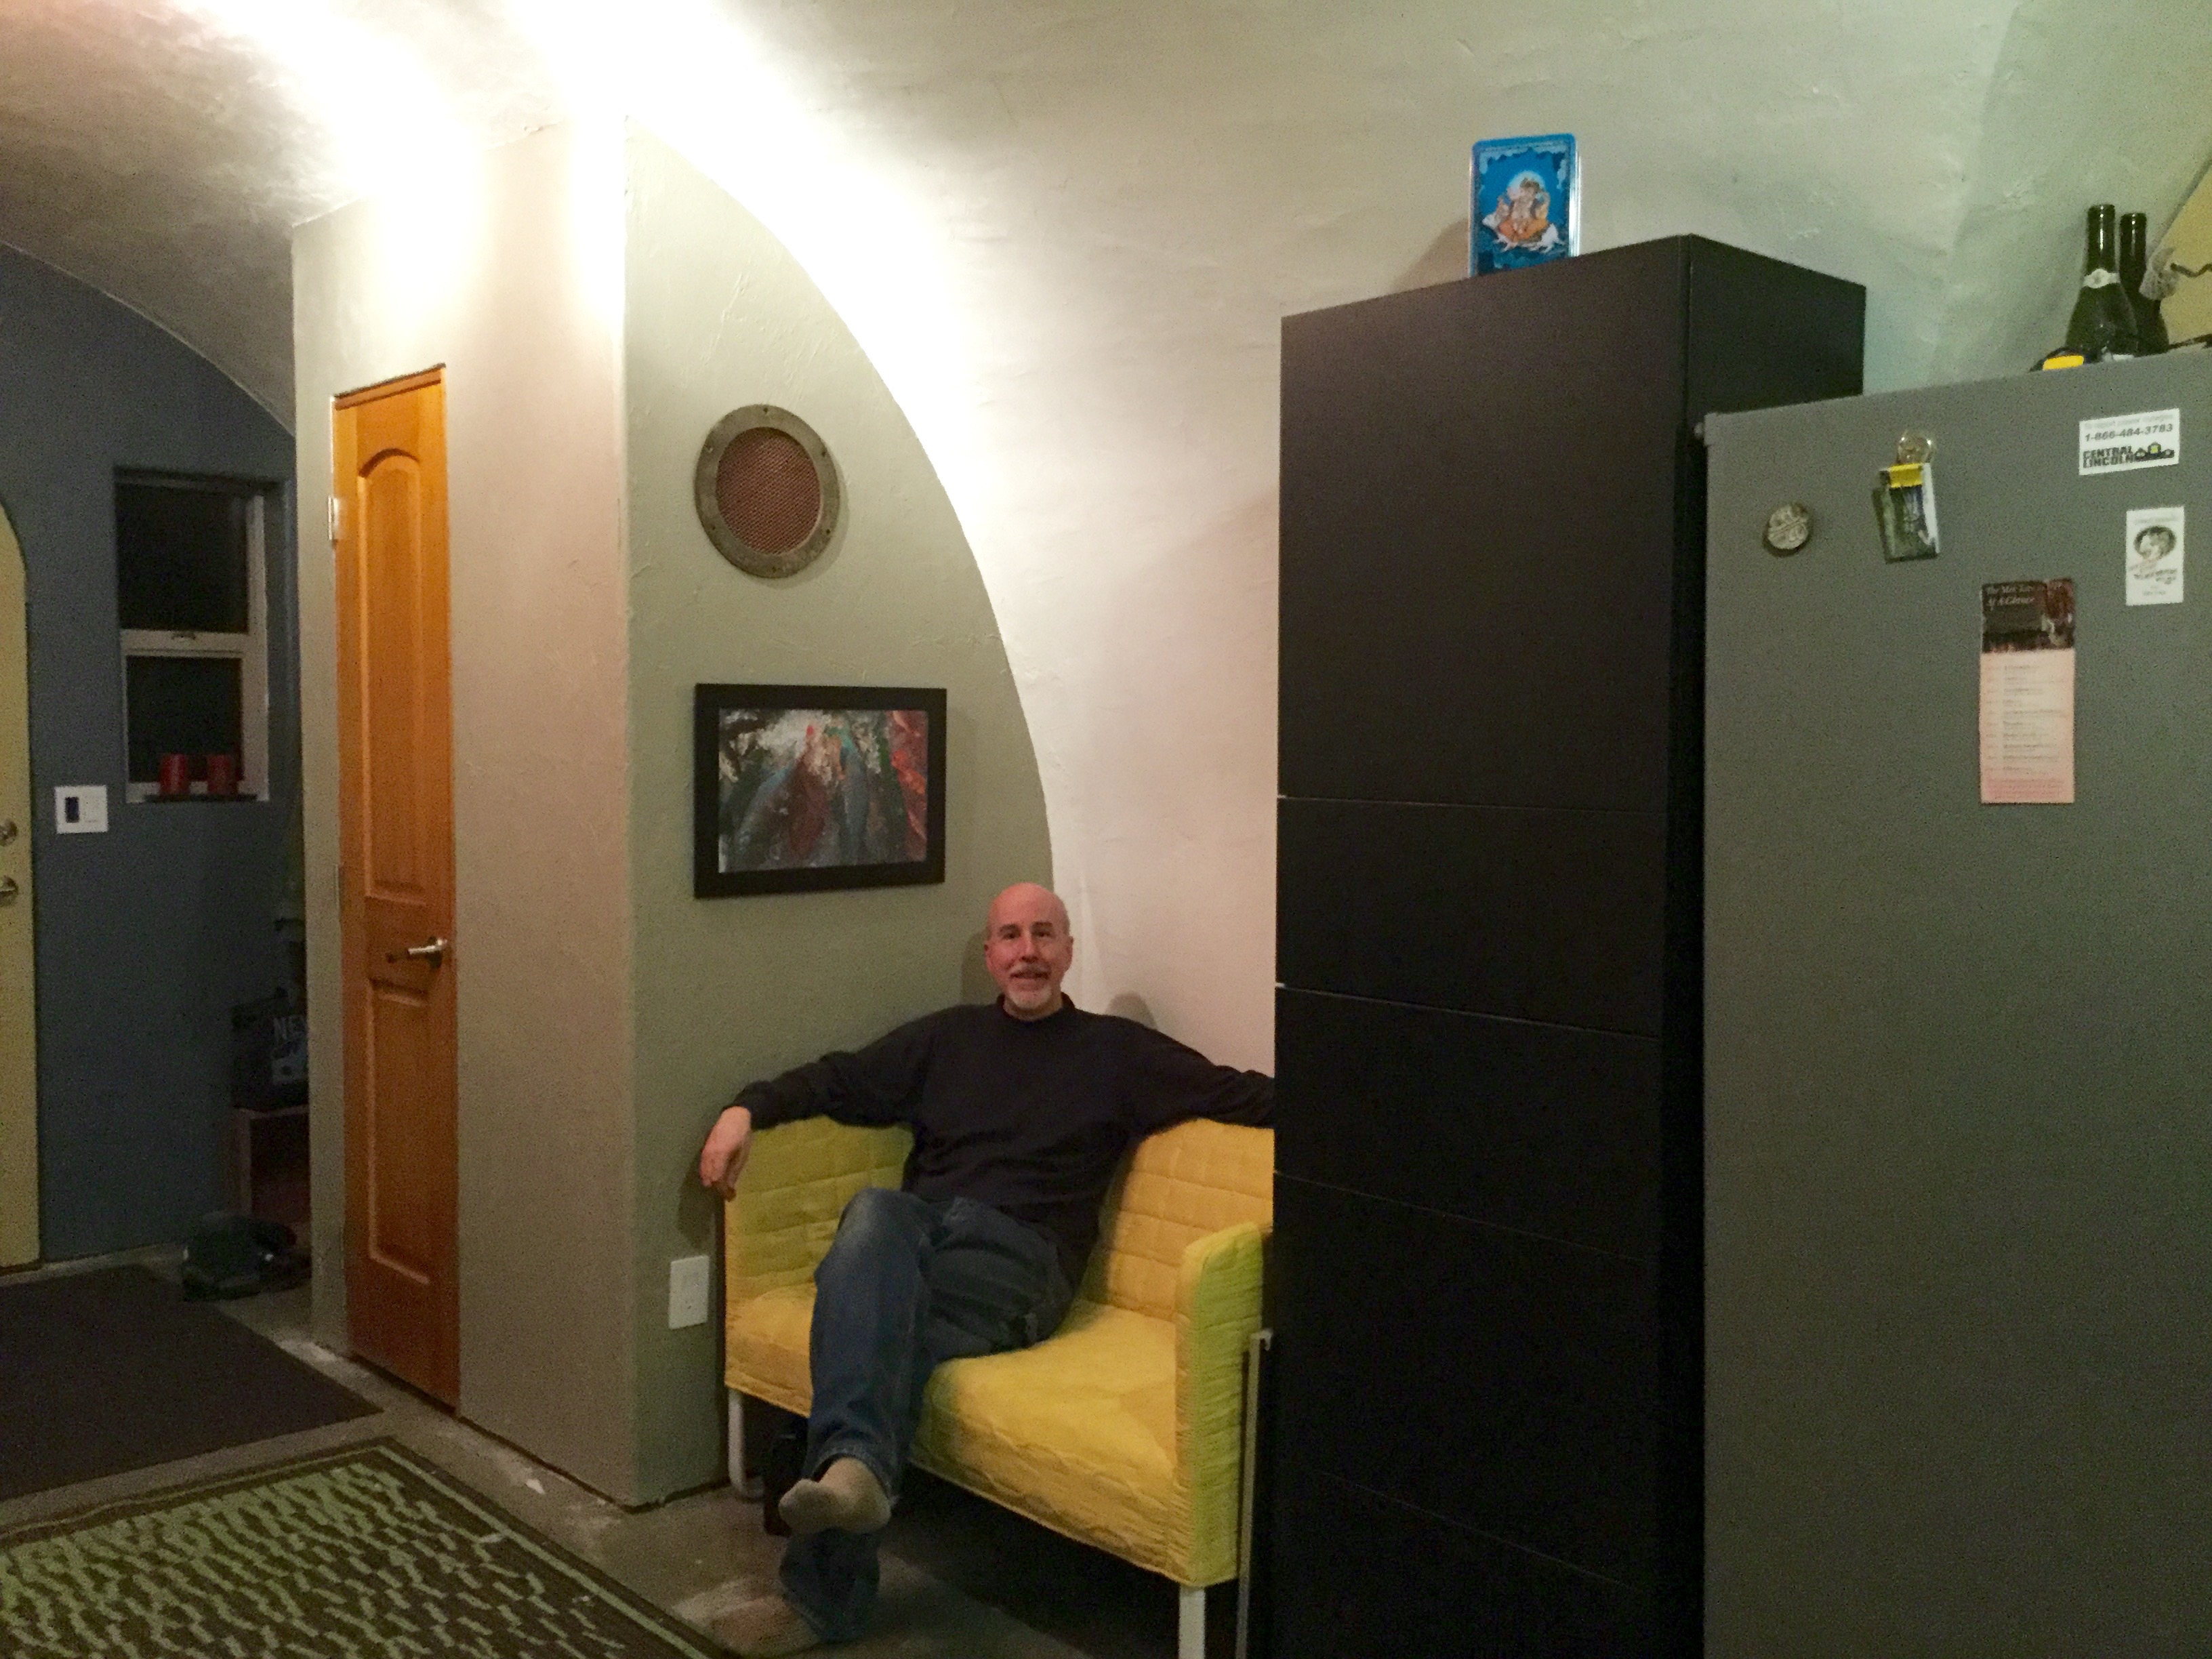
 I had seen online examples of interior moss walls that looked really cool so we thought we would try that. We used a product called Super Moss, which is actually real moss that has been dried, colored and preserved. Then we added some real bark details (from our firewood supply)
 Click on the image below to see a short YouTube Video on how we created this stunning Interior Moss Tree.
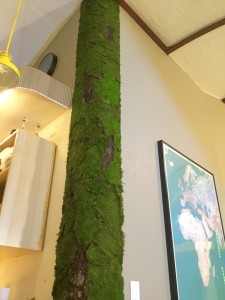 ]]>
]]>ENJOY
]]>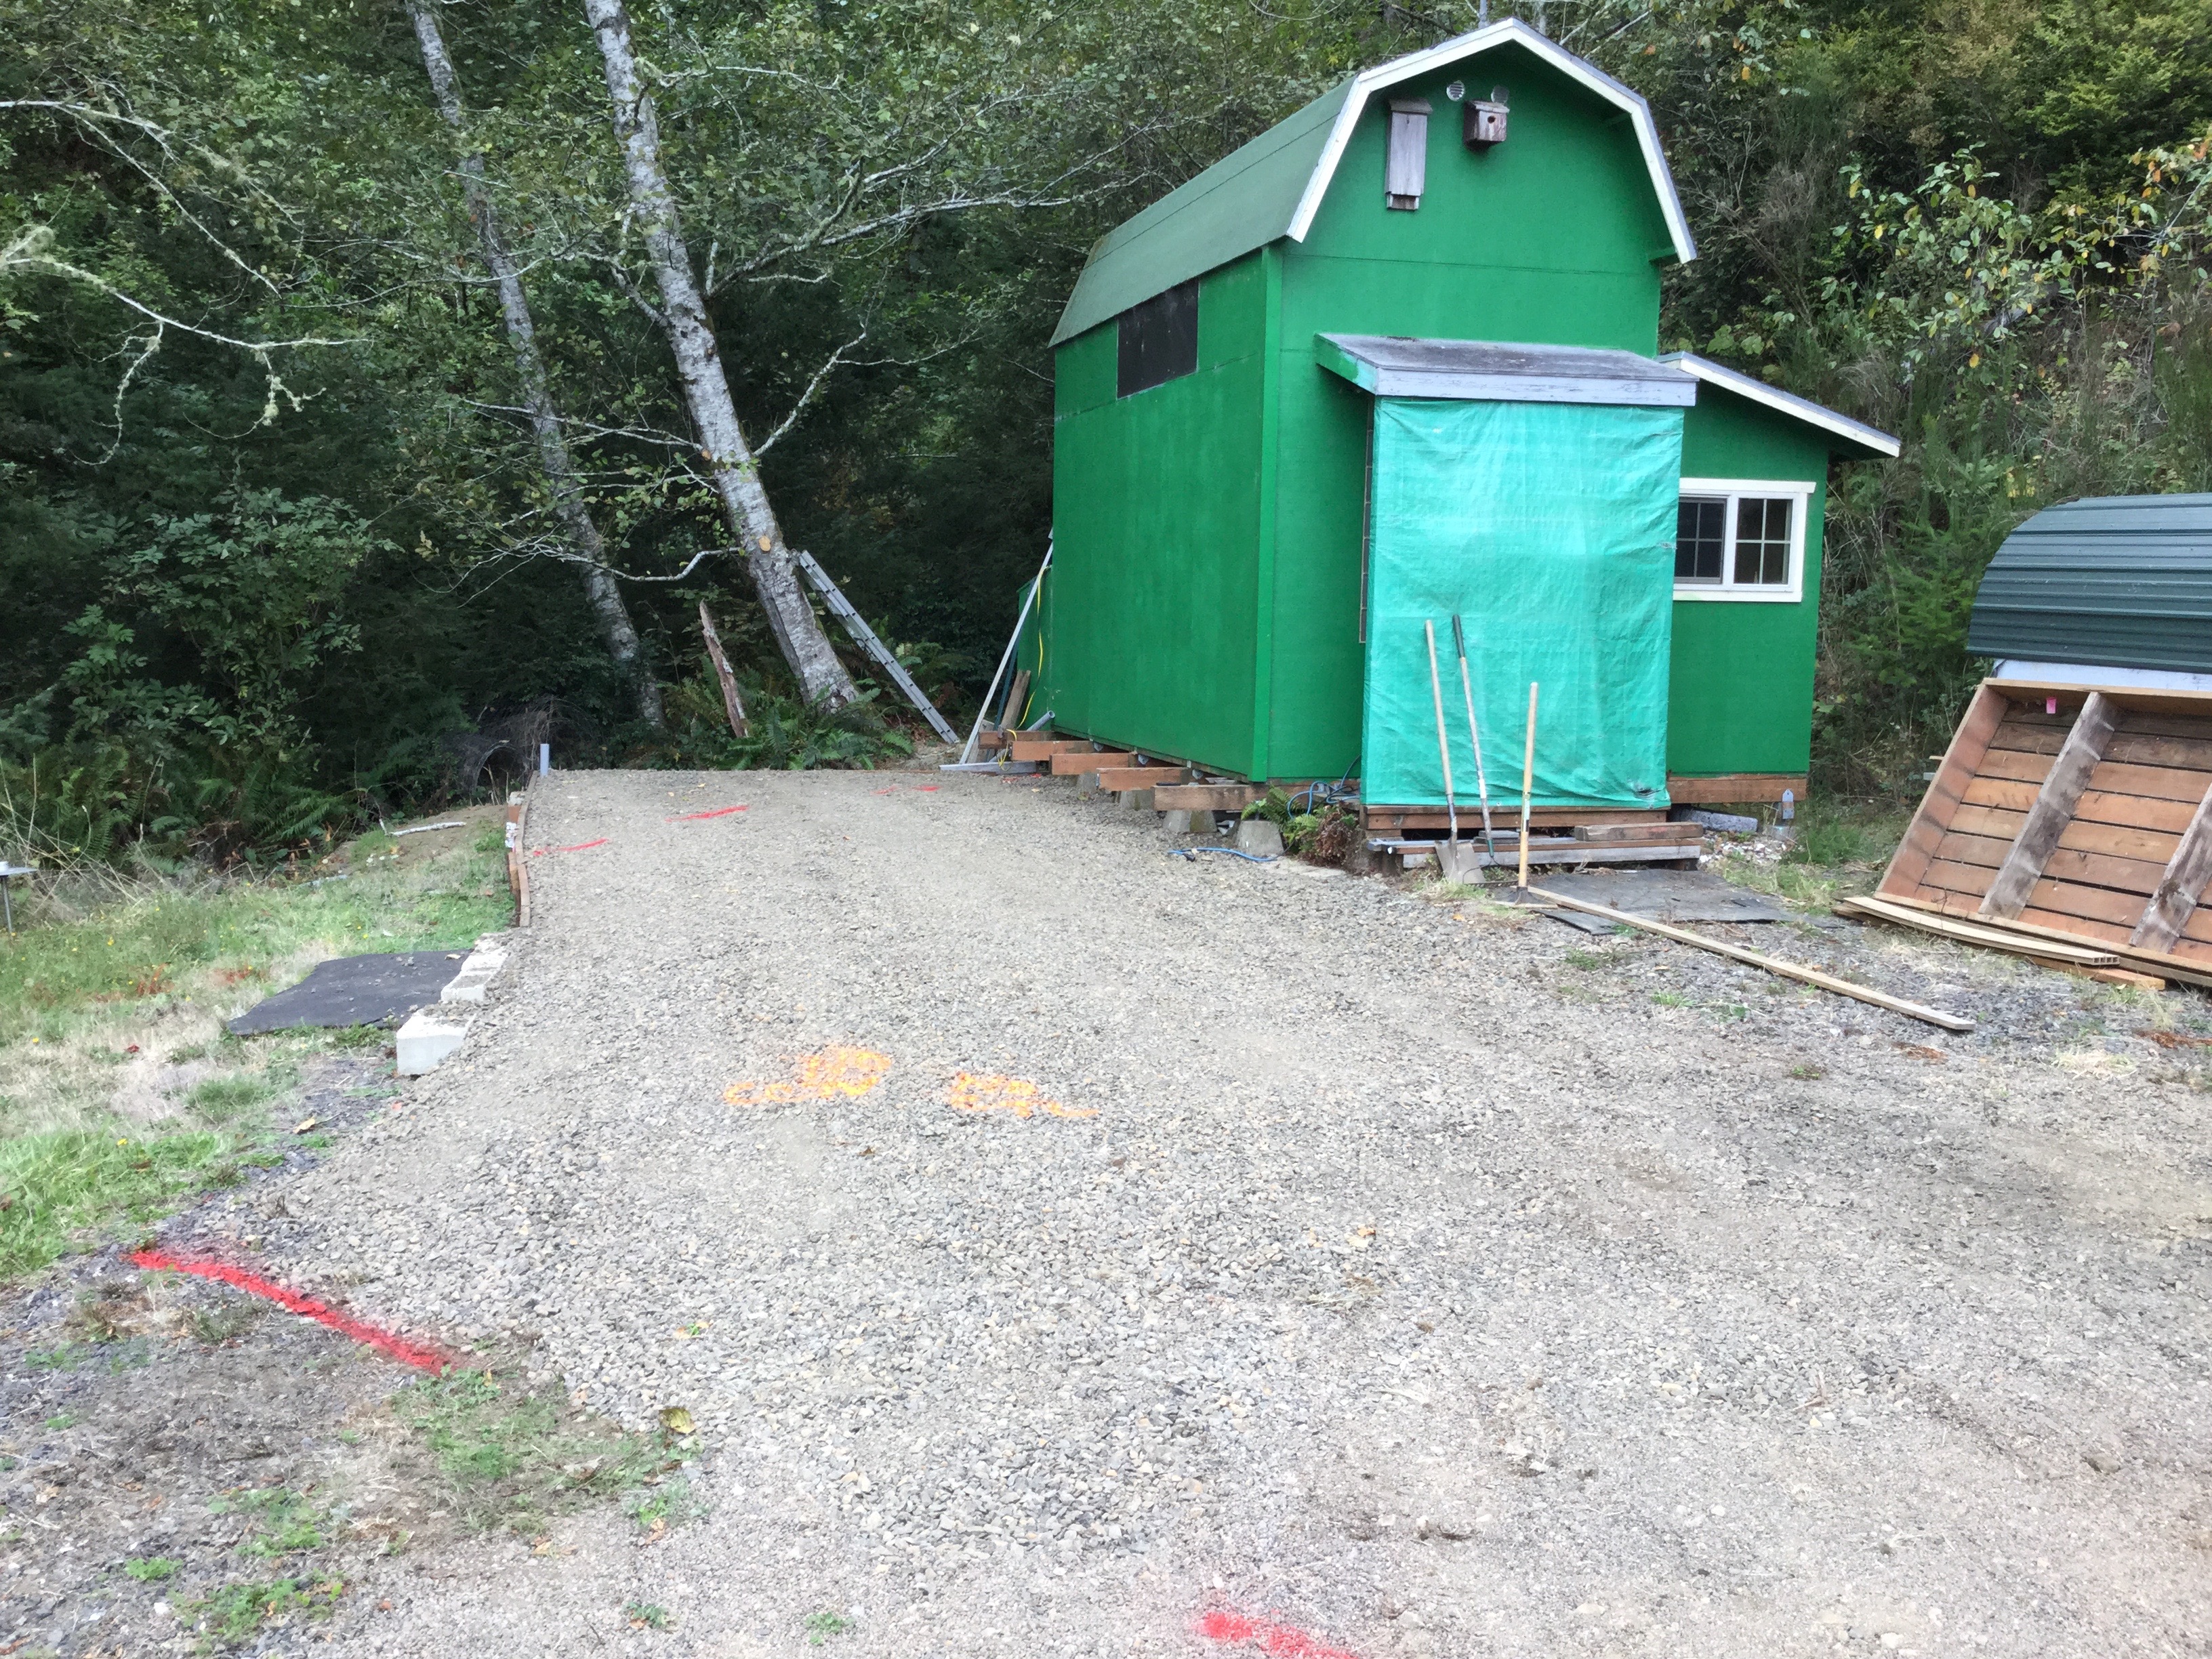
First we had to create a level gravel pad and have the underground power line marked. They guys showed up with all the carport material on a trailer. Here is a time-lapse video showing the build.
Wow, That was Fast! We had some salvaged metal roofing panels (that happened to be the same color green), so we attached them to the side supports to give us even more protections from the elements.
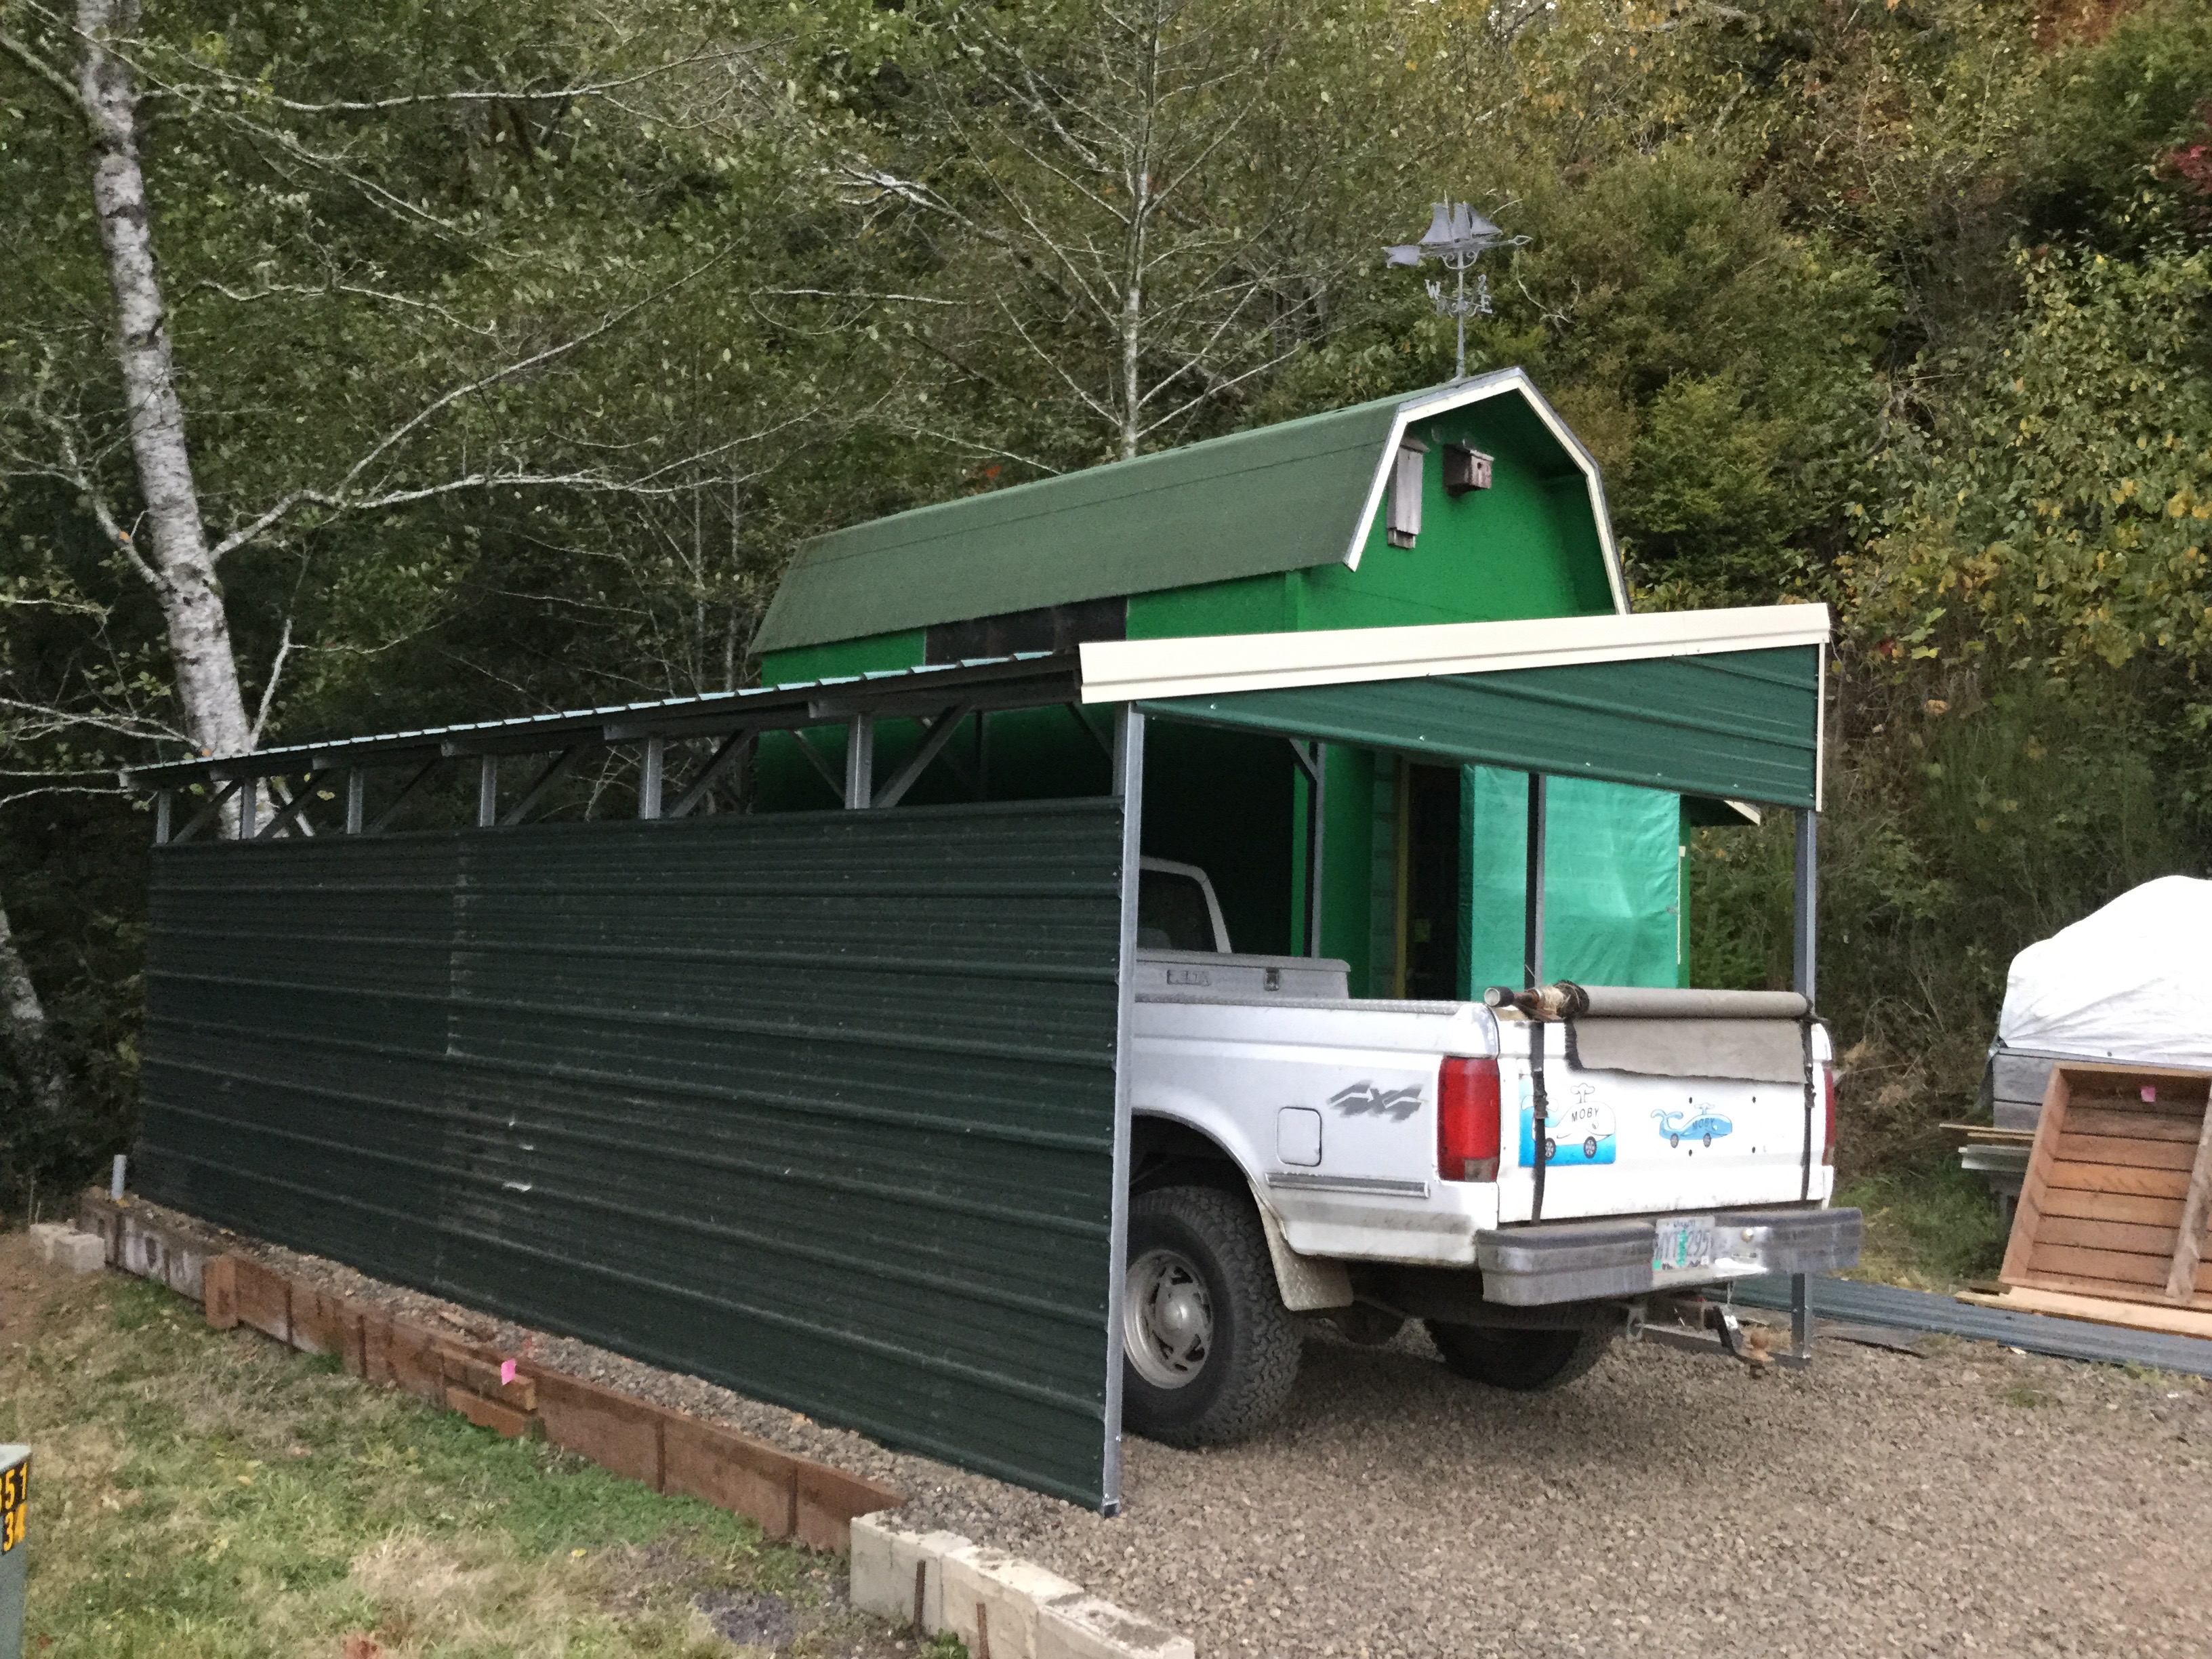 Even though Moby’s back end has to stick out a little, both he and Dozy are pretty well protected.
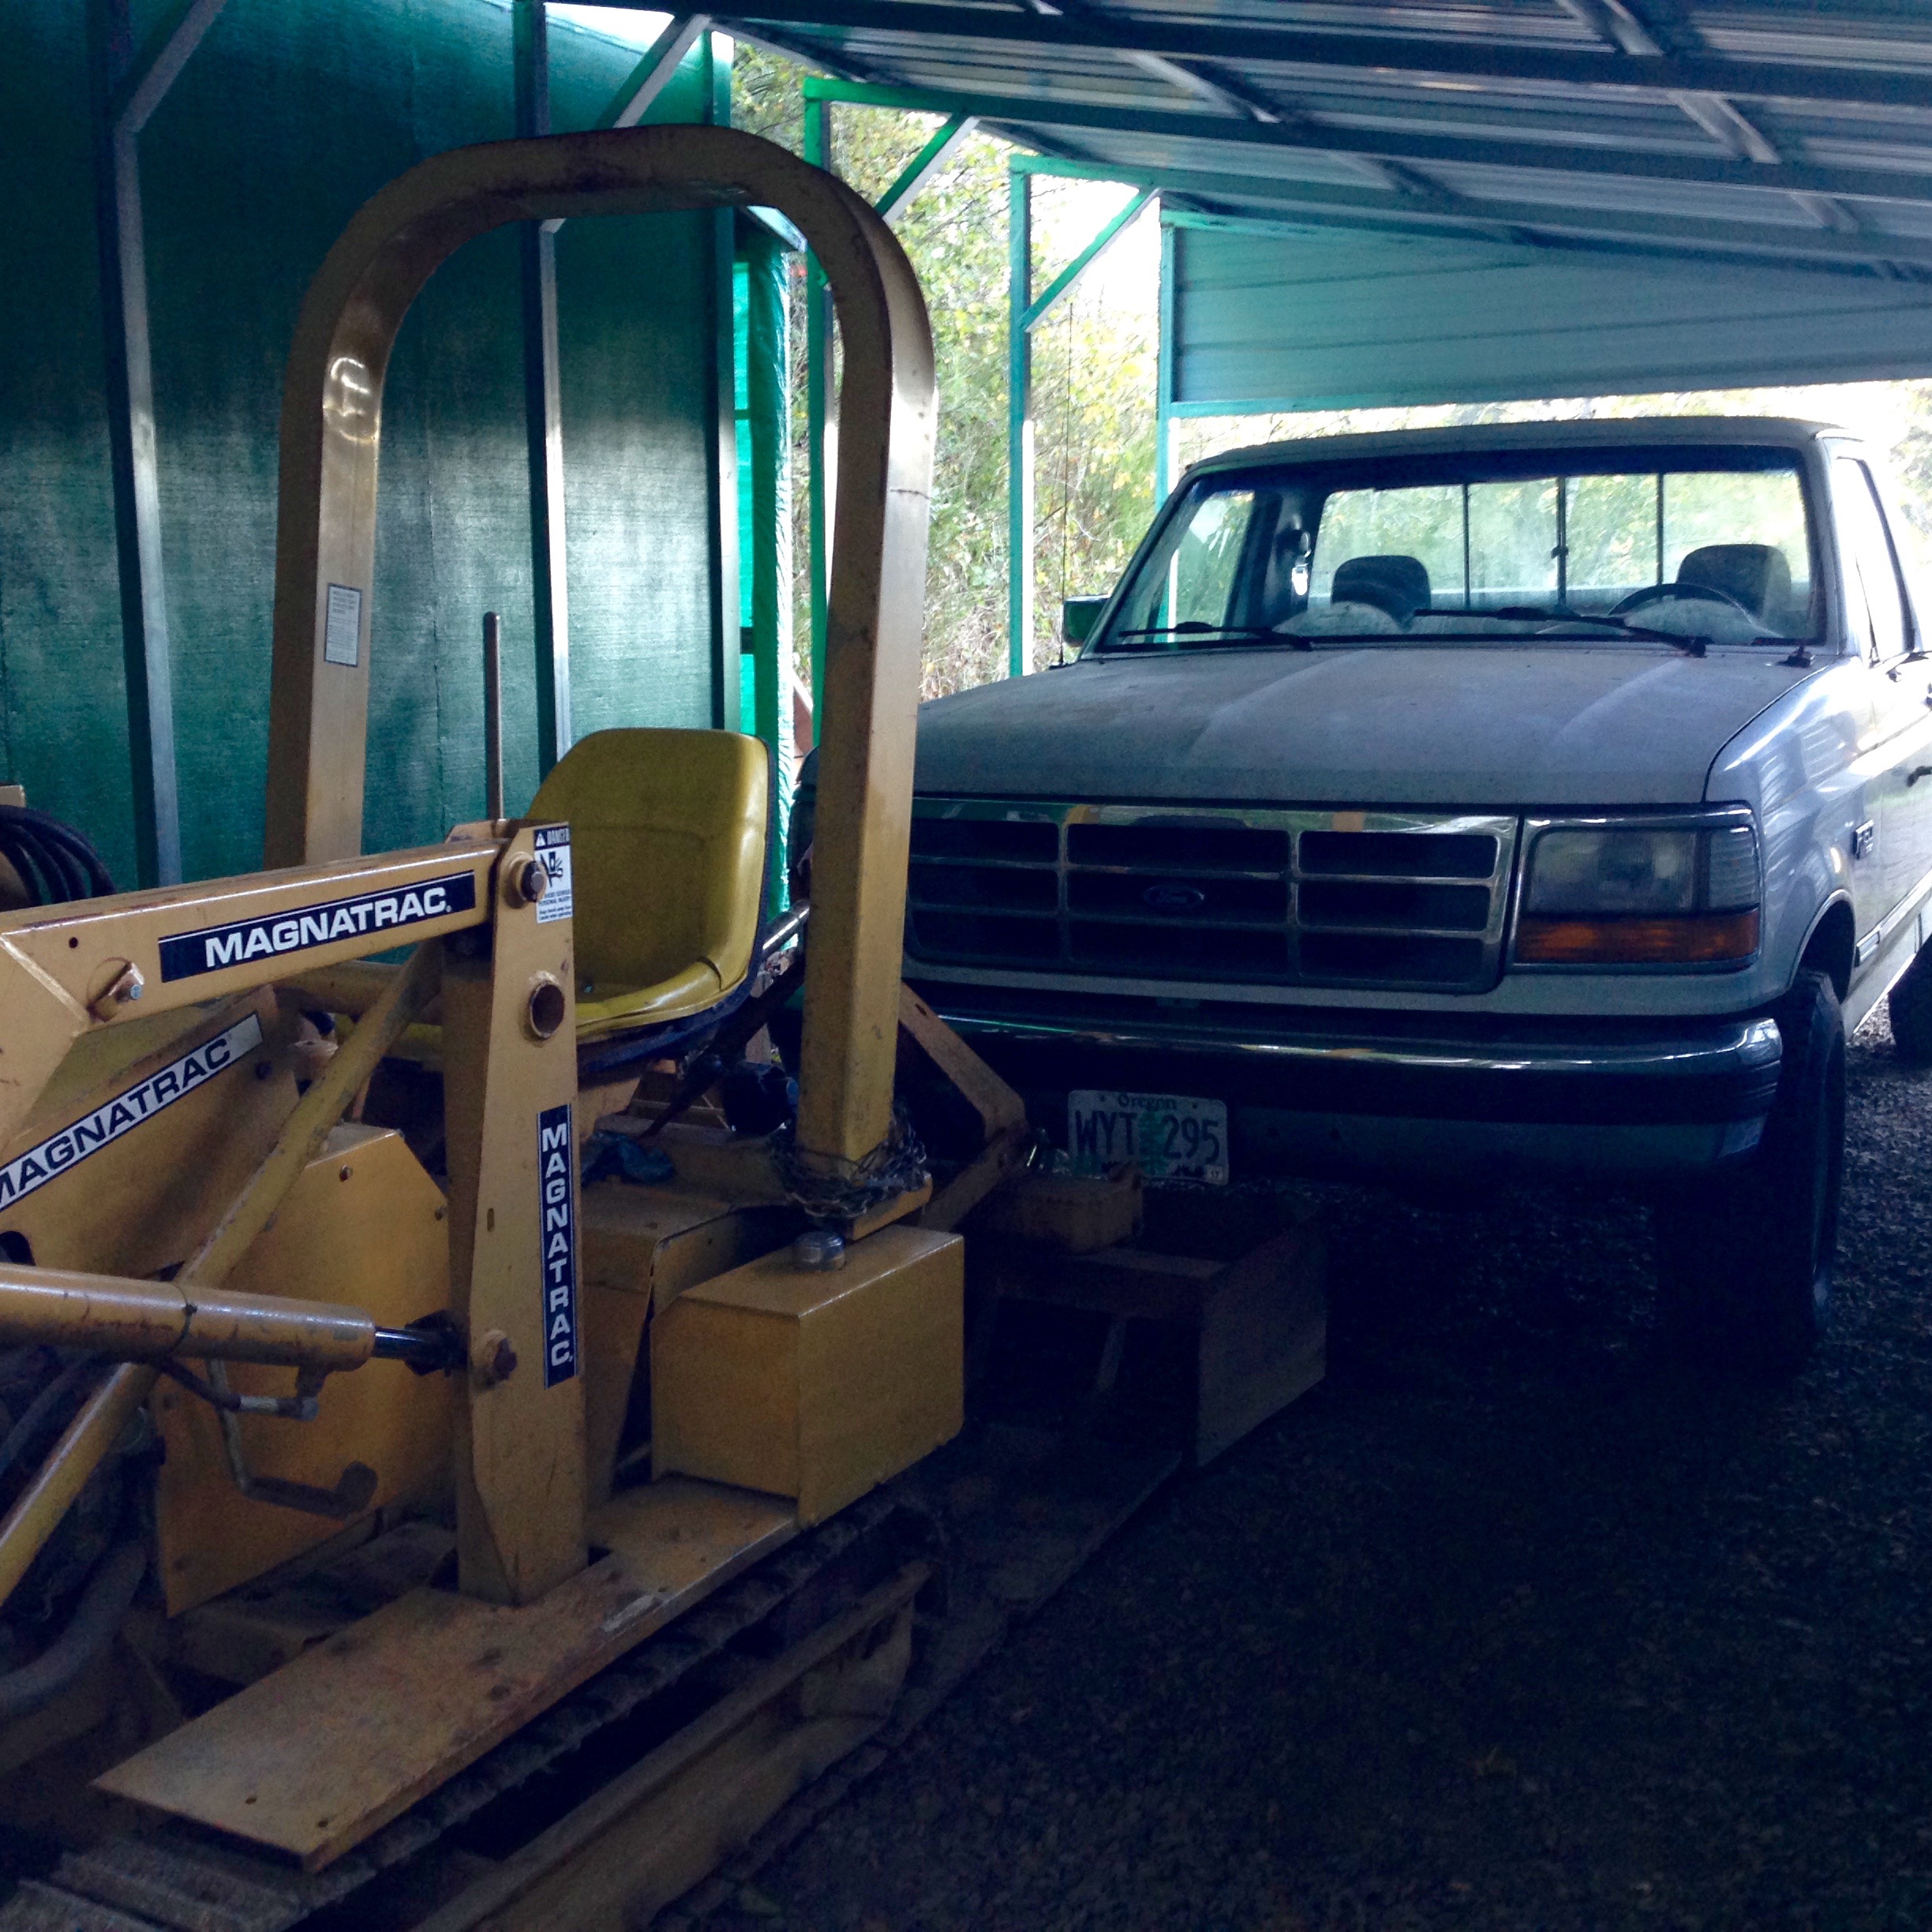
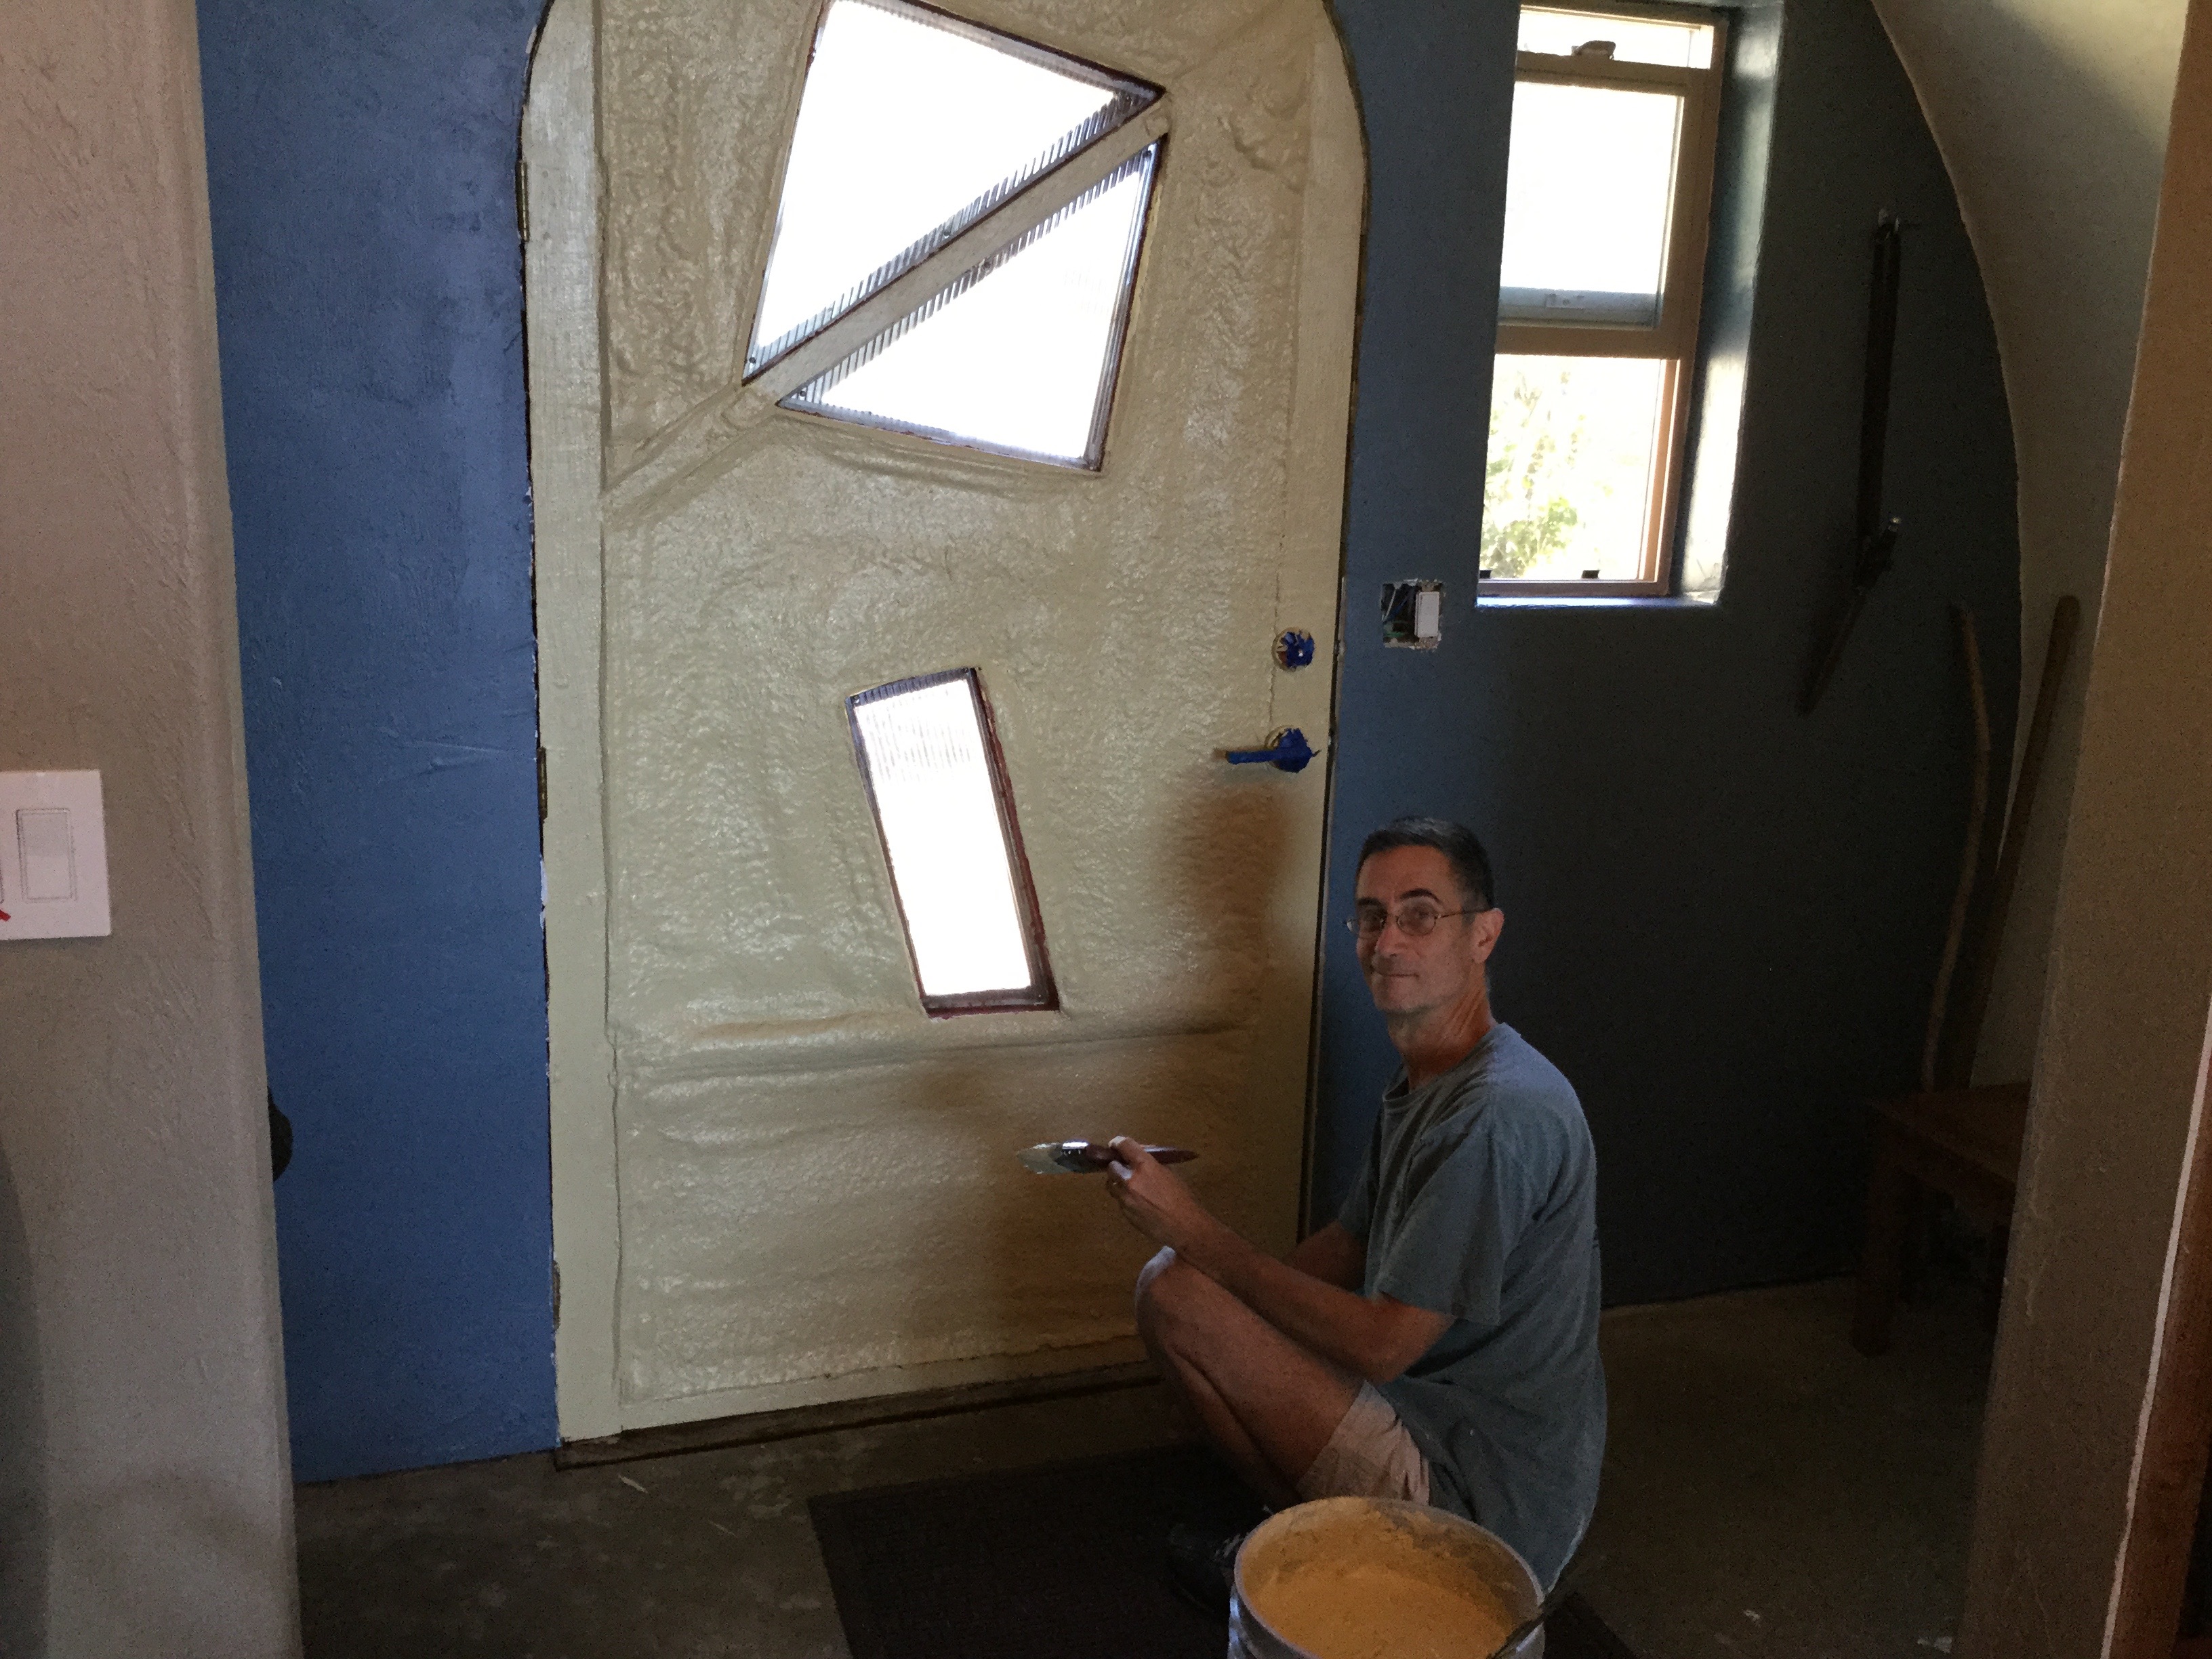 Here Jeff is putting the final paint touches on our entry door.
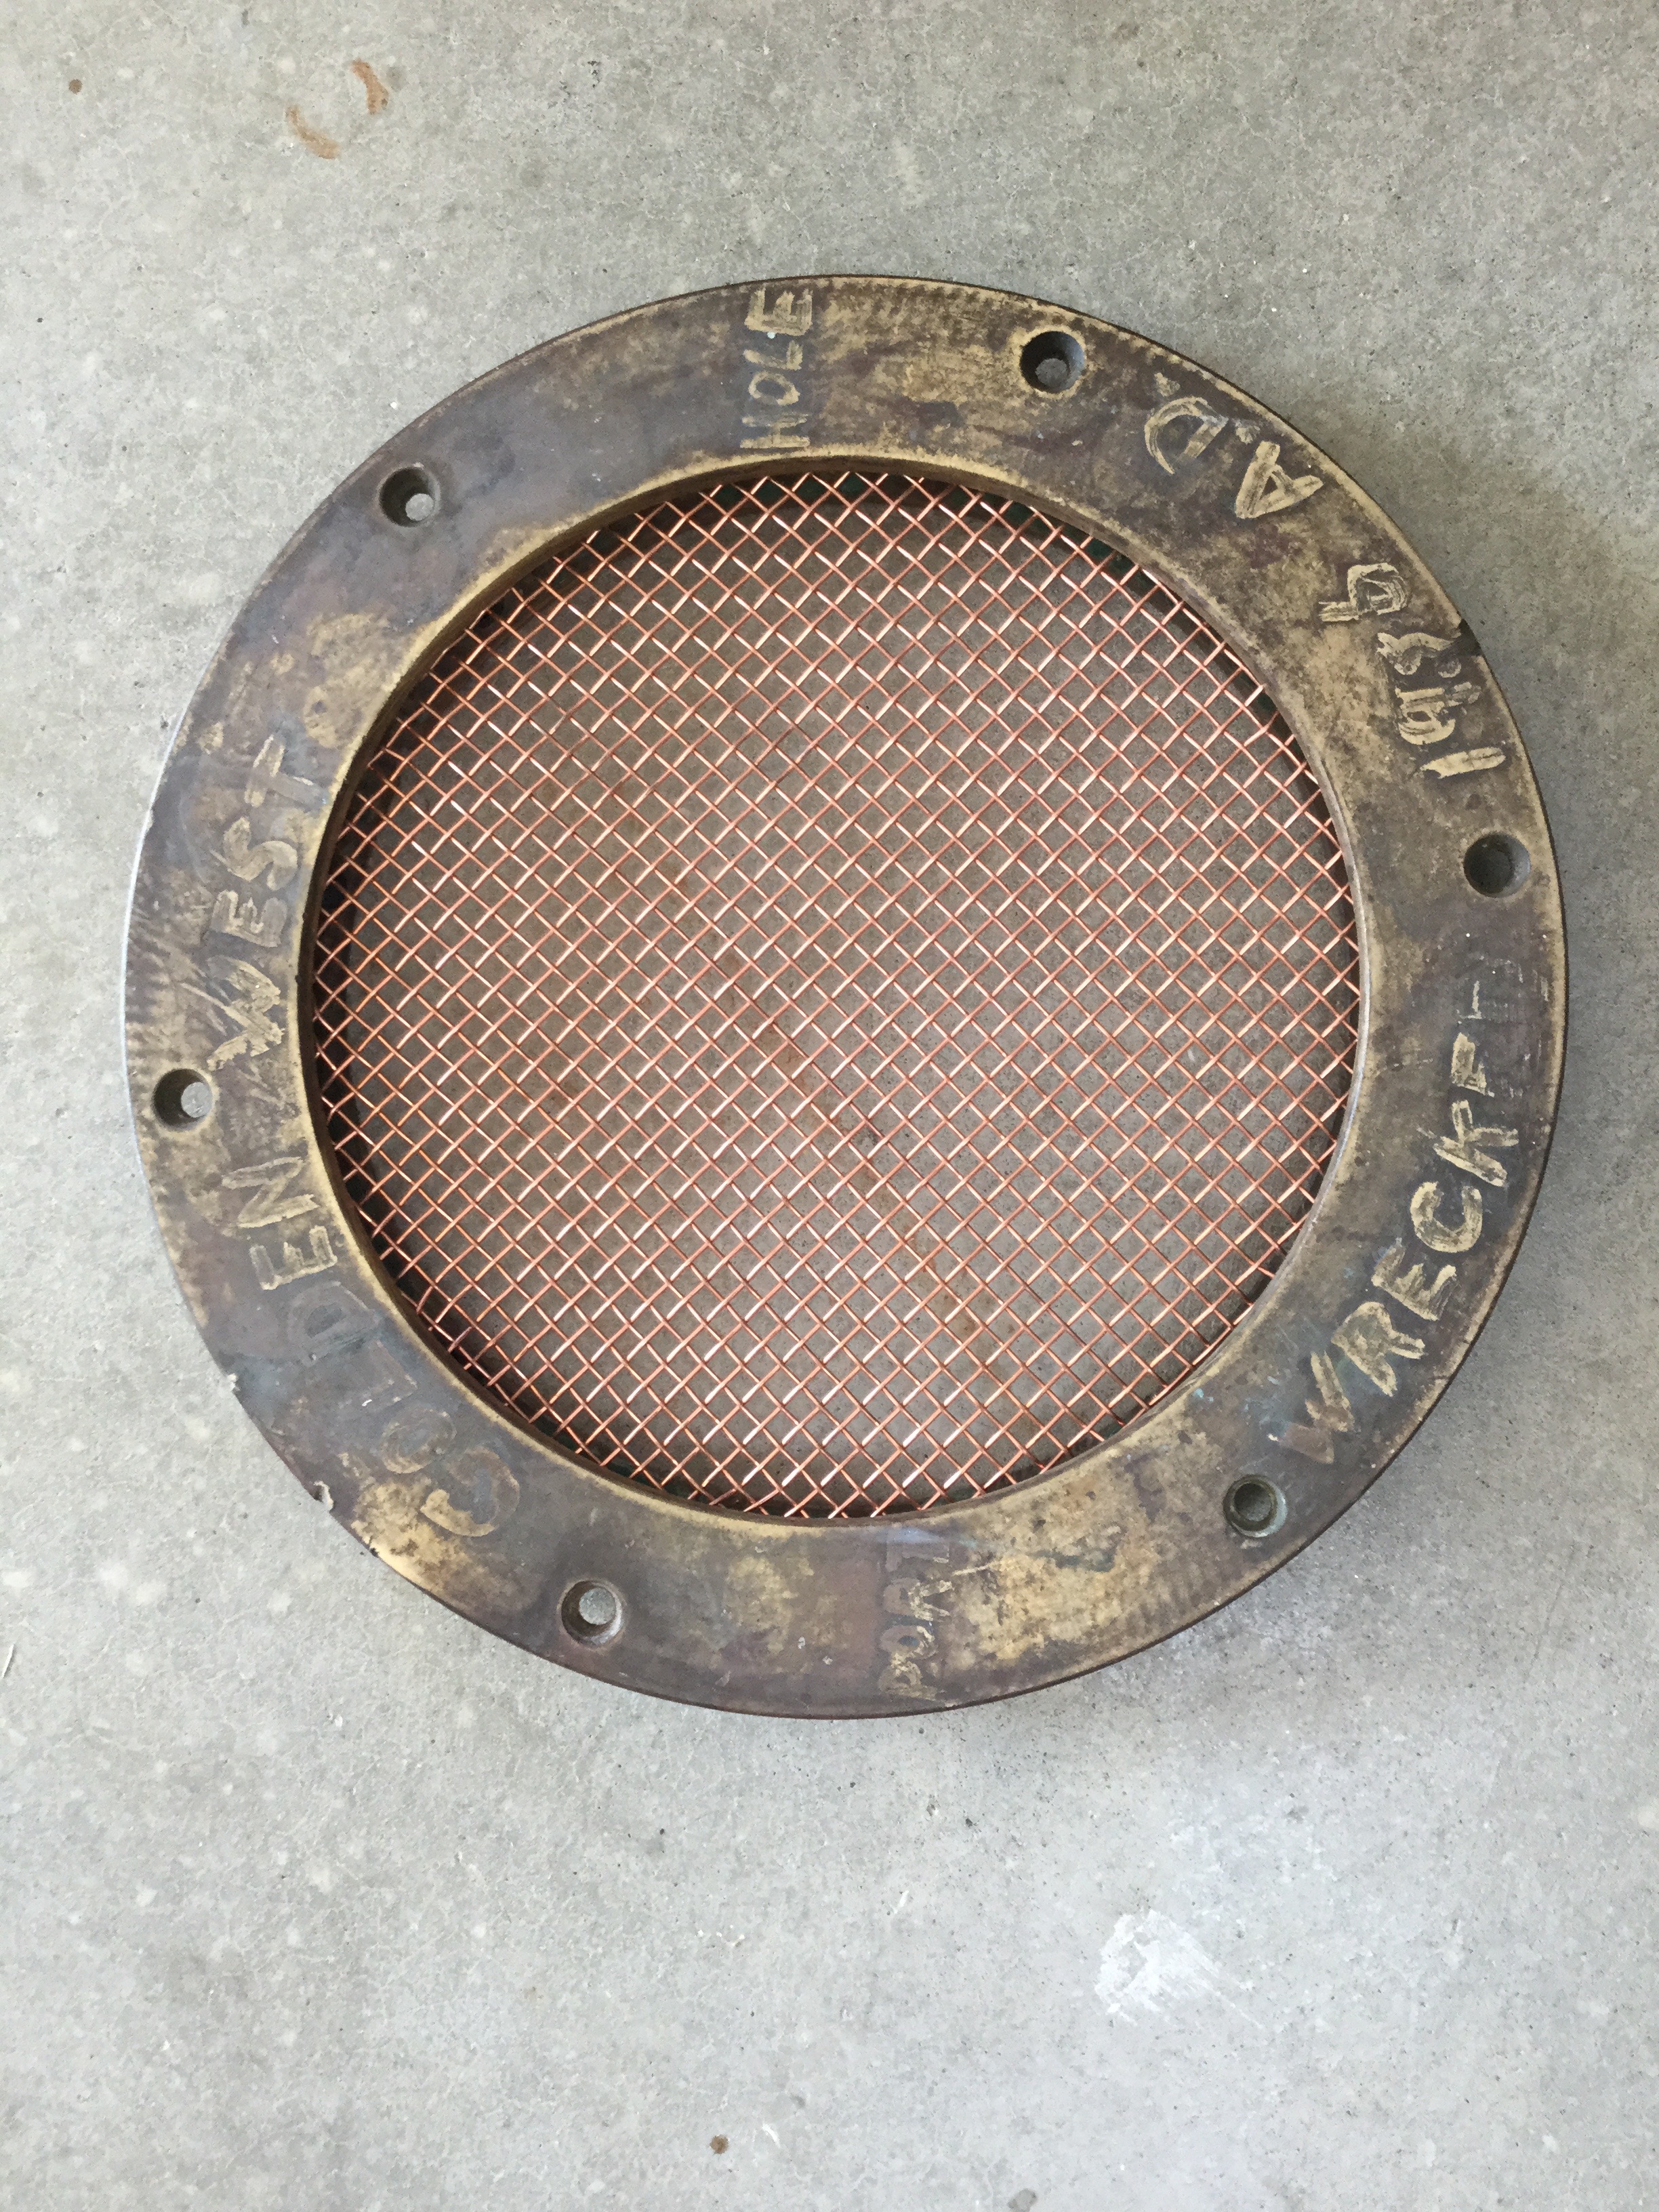 I added copper screening to this antique porthole which adds a cool and functional feature to the broom/utility closet. (the space is well vented and gets some natural light)
 Pretty much all we have to do now is save up for a door blank to cover the water heater opening on the left. (matching our other interior doors) And get a storage cabinet that will go to the right of the yellow settee to hide the back of the refrigerator. (IKEA here we come) Of course there is also trim work to do but it’s great that our entry hall is no longer a tool storage room.
 We installed our new washer & dryer in the entry way. It’s great having them conveniently in the house. No more trips the the Pump House. Though when the weather is cooperative, we hang the laundry out to dry.
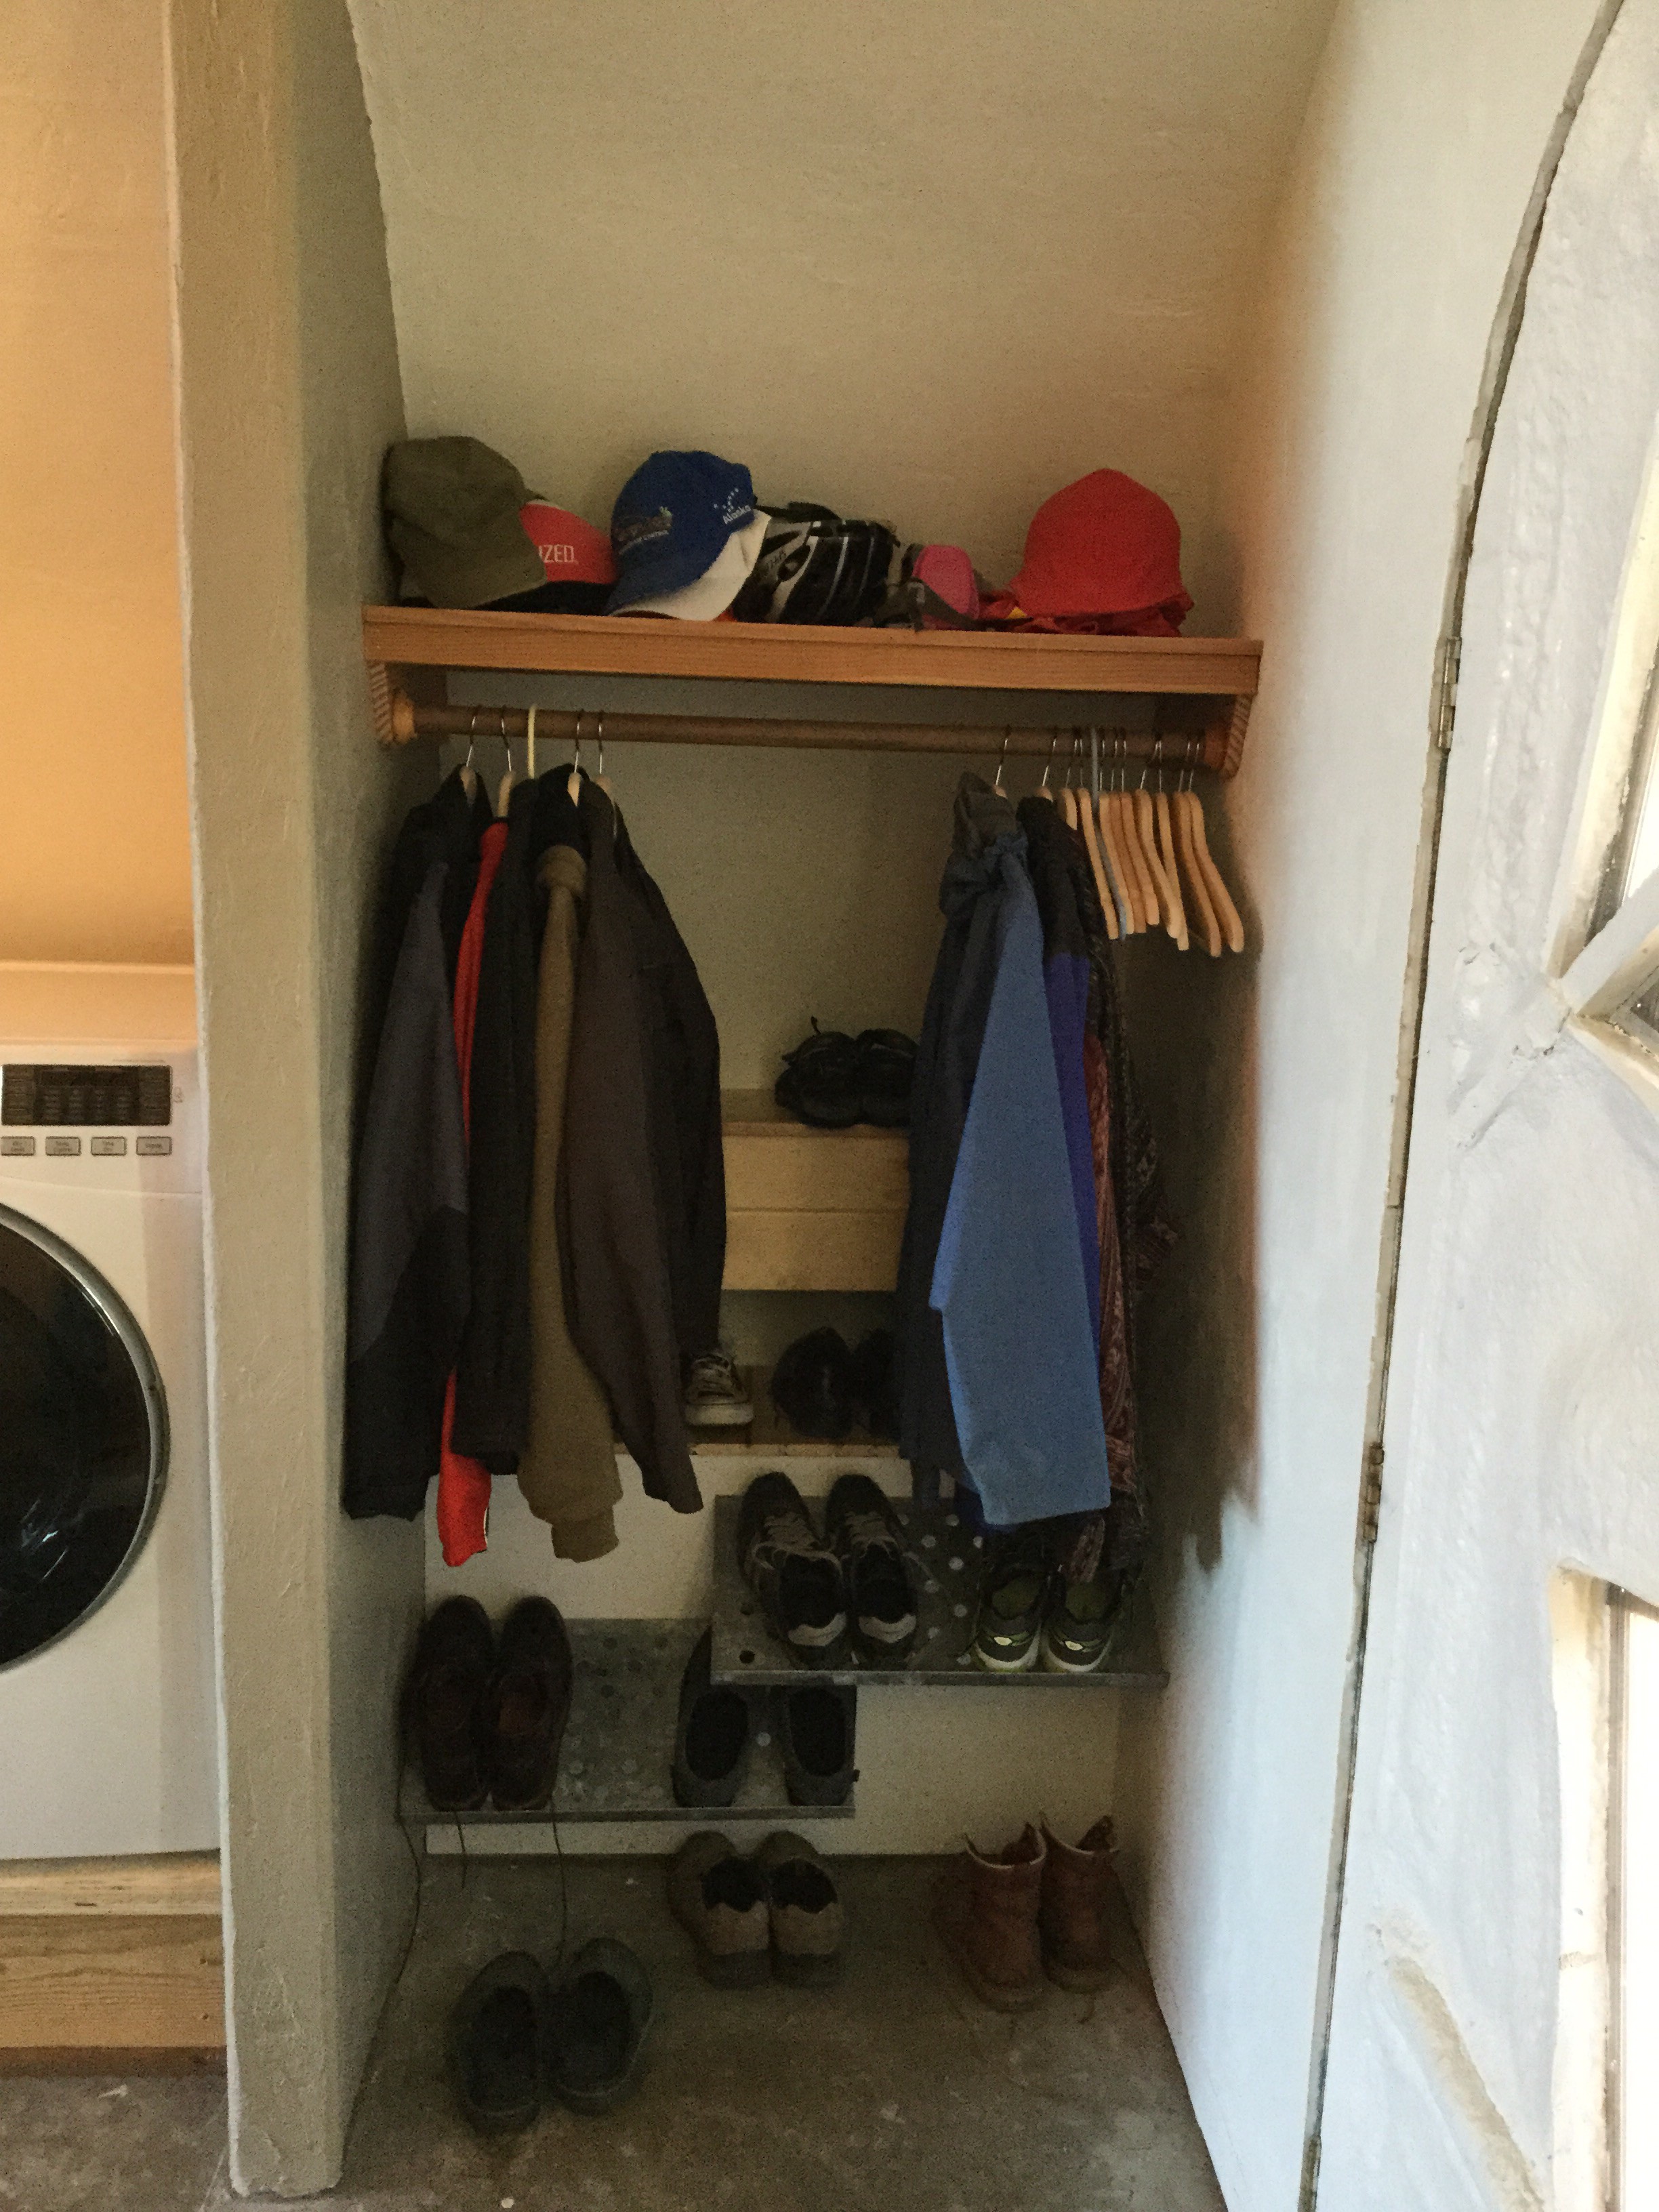
We also finished off the entry “closet”. There is lots of space for shoes, boots, coats and hats. Now to the other side of our entry “arch”…
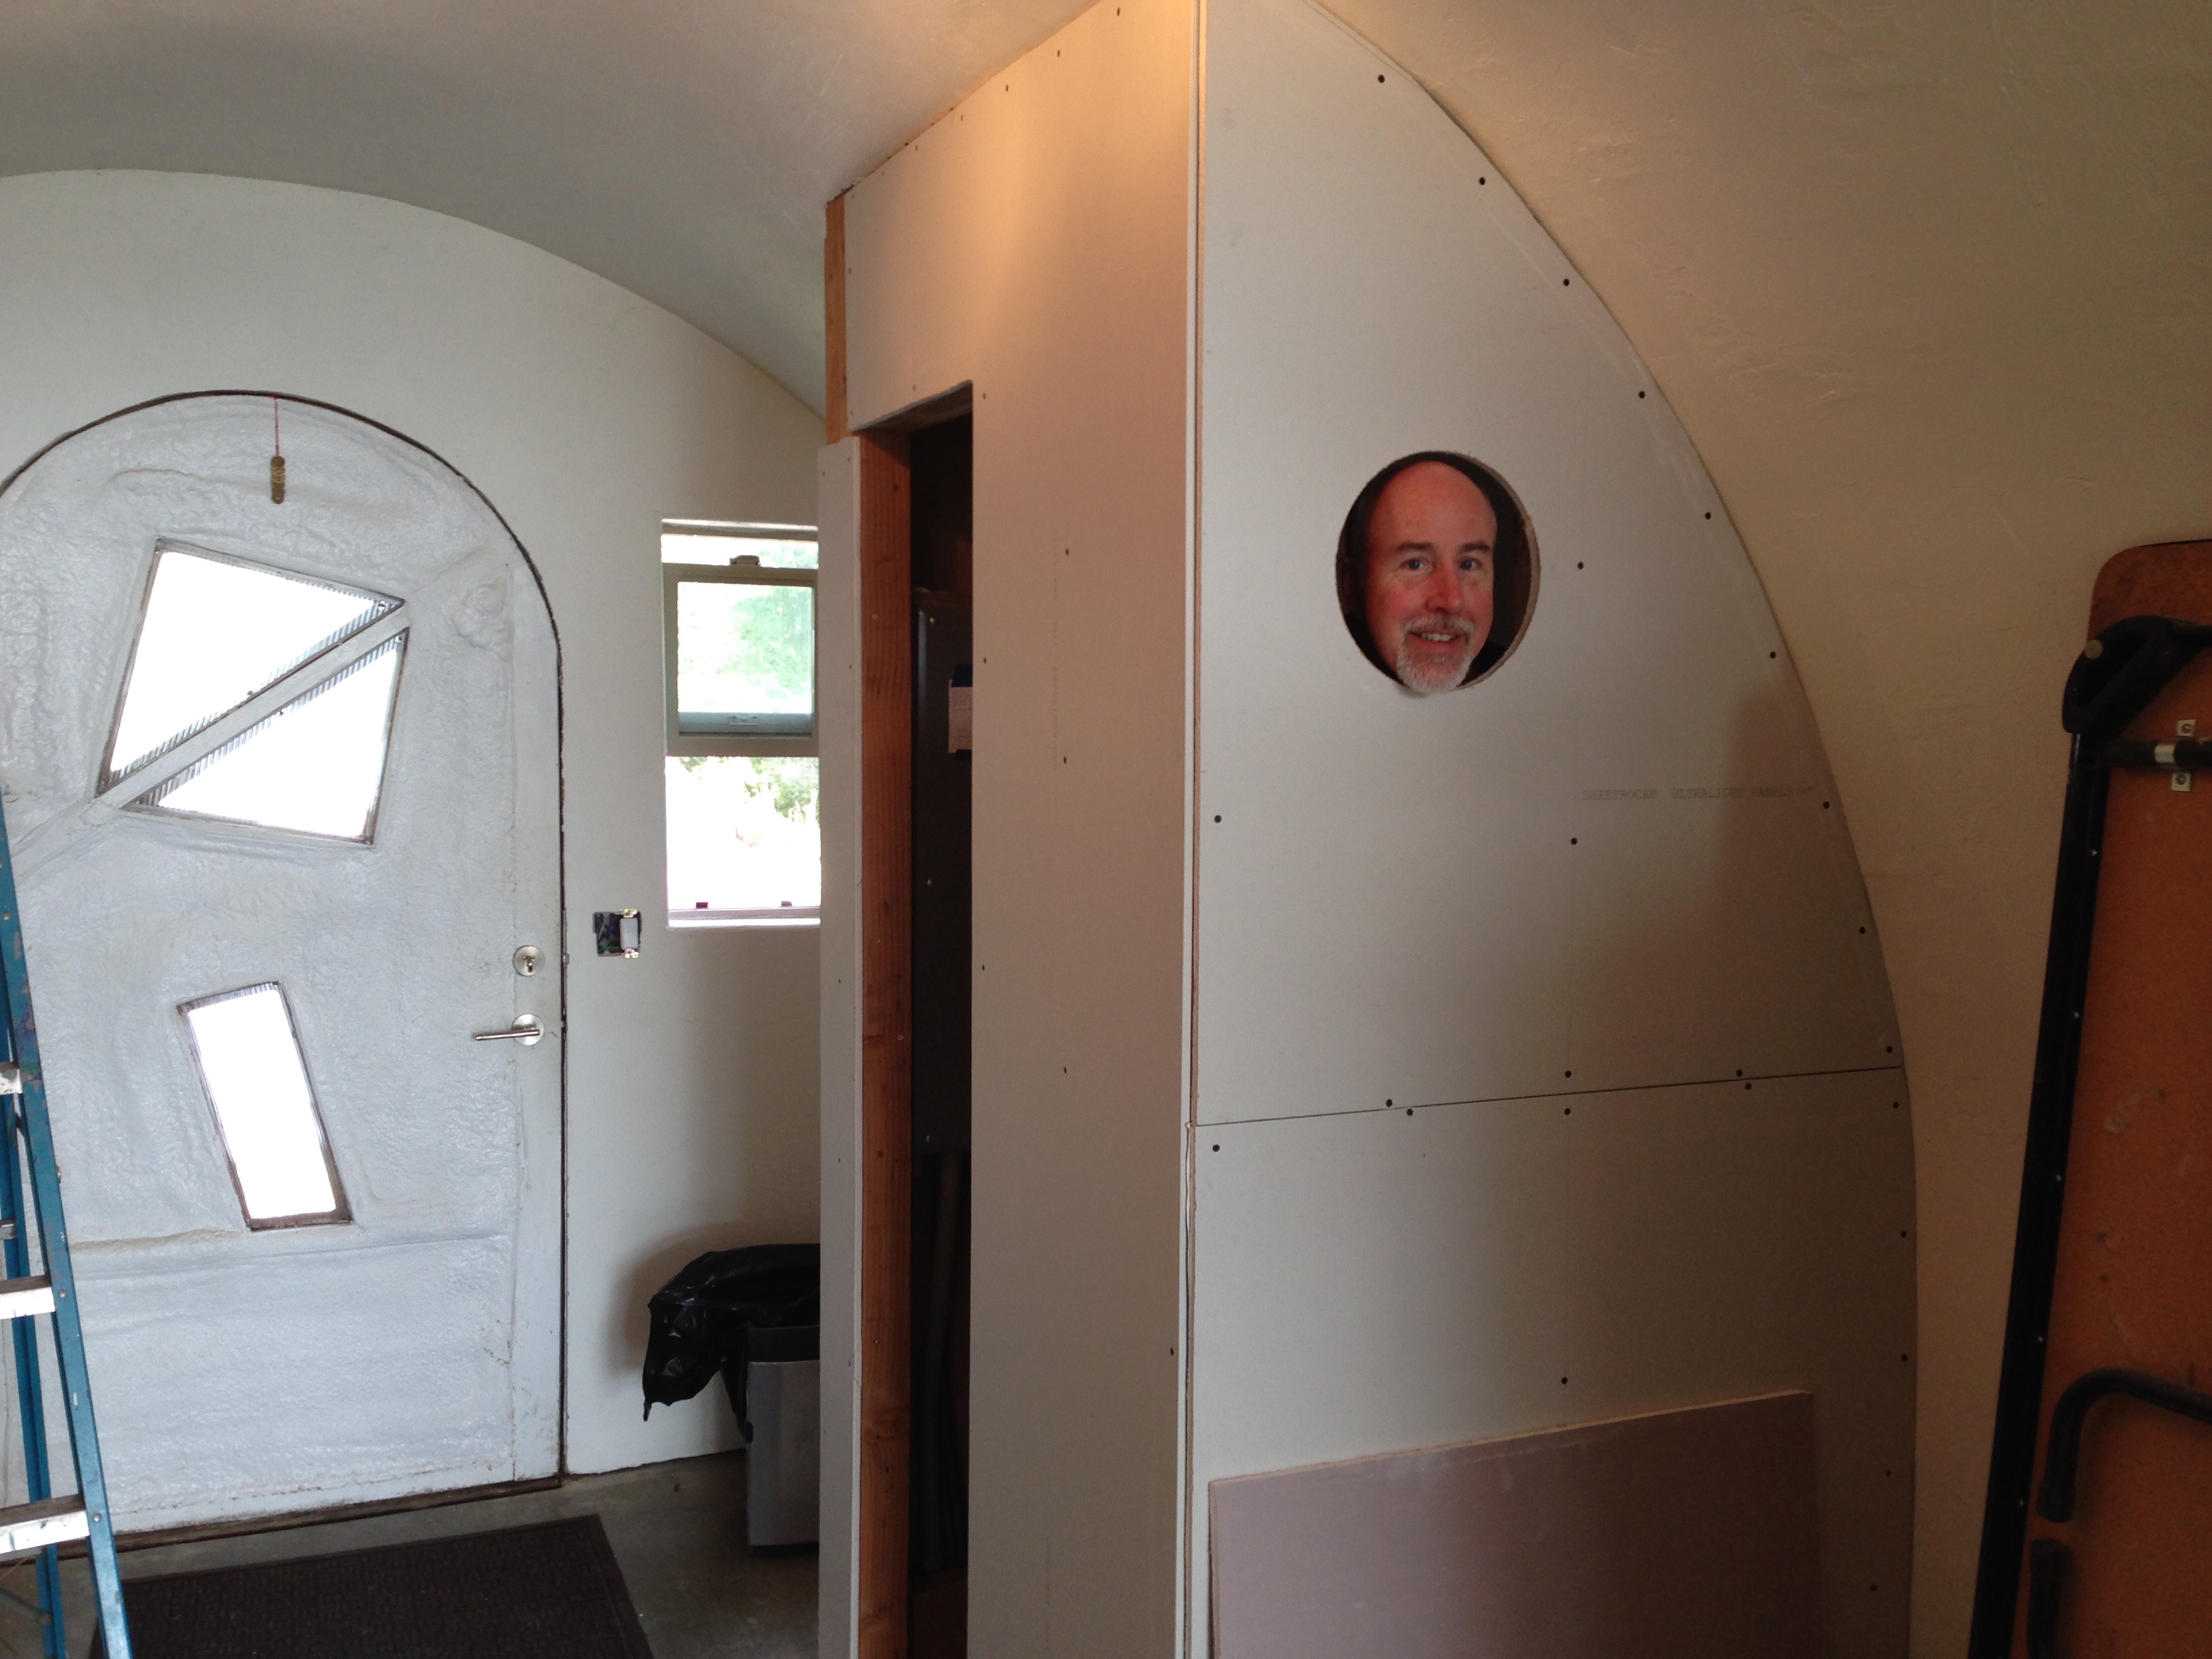
 We framed in a small utility closet to keep all those things you want to have handy but out of sight. (broom, vacuum and such) To add some architectual interest, the round hole you see in the picture will hold an antique porthole that came from a shipwreck.
 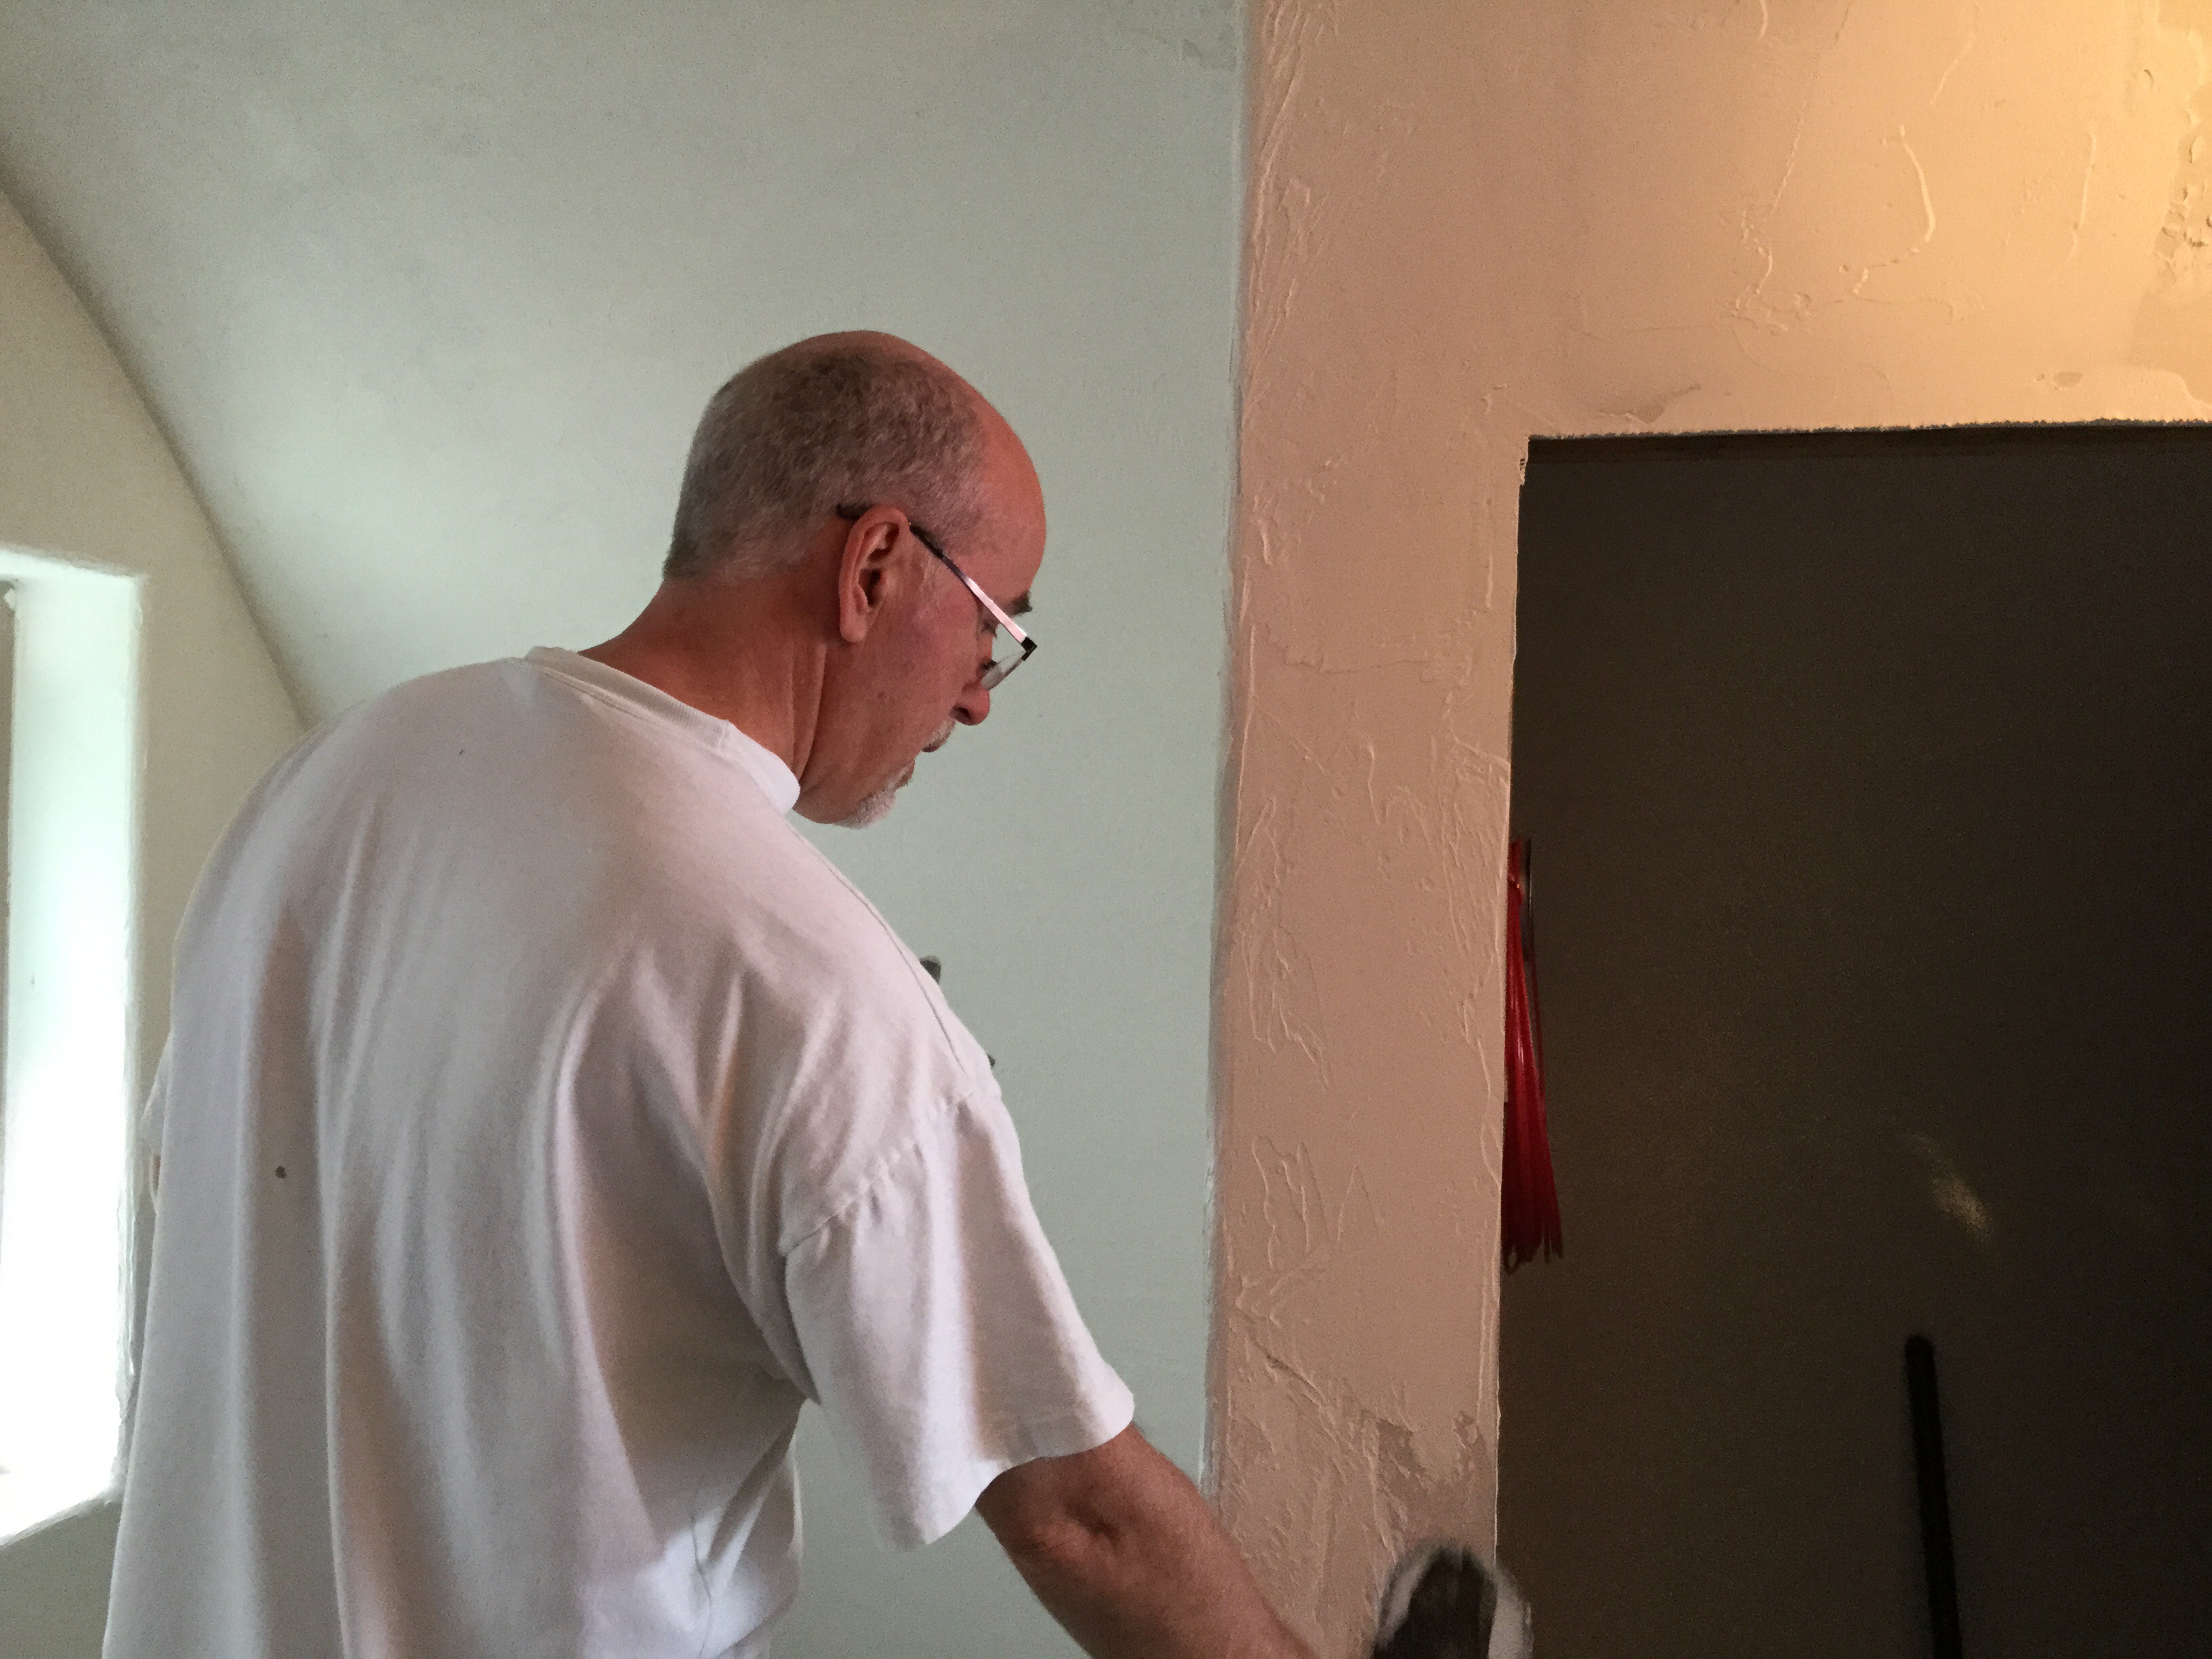 And of course there’s more plastering to do. I’ve gotten pretty good at this. I especially like all the radiased corners. Much overdue was finishing up the plaster work in the guest room.
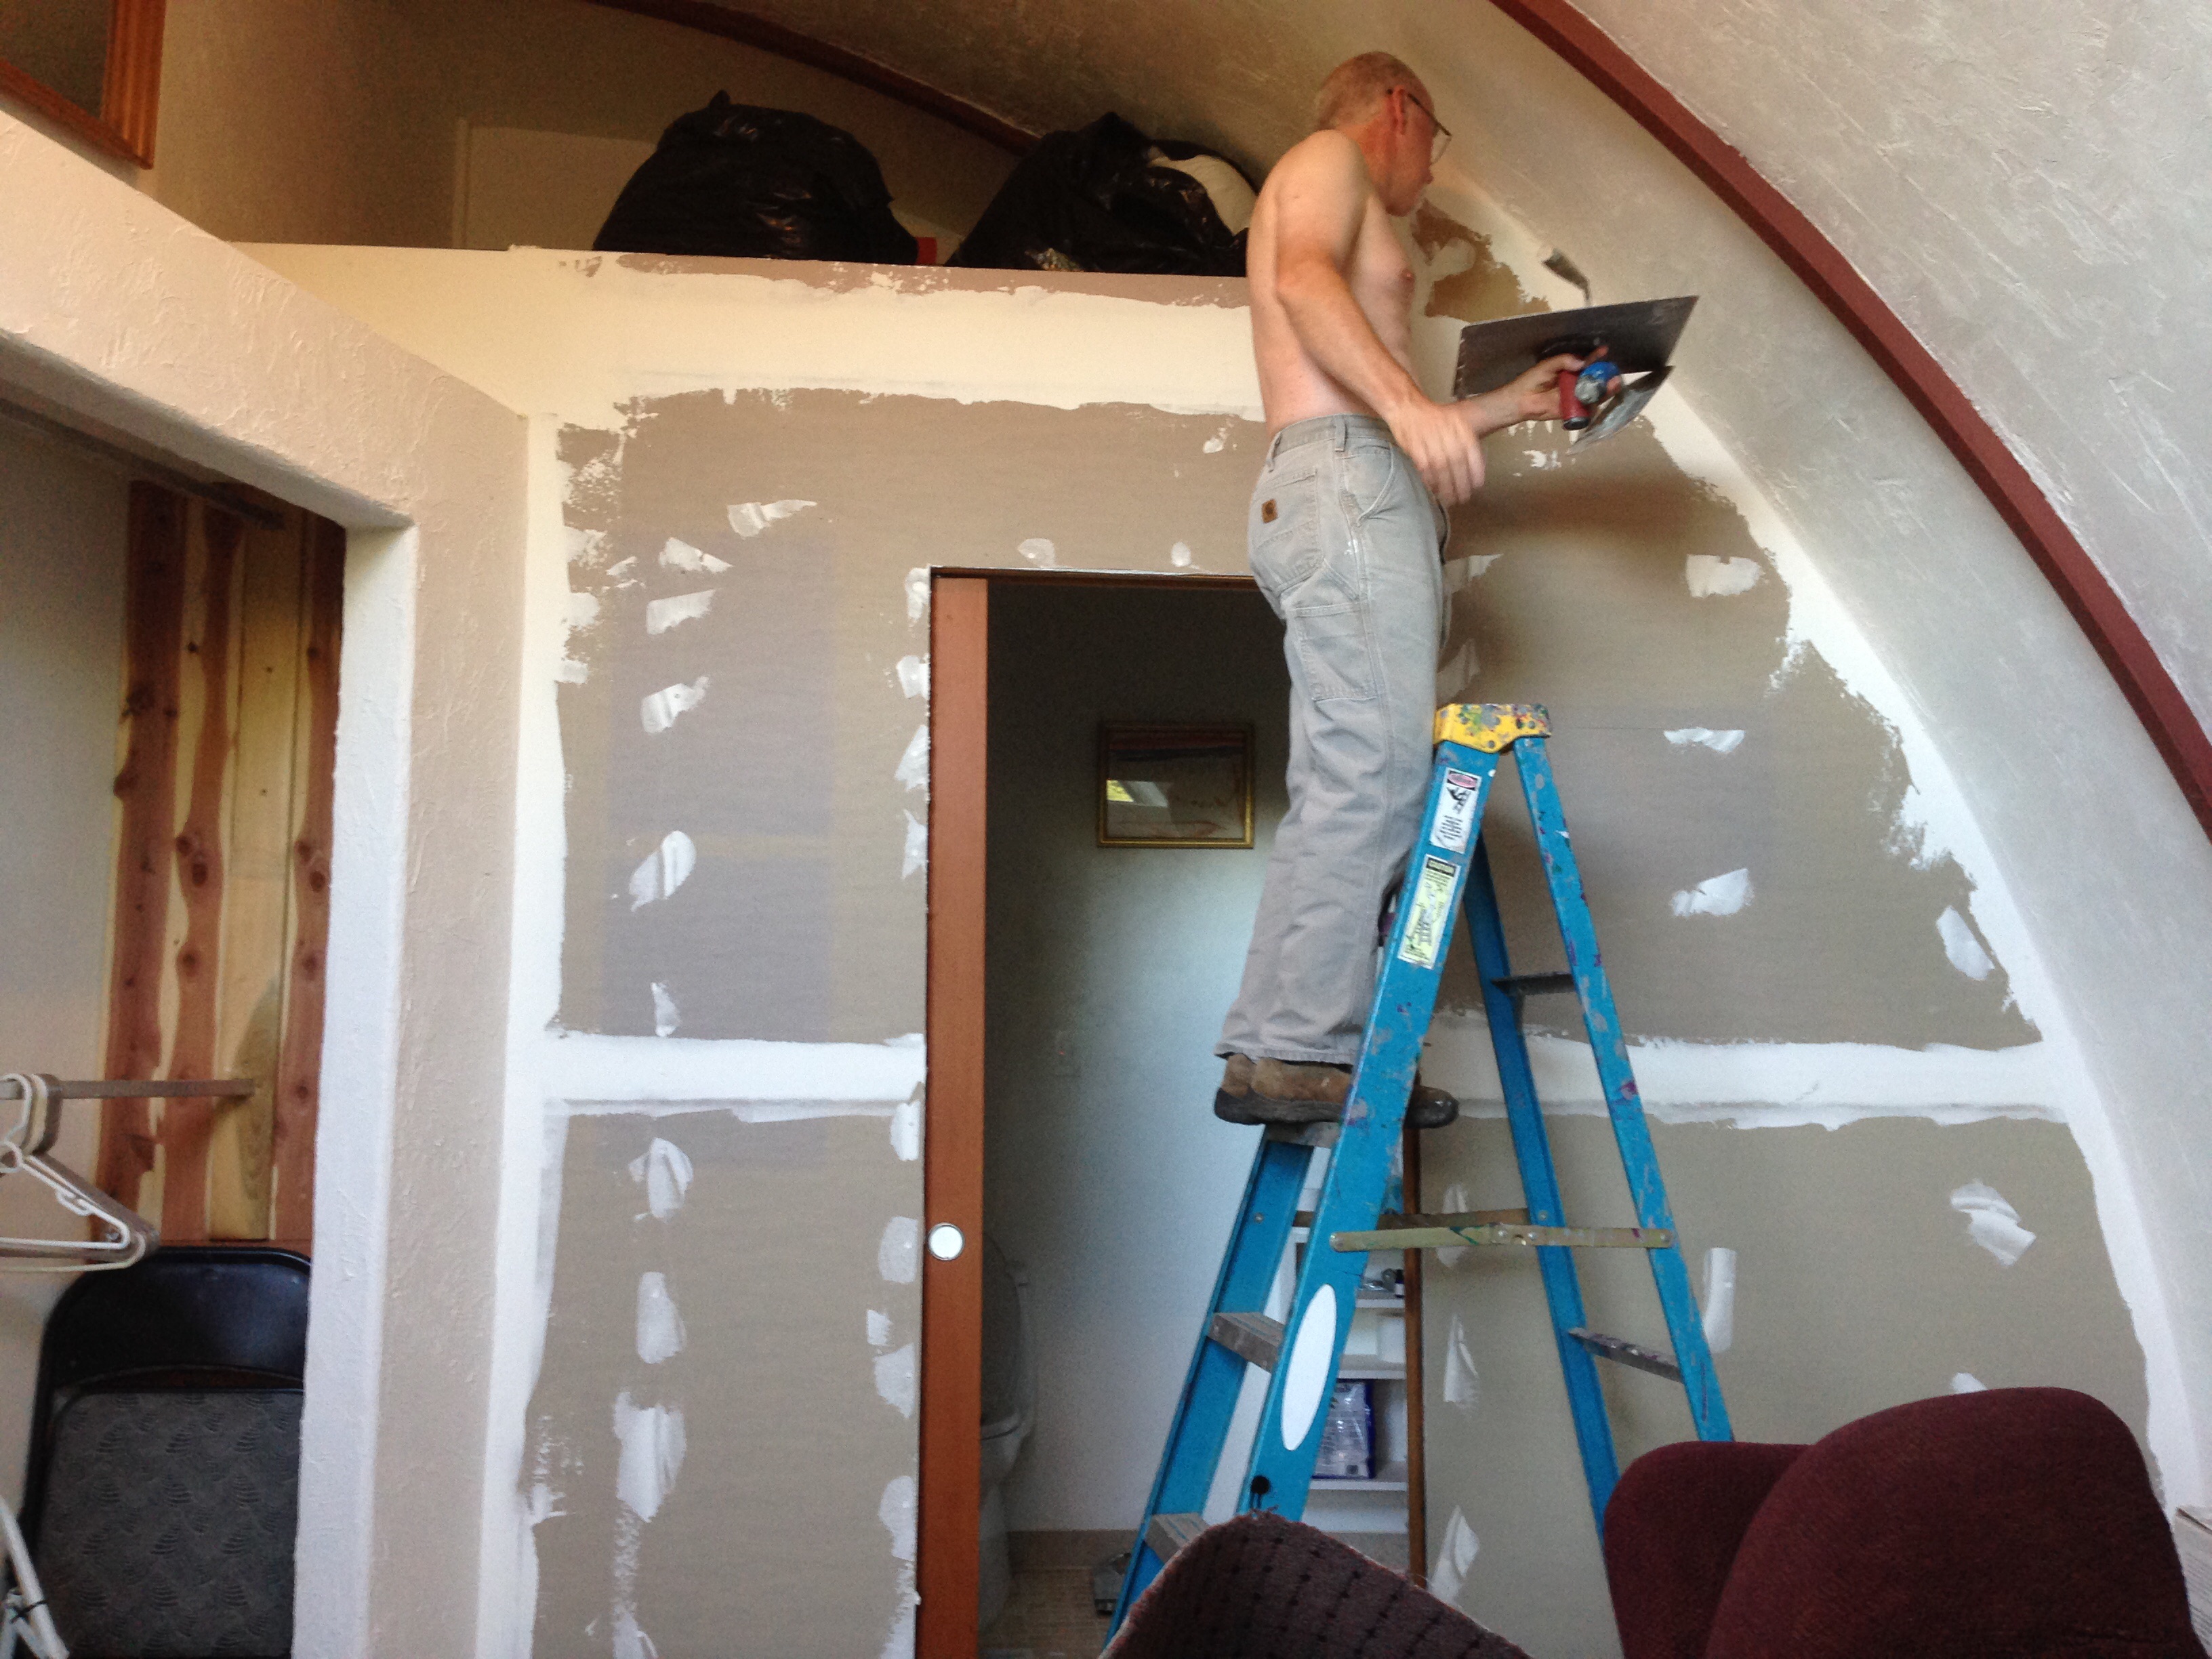
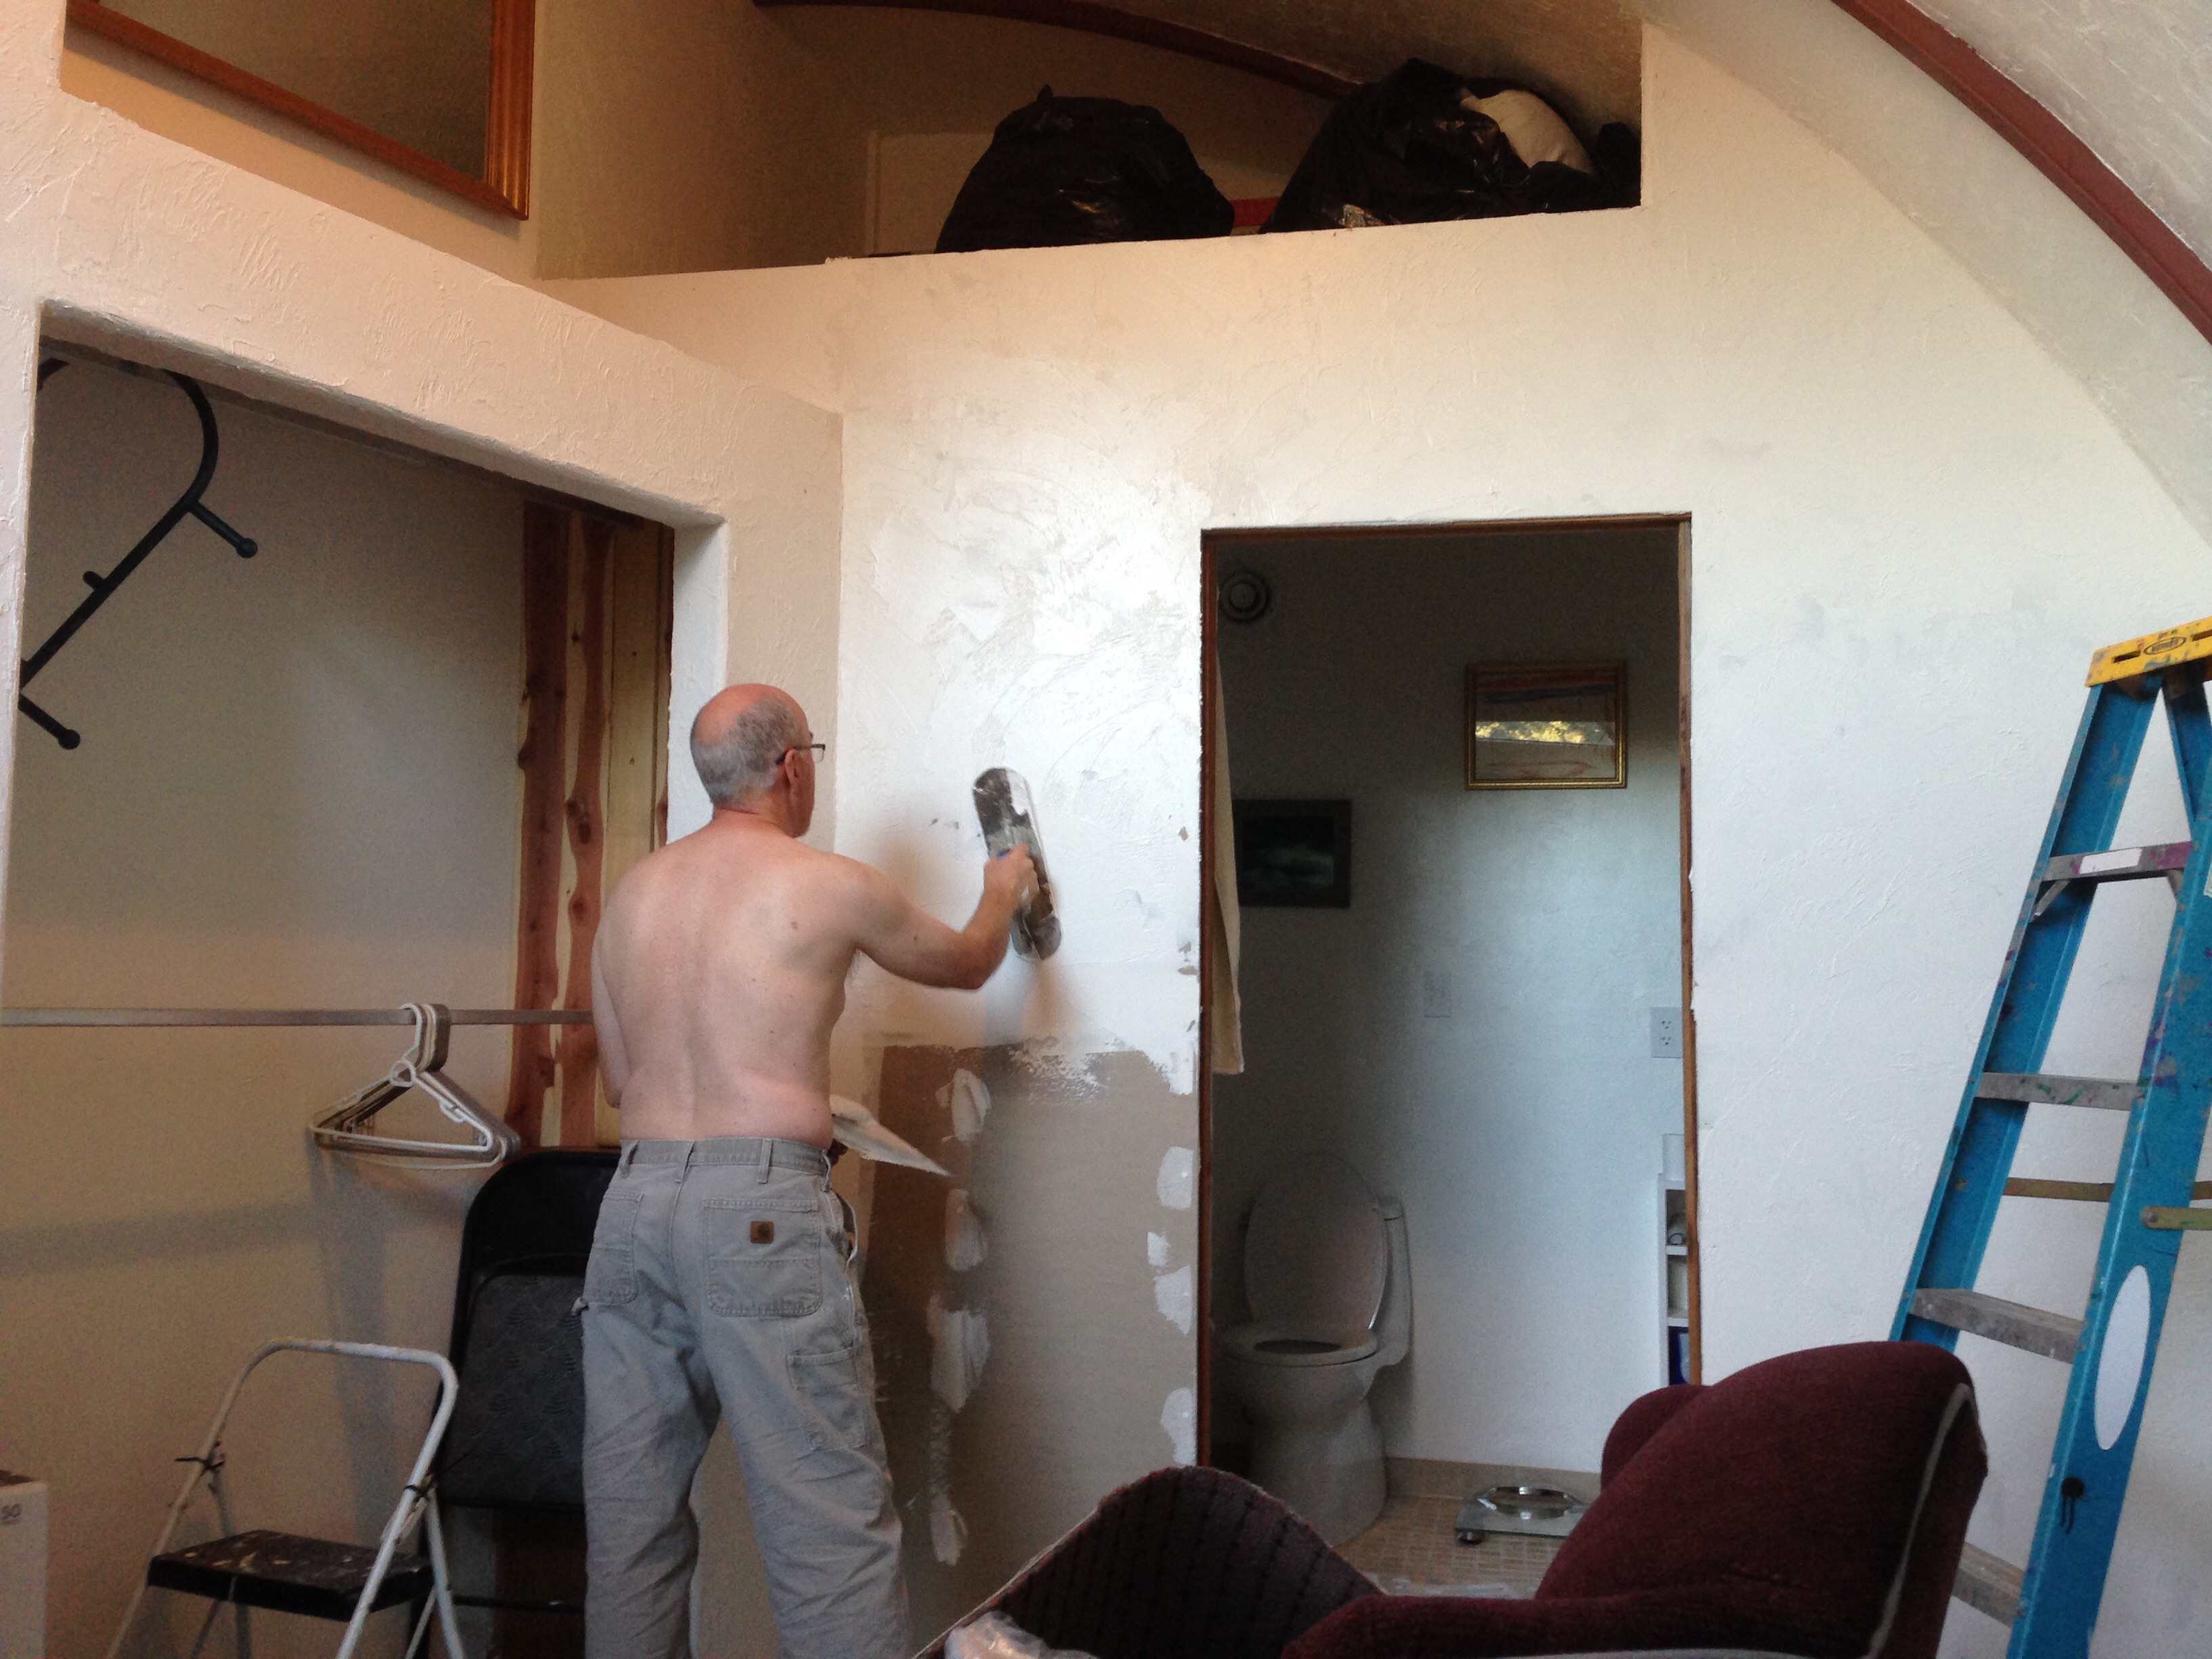 There! almost done. Now, moving outside…
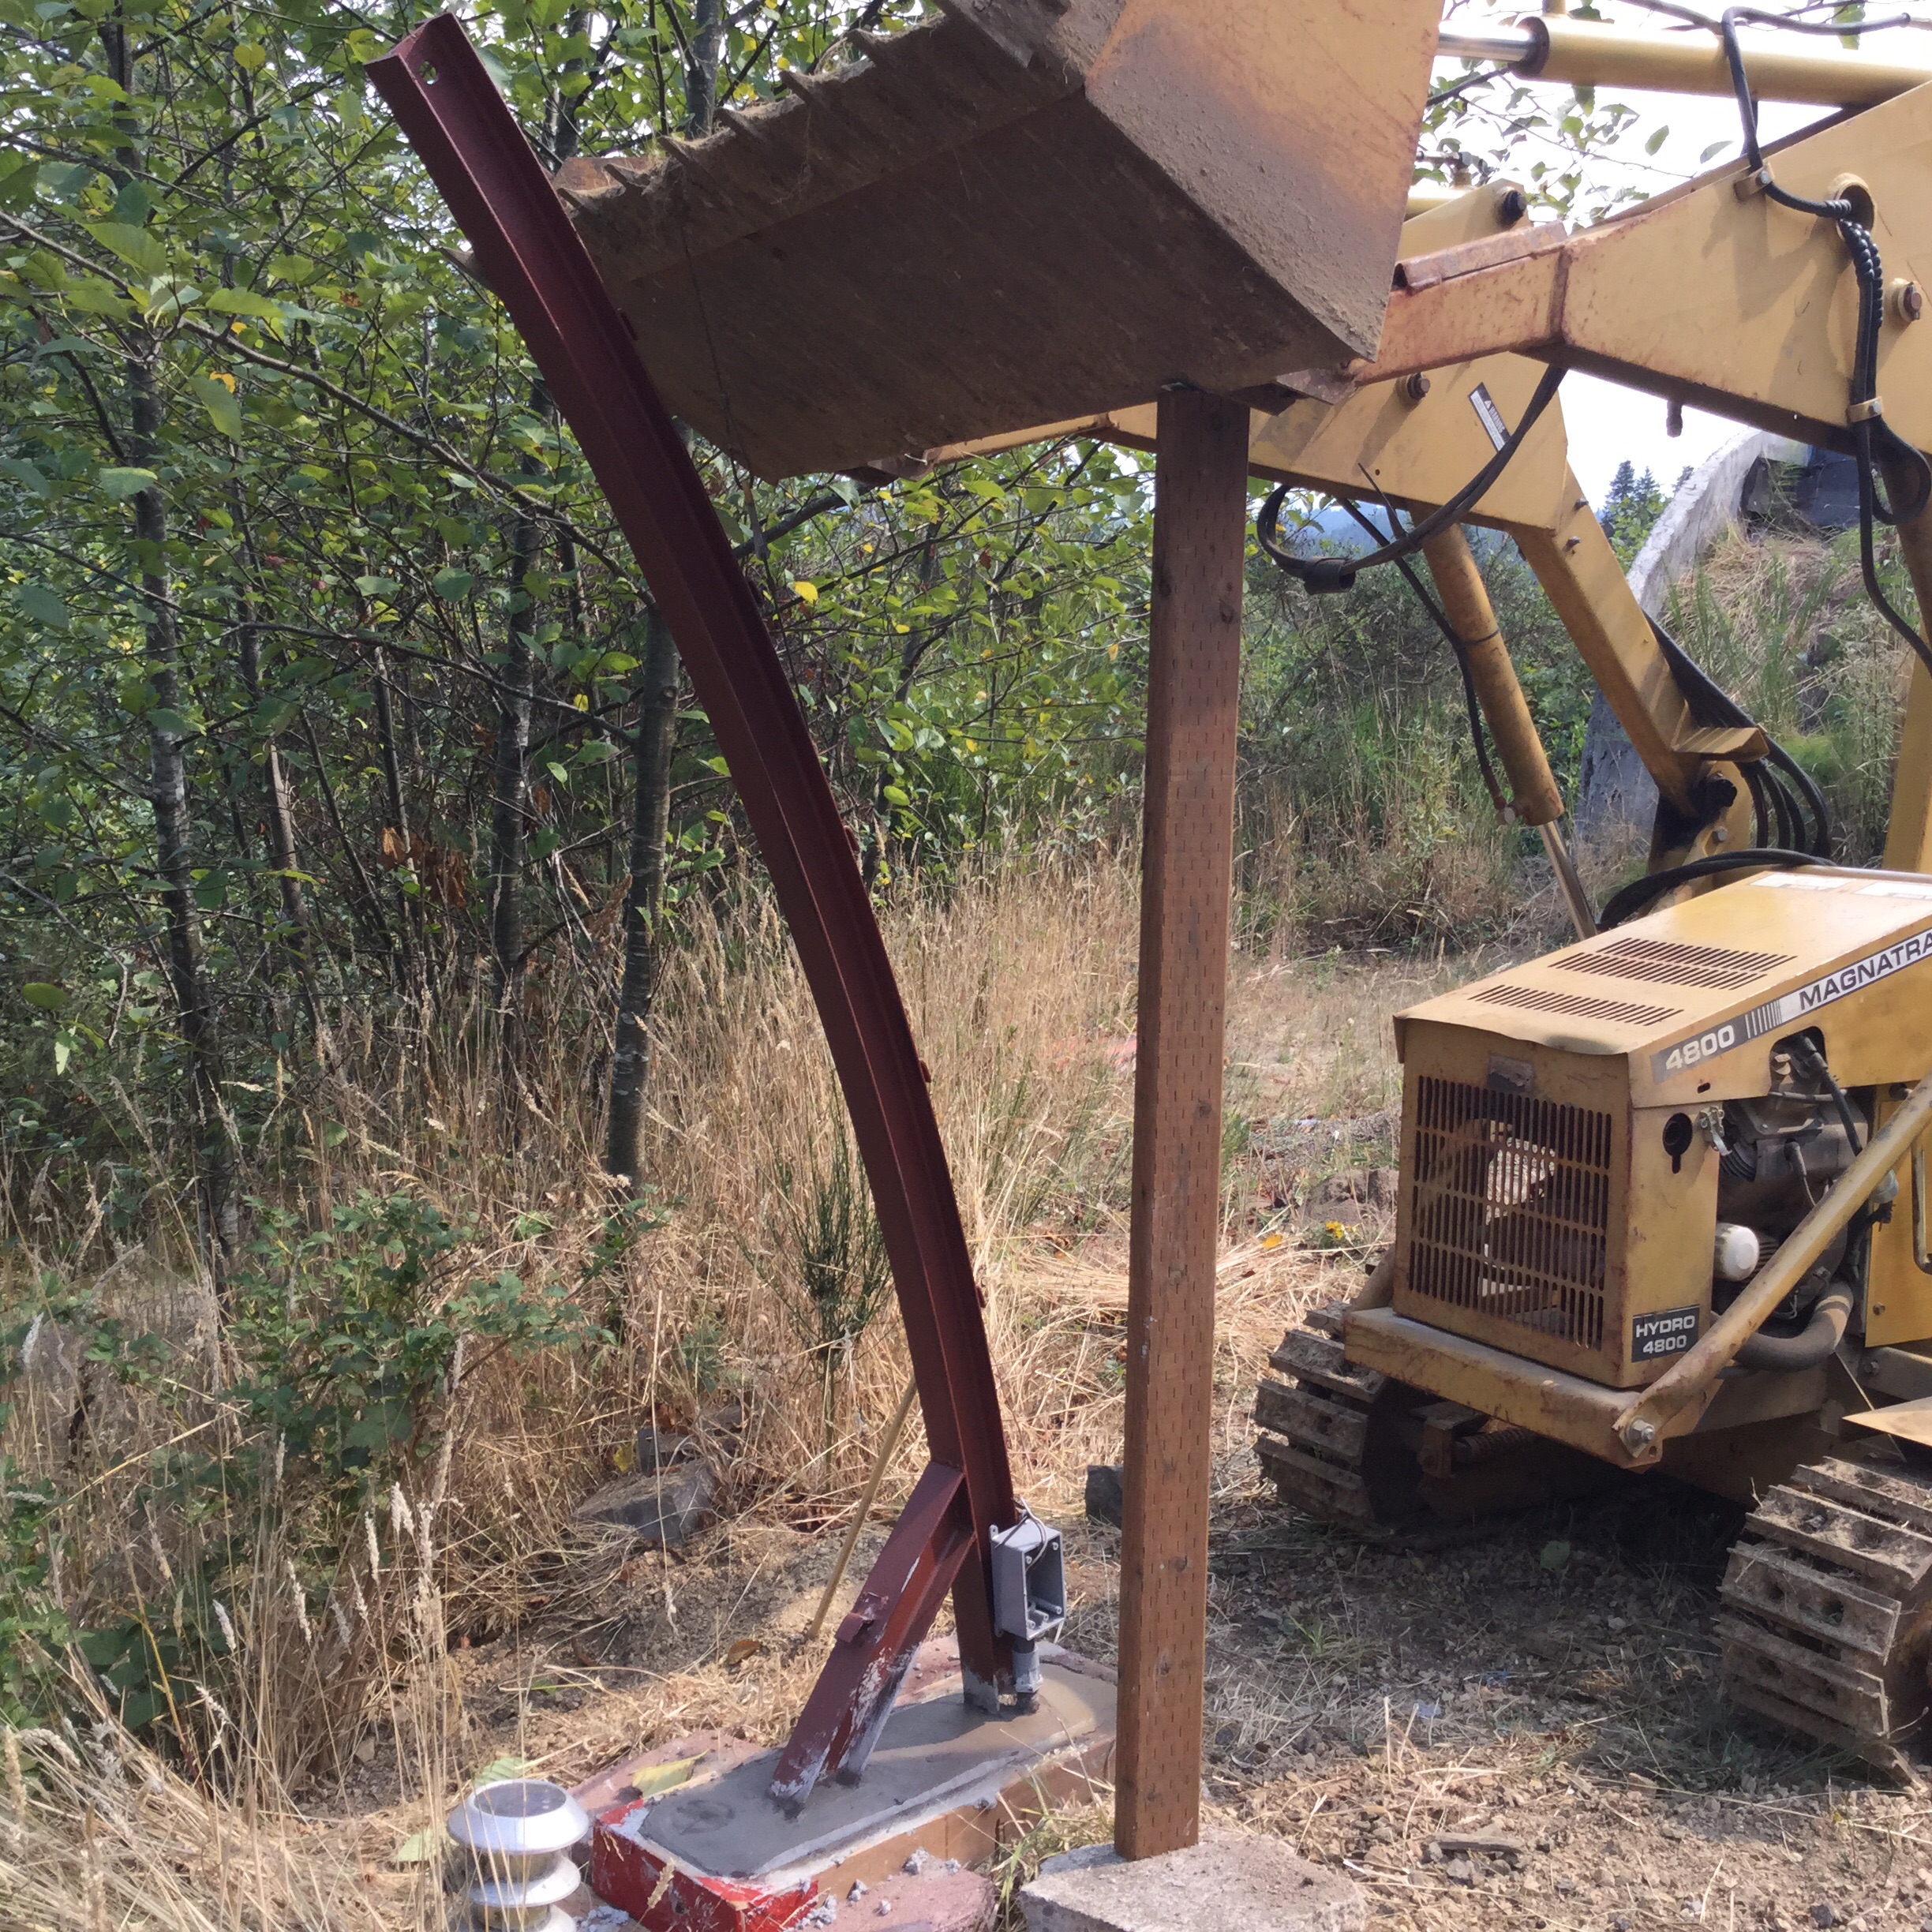 I wanted to create a little outdoor art with some leftover steel arch sections. This gave me an opportunity to practice my welding skills. Dozy came in handy with holding the heavy steel in place while the concrete base sets up.
 I’ll be adding some lights and perhaps somehing hanging. Also, this was a convenient spot to have an outdoor plug. Moving to the roof….
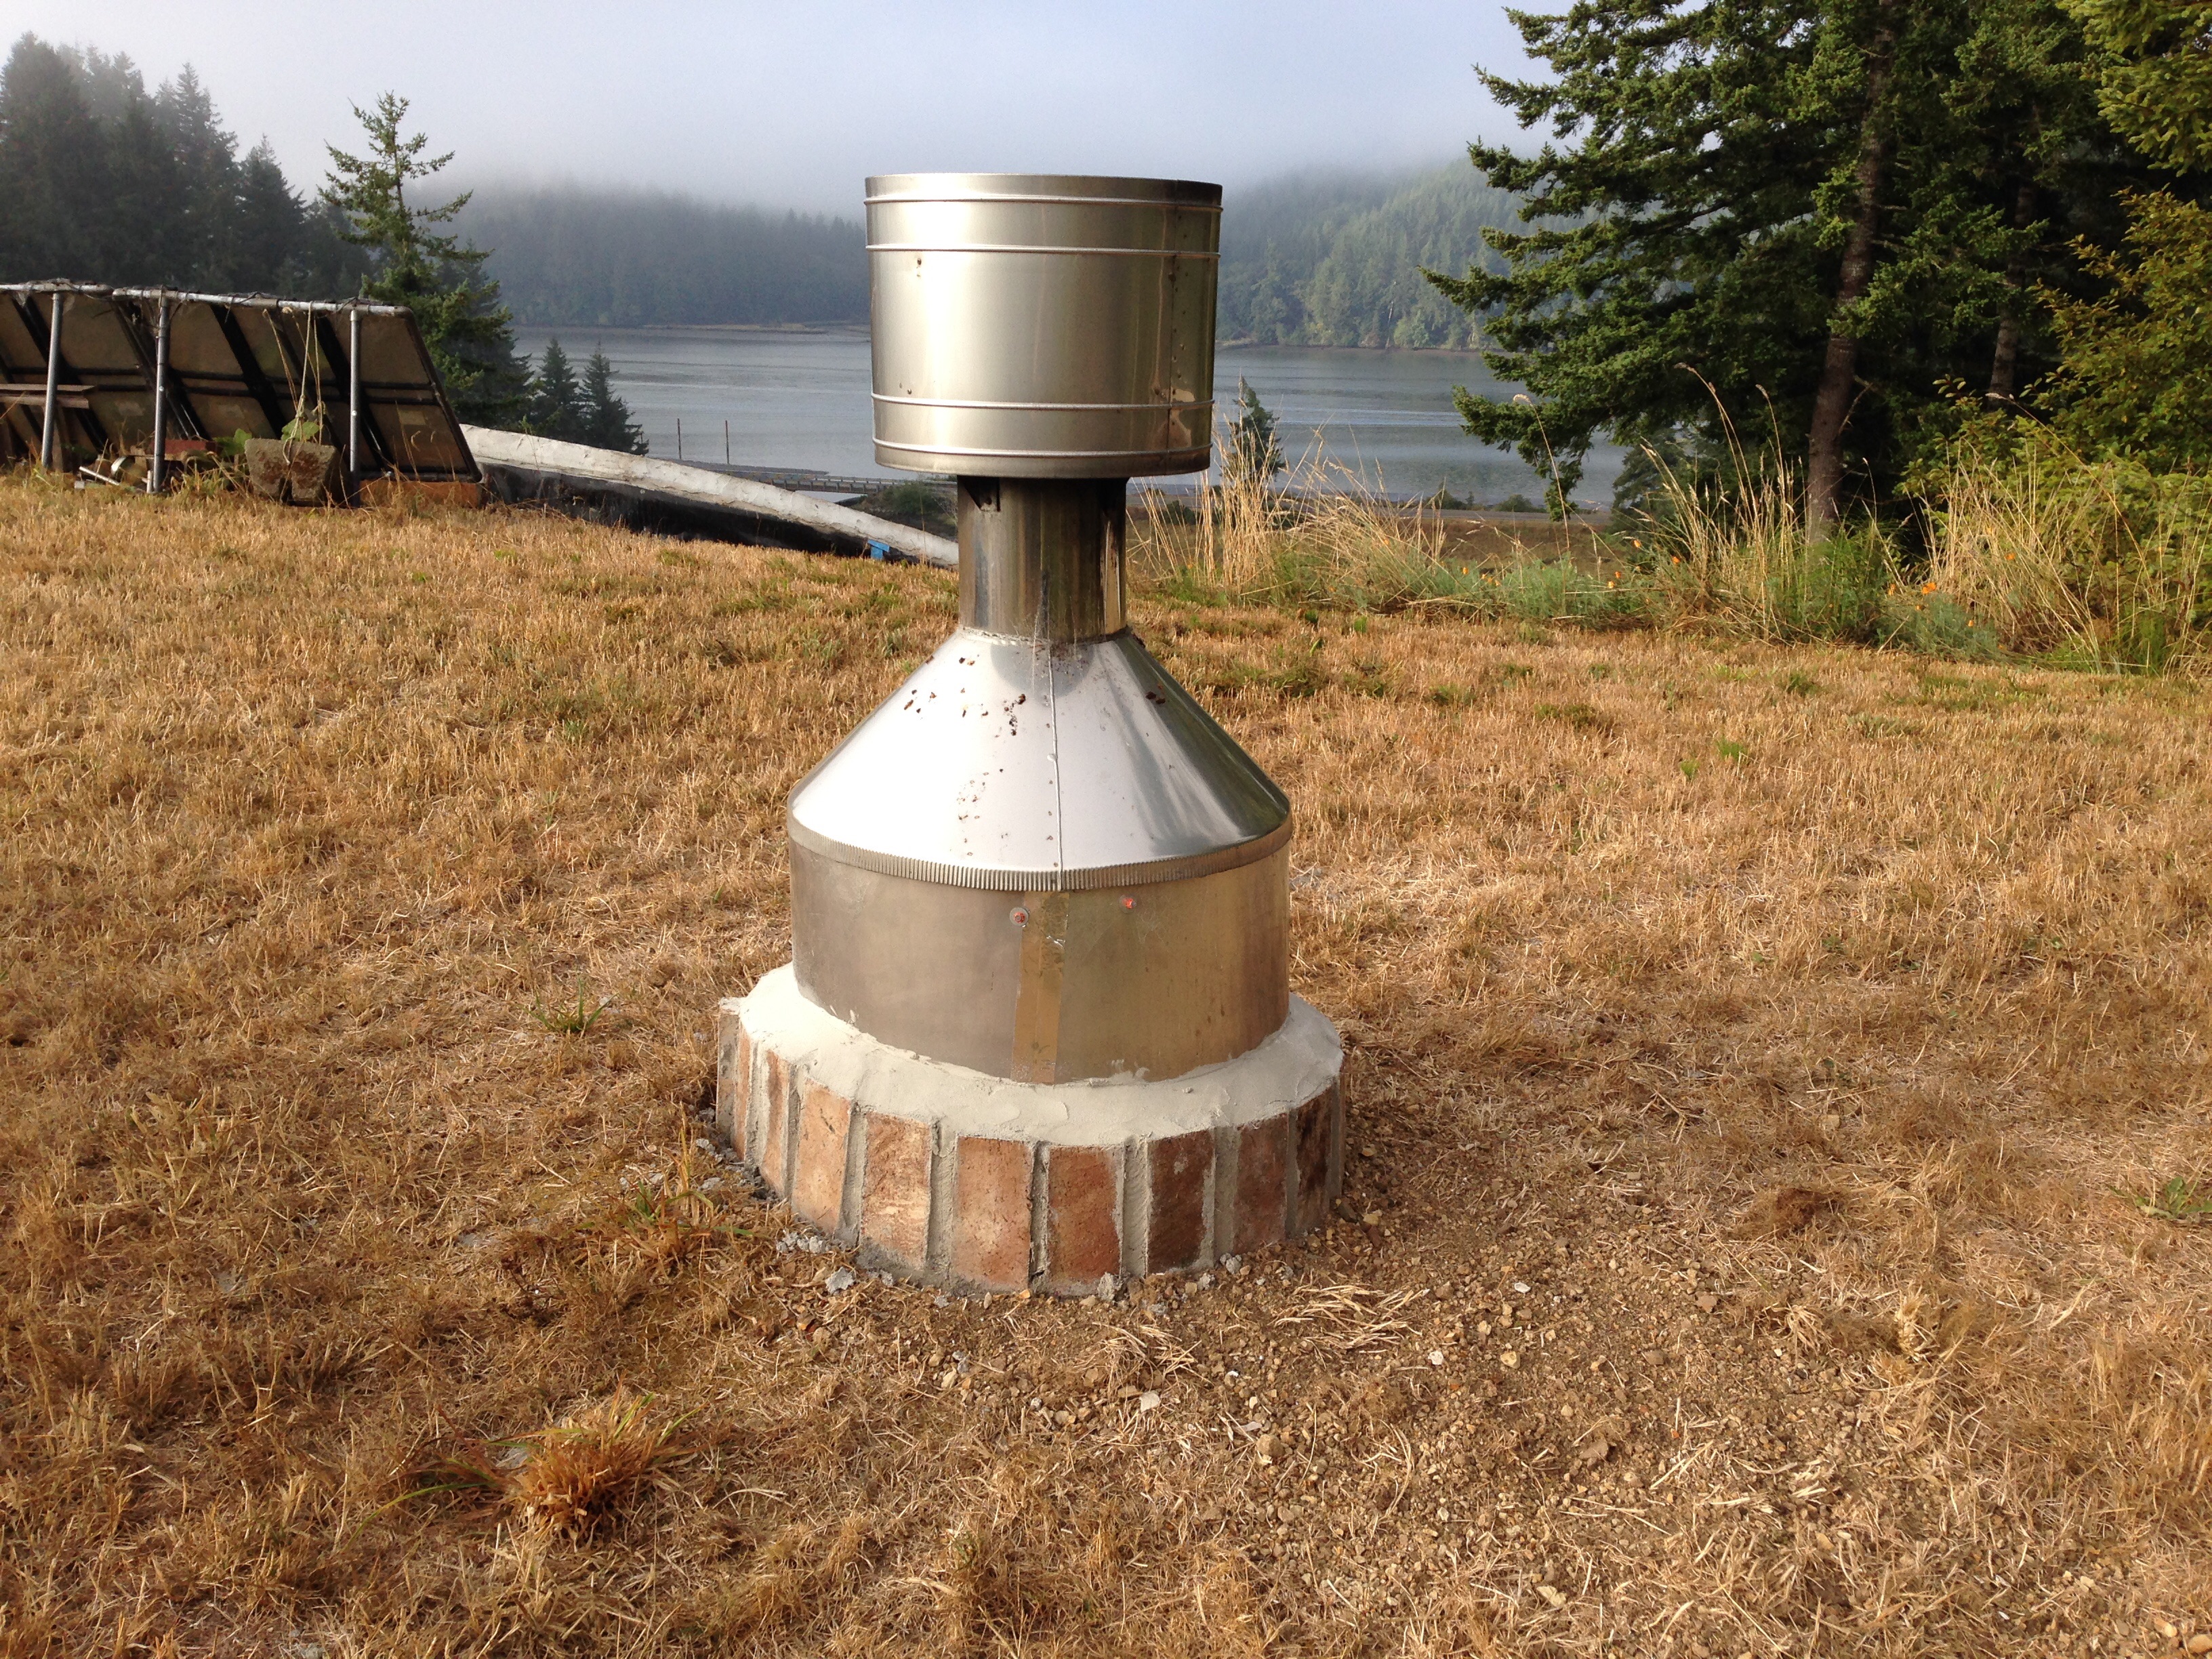 We needed to protect the waterproofing that comes up out of the ground around our chimney. So we added a stainless steel collar and a ring of mortared brick at the base. No lawnmower or weedwacker will have a chance to damage the waterproofing.
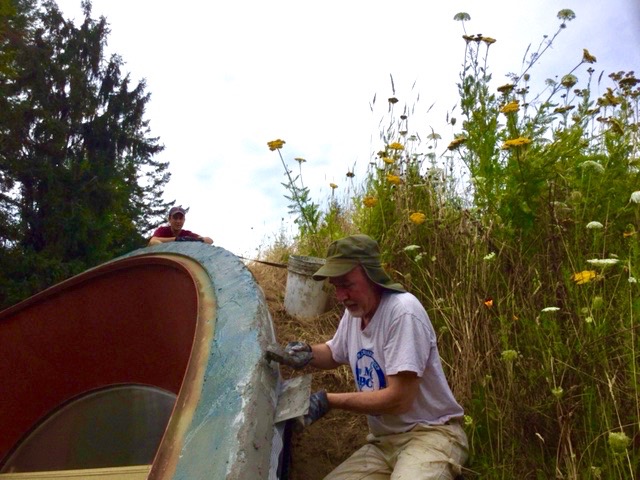 Son Beckett spent a few weeks visiting this Summer and helped out. Here he is keeping a heavy bucket of mortar from rolling down the hill while I do some waterproof patching.
 We used diamond grinding pads ranging from 30 grit to 1500 grit. There are quite a few imperfections in the surface and we were not able to achieve a “glass smooth” finish. But we actually like the chiseled granite look and feel.
 It’s great to finally have a working sink. And a rather handsome one at that.
Now on to the next project…. The entry hall closet and laundry. When you enter our home, there will be a coat closet on the right, followed by the laundry area, and then our water heater. (which will be hiden behind a wood paneled door) The partition walls are now plastered and ready for paint. We still have to build a platform for washer & dryer.
 We used 2″ foamboard stuck down with two-sided tape.
  This is for the small counter that will top the back of our dresser that comes through the wall between our walk-in closet and the bathroom.
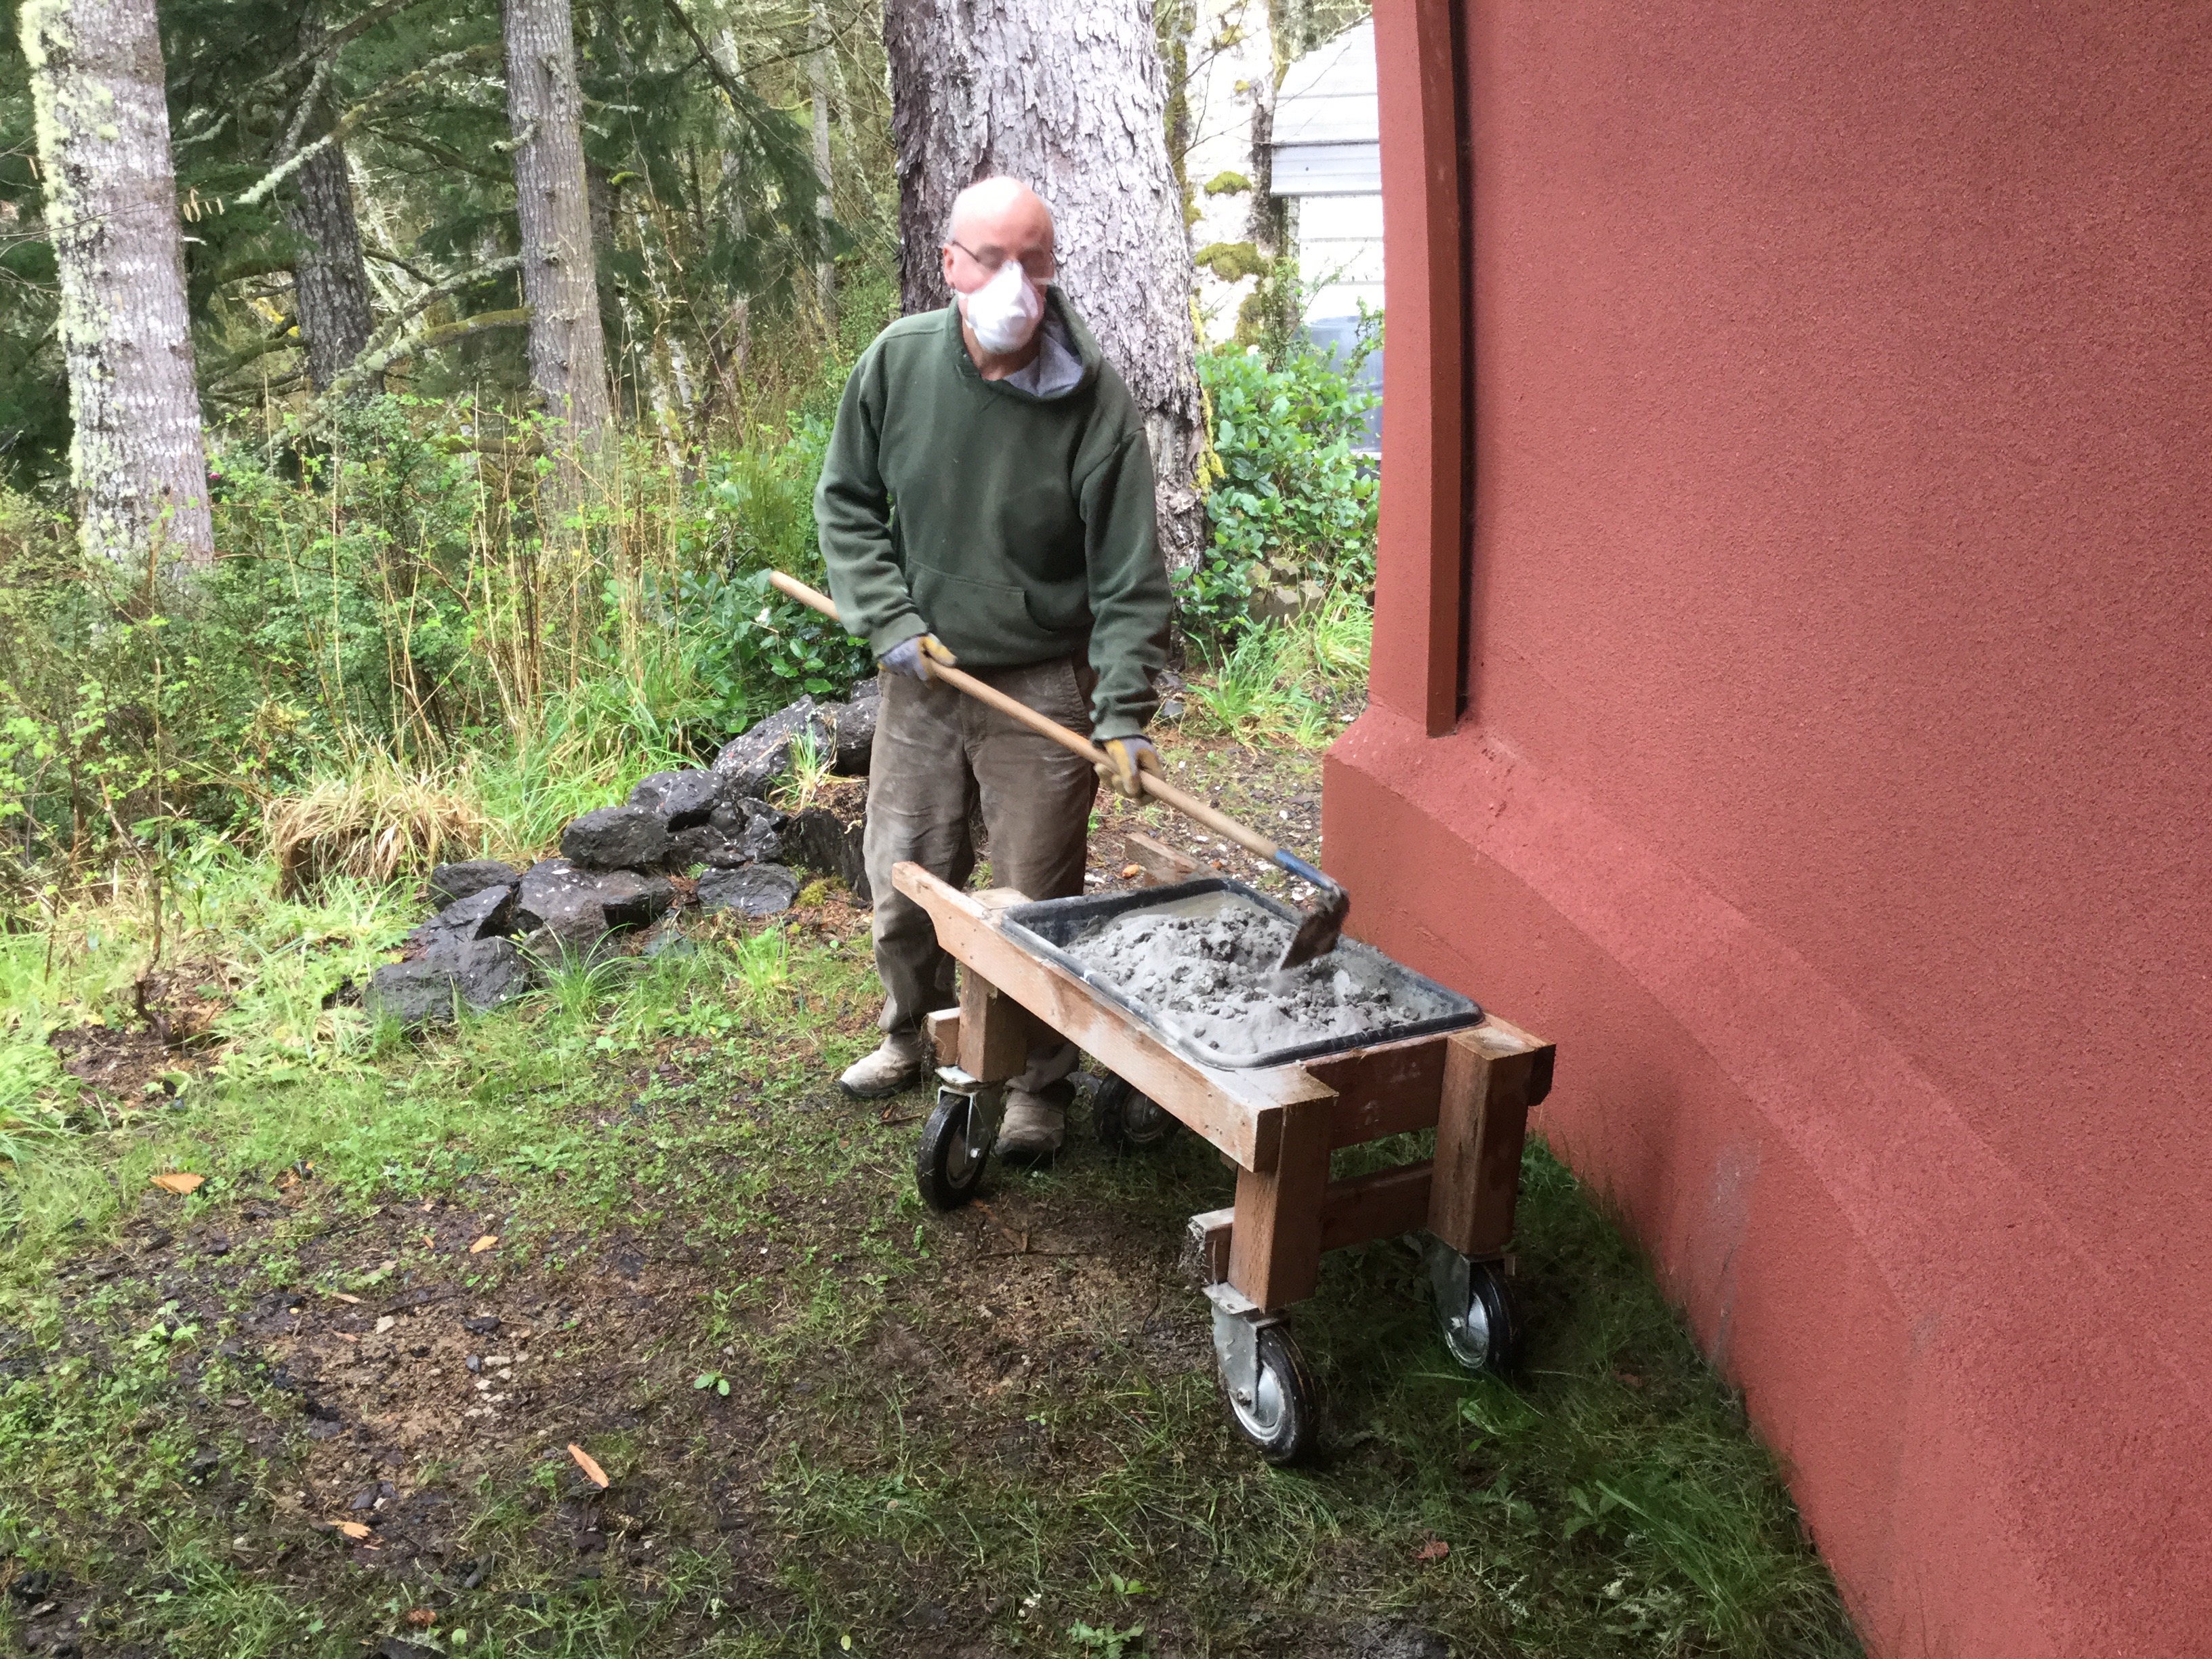
 Our wheelbarrow is too tall to fit “under” the mortar mixer for dumping so I built this custom cart on wheels. So finally we could mix the white cement with Quartz aggregate, some regular sand, coloring and other secret ingredients to make our colored concrete.
Time to fill the molds
 You want to try and get out any bubbles so I made a “concrete vibrator” using a pnumatic needle scaler and a tin can. (black beans work best)

 Now we wait for a few days. But we really wanted to see what this was going to look like after grinding. So we tried it on a test piece. We think the color and look of the aggregate is supper cool.
And now for the big reveal. We will start on the surface treatment in a couple of days.
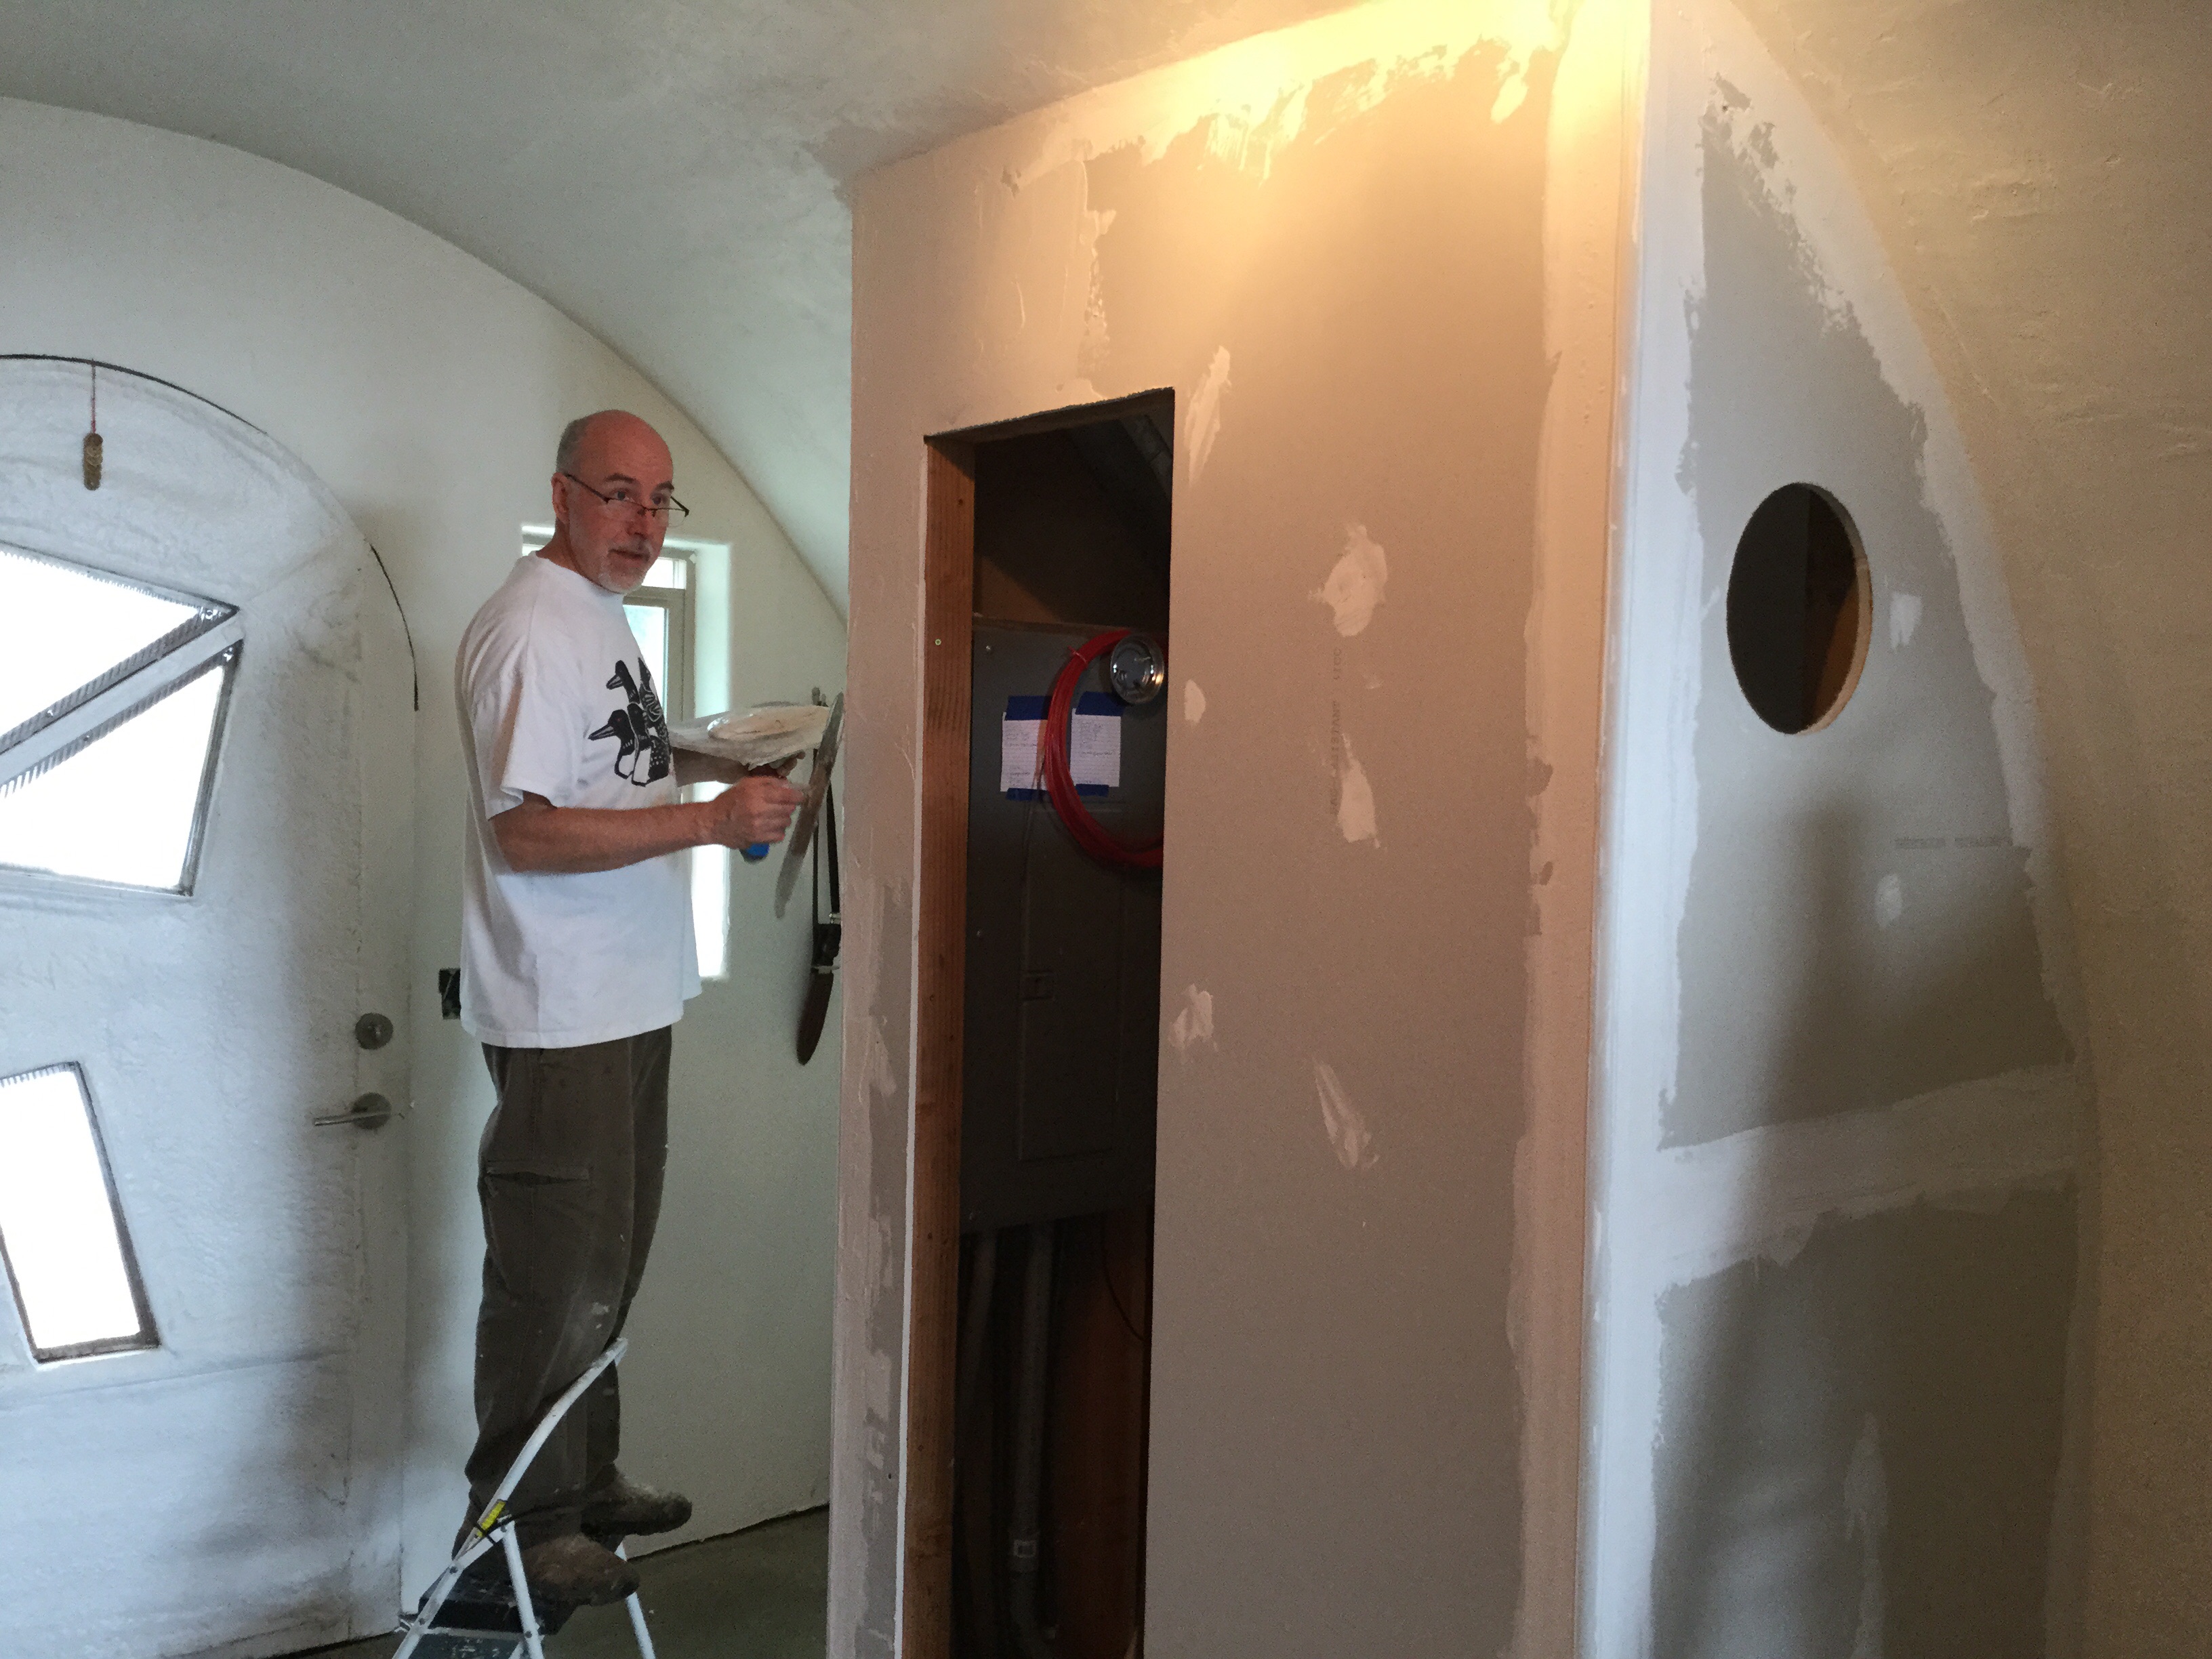
 In the entrance hall, there will be a coat closet and laundry on the West side. So we put up the framing between those two spaces. Once again having fun building to a curve.
  We have gotten really good at scribing plasterboard to the curved walls. It’s amazing how sometimes closing in a space makes it feel larger.
 Since we had a supply of plasterboard ( looks just like Sheetrock), we decided to finally close in the bare studs above the guest bathroom. It will probably be some time before we can plaster these walls but it’s really nice to get them closed in.
And now for something completely different.  We received this beautiful Japanese Maple as a wedding present. Jeff has been very anxious to start on some of the exterior landscaping but there is still much work to be done outside the structure (North side entrance and retaining wall). However we are done working in the area on the West side off the Master Bedroom. The perfect spot for this beautiful specimen.